Professional made-to-measure digital sewing patterns — PDF · PLT · DXF AAMA
A women's top in knit fabric with an asymmetric high collar that ends in a point at the front and is pleated into a two-button tab at one side. The sleeves are cut in one with the upper front and back; a curved seam under the bust and a straight seam across the back join the upper and lower parts. Drafted to your own measurements. Recommended fabric: knit fabric with low to medium stretch, from natural or blended fibres.
A women's top in knit fabric with an asymmetric high collar that ends in a point at the front and is pleated into a two-button tab at one side. The sleeves are cut in one with the upper front and back; a curved seam under the bust and a straight seam across the back join the upper and lower parts.
Silhouette: Semi-fitted, with bust darts; hip length.
Collar: Two-layer interfaced collar, high at the back and wrapping to a point at the front. Its pleated end, with pleats pressed downwards, is enclosed in a separate button tab fastened with two buttons and buttonholes.
Sleeves: Three-quarter cut-on sleeves, part of the upper front and upper back, sewn together with the side seams in one pass. Finished with folded, interfaced cuffs stretched slightly when attached.
Front: Upper and lower front joined with a curved seam under the bust; no opening.
Back: Upper and lower back joined with a horizontal seam; both parts cut on the fold.
Finishing: Neckline seam pressed towards the garment and topstitched; hem turned up 1.5 cm and topstitched with a twin needle; seams sewn with a stretch or narrow zigzag stitch.
Intermediate. Working with knit fabric, an asymmetric collar with pleats set into a tab, buttonholes, and cuffs eased onto the sleeve.
Knit fabric with low to medium stretch, from natural or blended fibres.
If the patterns have a double contour, seam allowances are included. If the contour is single, seam allowances are not included. Seam allowances: all seams 1 cm. Hem allowance - 1.5 cm. Attention! First, print out the paper patterns and lay them out on the fabric width (fabric width can be from 90cm to 150cm) to determine how much material you will need (do not forget to account for paired and symmetrical pieces). When stitching pieces, pay attention to the notches - they must match!
Tip: Cut pieces from knit fabrics are stitched with a special elastic or narrow zigzag stitch. When serging, trim seam allowances to 0.6 – 0.8 cm. The hem allowance is topstitched with a twin needle to maintain elasticity.

#4070
Knit Turtleneck with Empire Seam
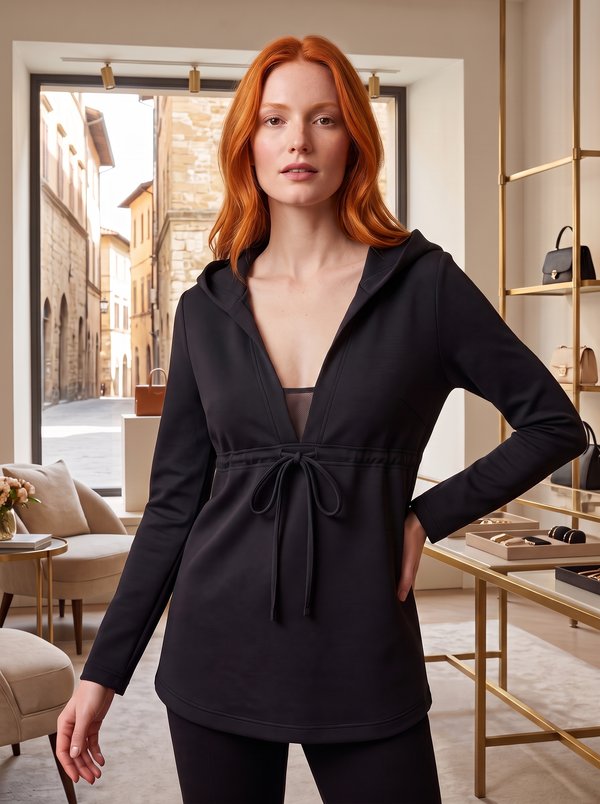
#4161
Stretch Knit Hooded Pullover
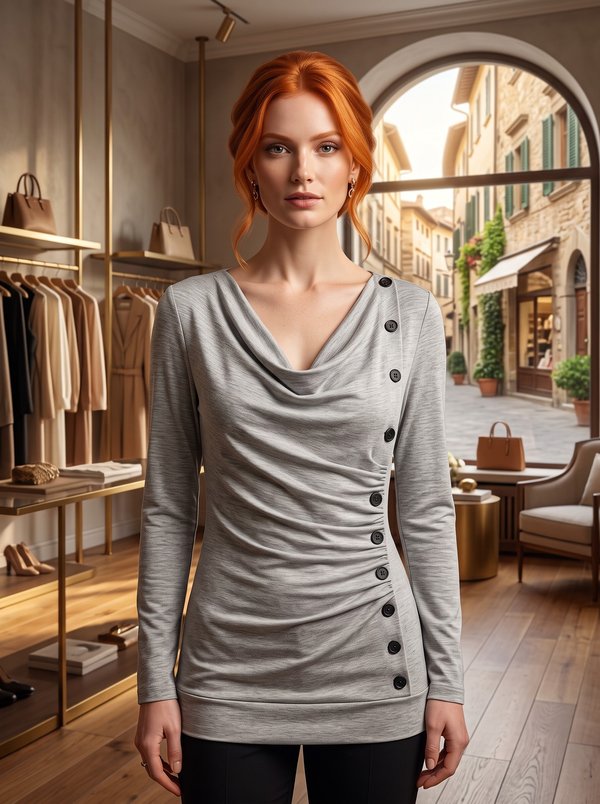
#4319
Wrap Top with Buttons and Hem Band
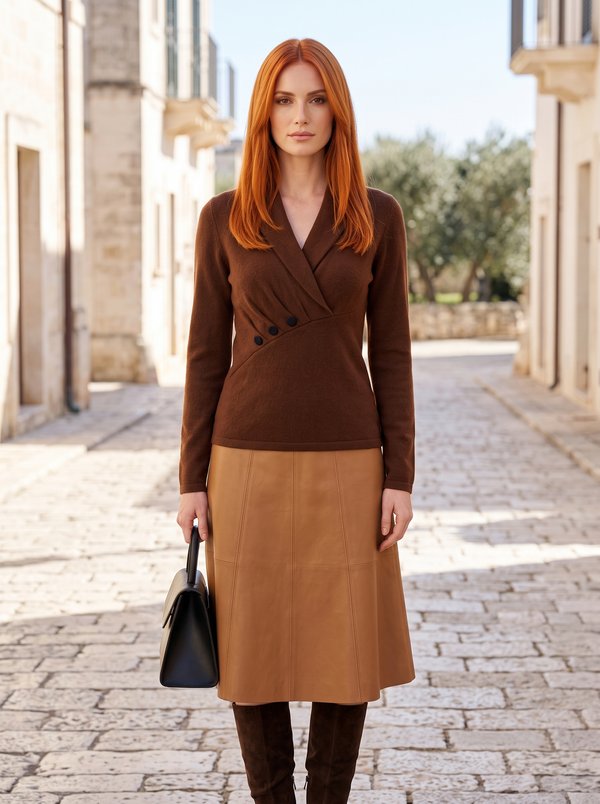
#4715
Crossover V-Neck Knit Top with Buttons
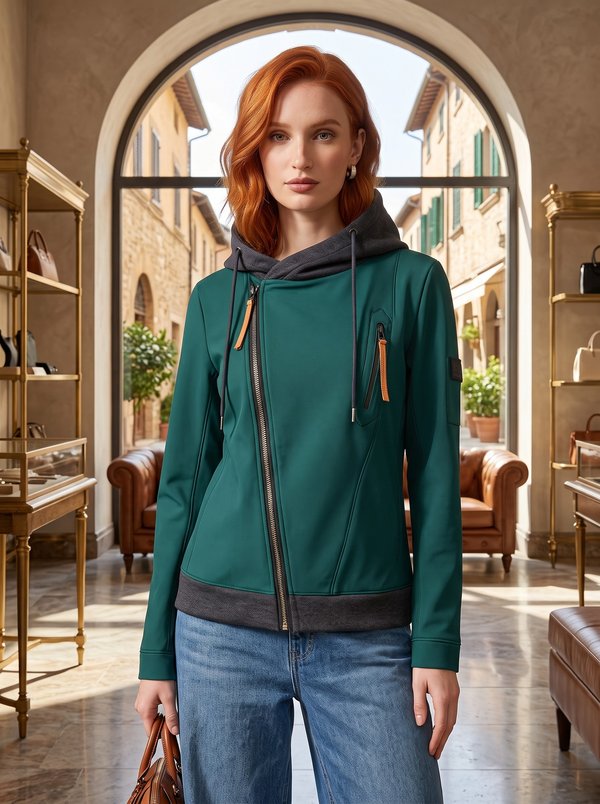
#2542
Asymmetrical Zipper Hoodie

#2544
Short Sleeve V-Neck Henley Blouse
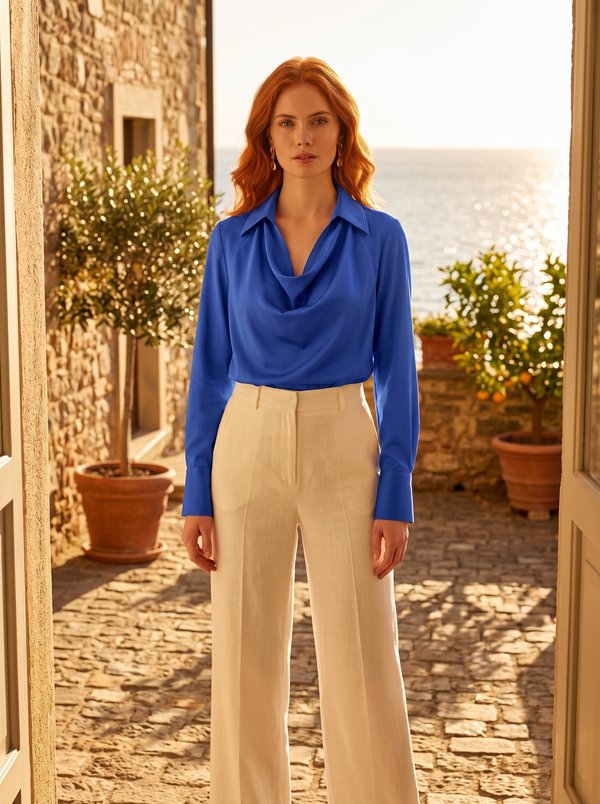
#2541
Long Sleeve Cowl Neck Collared Blouse
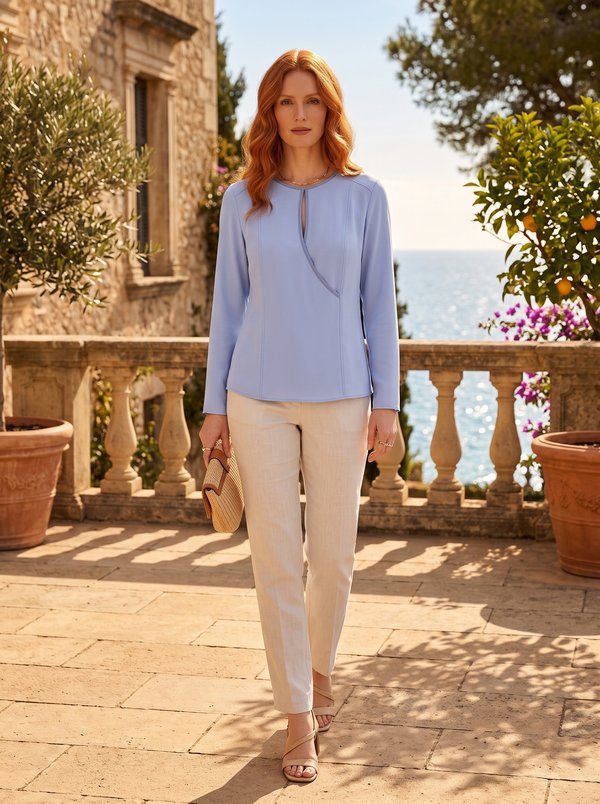
#2545
Long Sleeve Fitted Front Keyhole Blouse

Minerva Support
Online