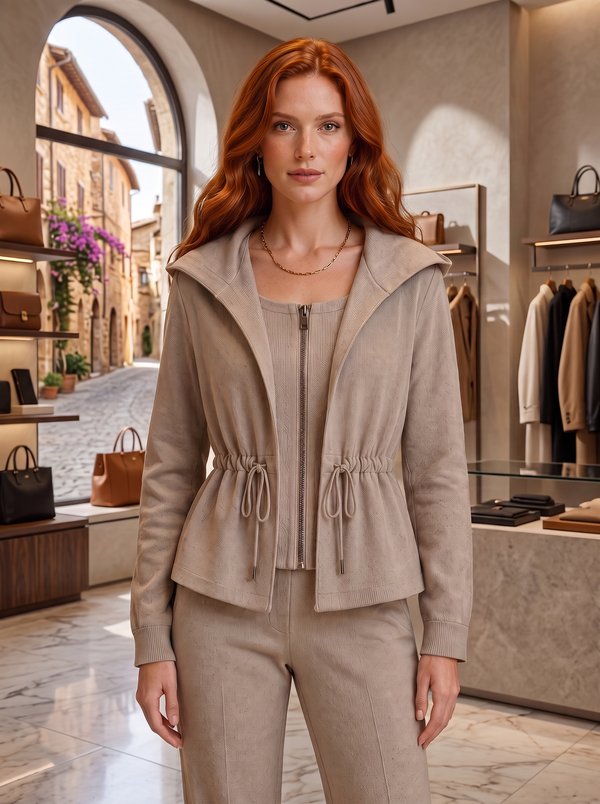
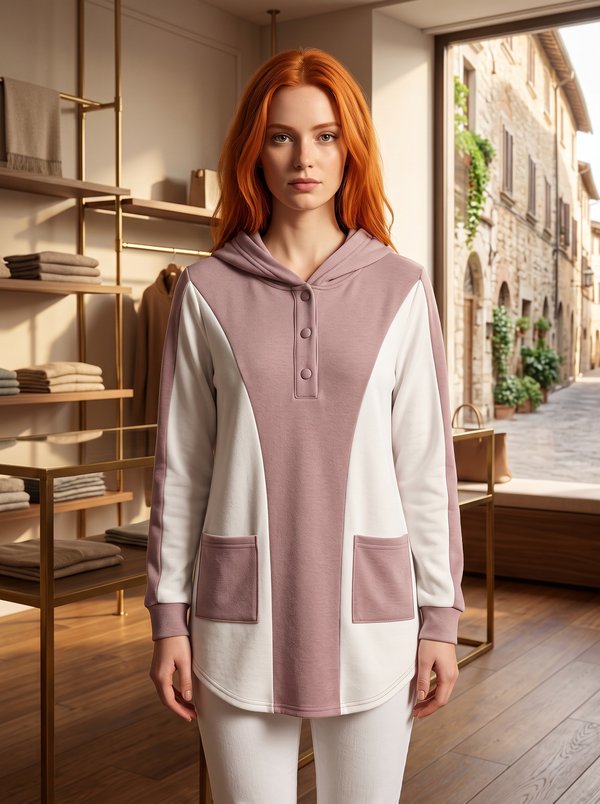
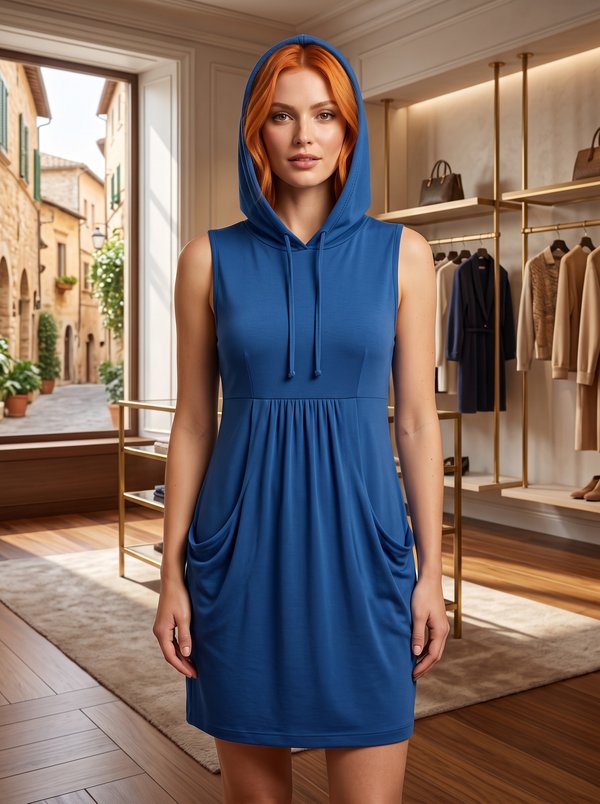
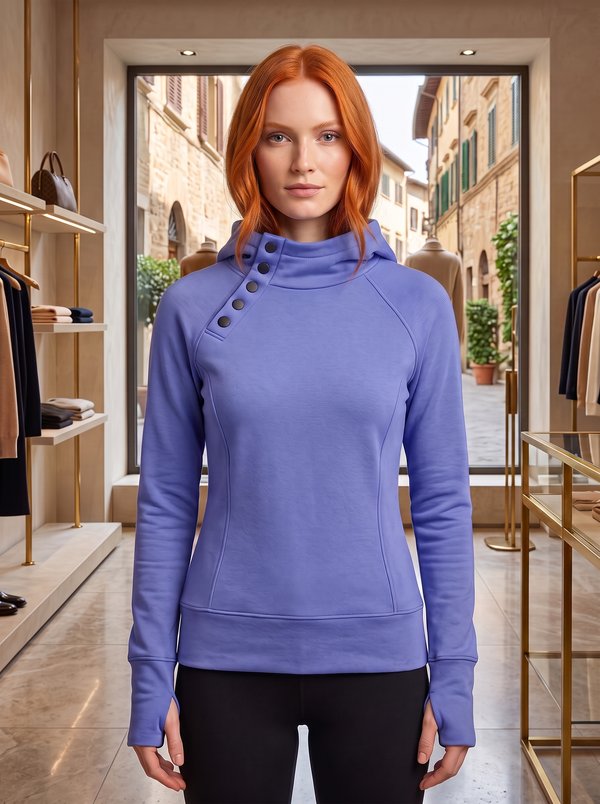
Asymmetrical Zipper Hoodie
A women's hip-length hooded jacket in denim-type fabric with a diagonal separating zipper, a knit hood with drawstring and eyelets, and a knit hem band. Details include a 10 cm zipper on the left chest and a patch pocket with a buttoned flap on the left sleeve.
When To Wear
- As a light jacket in spring and early autumn, over T-shirts and jumpers.
- For walks and travel, with jeans or leggings.
Key Design Features
Silhouette: Semi-fitted, shaped with princess seams and side panels front and back, and a bust dart on the right front.
Length: Hip length, finished with a knit band at the hem.
Hood: Two-layer knit hood, each layer of two pieces, with a stitched drawstring casing, two eyelets, a cord and cord ends. The hood is set between the garment and the front and back neck facings.
Closure: Separating zipper running diagonally from the hem band to the neckline, set between the front pieces and their facings.
Sleeves: Two-piece set-in sleeves with a vent in the elbow seam and interfaced cuffs, each fastened with a button.
Pockets: On the left chest, a 10 cm zipper set into a window in a separate zipper facing, topstitched 0.2 cm from the edge. On the left upper sleeve, a patch pocket topstitched at 2 cm along the top and a flap lined with knit fabric, with a buttonhole and button.
Back: Centre back seam and princess seams to side panels, all topstitched.
Finishing: Topstitching along the seams and the neckline; vent edges edgestitched at 0.1 cm.
Level Of Difficulty
Advanced. An asymmetric separating zipper sewn between the fronts and facings, a window zipper, a lined drawstring hood with eyelets, sleeve vents, a flap pocket, and combining woven fabric with knit.
Fabric Recommendations
Dense fabrics from natural or blended fibres, for example denim. For the hood, hem band and flap lining: low-stretch knit in a matching or contrasting colour.
Additional Supplies
- Fusible interfacing
- 1 zipper, 10 cm long
- 1 separating zipper
- 3 buttons
- Decorative cord
- 2 eyelets
- 2 cord ends
Cutter's Must
If the patterns have a double contour, seam allowances are included. If the contour is single, the patterns are without seam allowances. Seam allowances: all seams 1 cm. Attention! First, print out the paper patterns and lay them out on the fabric width (fabric width can be from 90 cm to 150 cm) to determine how much material you will need (do not forget to account for paired and symmetrical pieces). When stitching pieces, pay attention to the notches - they must match! Attention! Markings on the patterns are made on the right side!
- From main fabric:
- Back – 2 pieces
- Side – 2 pieces
- Right Front – 1 piece
- Center Front – 2 pieces
- Left Front – 1 piece
- Inner Front – 1 piece
- Upper Sleeve – 2 pieces
- Lower Sleeve – 2 pieces
- Cuff – 2 pieces
- Right Front Center Facing – 1 piece
- Back Neckline Facing – 1 piece
- Zipper Facing – 1 piece
- Pocket – 1 piece
- Flap – 1 piece
- From knit fabric (marked MAIN 1 on the pattern):
- Placket – 1 piece (on fold)
- Left Hood – 2 pieces
- Right Hood – 2 pieces
- Flap – 1 piece
- From fusible interfacing:
- Center Front – 1 piece
- Right Front Center Facing – 1 piece
- Back Neckline Facing – 1 piece
- Cuff – 2 pieces
- Zipper Facing – 1 piece
- Flap – 1 piece
Sewing Instructions
- Fuse interfacing to the designated pieces.
- Stitch the back princess seams (Back to Side), press the allowances towards the center, overlock. Topstitch along the seams. Stitch the center back seam, press the allowances to the left, overlock. Topstitch along the seam.
- Stitch the bust dart on the Right Front, press the dart fold upwards. Stitch the princess seam of the Left Front (Left Front to Center Front), press the allowances towards the center, overlock. Topstitch along the seam.
- Mark the zipper position on the Zipper Facing. Cut an opening along the marking, making diagonal clips 1–1.5 cm from the ends of the zipper. Fold the allowances to the wrong side, place the 10 cm zipper under the opening so that the teeth are visible and topstitch around it 0.2 cm from the edge. Fold the edges of the Zipper Facing to the wrong side and topstitch it onto the Left Front along the marking.
- Stitch the Left Front and Right Front to the Side pieces, press the allowances towards the center and overlock. Topstitch along the seams. Stitch the shoulder seams, press the allowances towards the back, overlock.
- Fuse the eyelet area on the outer hood. Stitch the Right Hood and Left Hood pieces together in pairs (outer hood and inner hood), press the allowances open. Set the eyelets in the outer hood. Place the outer and inner hoods right sides together and stitch along the front edge. Clip the allowances, turn the hood right side out, shape and press. Topstitch along the marked line to form the drawstring casing. Baste the hood to the neckline.
- Stitch the Placket (hem band) to the lower edge of the garment. Press the allowance of the inner edge of the band to the wrong side.
- Left front: overlock the inner edge of the second Center Front piece (hereafter – the left facing). Place the left facing on the Center Front, right sides together, insert the left half of the separating zipper between them, wrap the lower end of the band around the zipper and stitch in one seam. Turn the band right side out and shape it. Right front: overlock the inner edge of the Right Front Center Facing. Place the Inner Front on the Right Front, right sides together, insert the right half of the separating zipper between them, wrap the lower end of the band around the zipper and stitch in one seam. Turn the band right side out and shape it. Stitch the Right Front Center Facing to the Inner Front, press the allowances towards the facing. Fold the Inner Front in half lengthwise, right sides together, and stitch the lower edge. Turn it right side out, shape and press. Stitch the pressed inner edge of the band in the ditch of the band seam.
- Overlock the outer edge of the Back Neckline Facing. Stitch the shoulder seams joining the front facings and the Back Neckline Facing, press the allowances open. Place the facings on the garment, right sides together (with the hood in between), and stitch along the neckline. Clip the allowances, turn the facings to the inside, shape and press. Topstitch along the neckline to secure.
- Fuse the upper edge allowance of the Pocket and press it 1 cm to the wrong side. Fold the upper allowance to the right side and stitch the side edges. Turn right side out and shape the corners. Press the side and bottom allowances to the wrong side. Topstitch the upper allowance at 2.0 cm. Topstitch the Pocket onto the left Upper Sleeve according to the markings.
- Place the two Flap pieces (main fabric and knit) right sides together and stitch along the outer edge. Trim the allowances at the corners, turn the flap right side out, shape and press. Topstitch around the flap. Overlock the upper edge. Make a buttonhole. Stitch the flap to the left Upper Sleeve above the pocket (lower edge pointing towards the sleeve cap), fold it down and topstitch.
- Overlock the elbow seam edges of the Upper Sleeve and Lower Sleeve separately. Stitch the elbow seam from the sleeve cap to the mark, clip the allowances at the mark. From the cap to the mark, press the allowances to one side and topstitch along the seam. From the mark to the lower edge (vent), press the allowances open and edgestitch both edges at 0.1 cm. Stitch the front sleeve seam and press open. Set the sleeves into the armholes, matching the notches.
- Fold each Cuff in half lengthwise, right sides together, and stitch the short ends. Start and end the stitching exactly at the marked cuff seam line. Turn the cuff right side out, shape and press. Stitch the outer layer of the cuff to the lower edge of the sleeve, press the allowances towards the cuff. Press under the allowance of the inner layer and topstitch it in the ditch of the cuff seam.
- Make buttonholes and sew on buttons on the cuffs. Sew a button on the Pocket. Thread the cord through the hood casing and attach the cord ends.