Professional made-to-measure digital sewing patterns — PDF · PLT · DXF AAMA
A women's semi-fitted hip-length blouse with a band (stand) collar open at the front, a V-neck formed by separate front button bands with four buttons, gathers along the front band seam at bust level, and a back yoke. Drafted to your own measurements. Recommended fabric: blouse fabrics of natural or blended fibres.
A women's semi-fitted hip-length blouse with a band (stand) collar open at the front, a V-neck formed by separate front button bands with four buttons, gathers along the front band seam at bust level, and a back yoke.
Silhouette: Semi-fitted, shaped by waist darts on the fronts and on the back.
Length: Hip length, straight hem.
Collar: Stand collar cut double, interfaced, with rounded ends that stop at the edges of the front bands.
Front: Separate double button bands sewn to the front edges, open in a V above the first button; four buttons with buttonholes on the right band. The front edge seam is gathered between marks at bust level.
Sleeves: Short set-in sleeves with one underarm seam, hem turned up 1.5 cm.
Back: Back cut on the fold with waist darts and a straight yoke seam across the shoulder blades.
Finishing: Garment and sleeve hems serged, turned up 1.5 cm and topstitched.
Intermediate. Gathering into a band seam, attaching two-layer button bands, and a stand collar whose inner layer is stitched in the ditch.
Blouse fabrics of natural or blended fibres.
If the patterns have a double contour, then the patterns include seam allowances. If the contour is single, then the patterns do not include seam allowances. Seam allowances: all seams 1 cm. Hem allowance for the bottom edge of the garment and sleeve hem – 1.5 cm. Attention! First of all, print out the paper patterns and lay them out on the fabric width (fabric width can be from 90cm to 150cm) to determine how much material you will need (do not forget to account for paired and symmetrical pieces). When stitching pieces, pay attention to the notches - they must match!

#2425
Square Neck Puff Sleeve Lace-Up Blouse

#2427
Gathered V-Neck Long Sleeve Blouse

#2424
V-Neck Blouse with Flared Cuffs
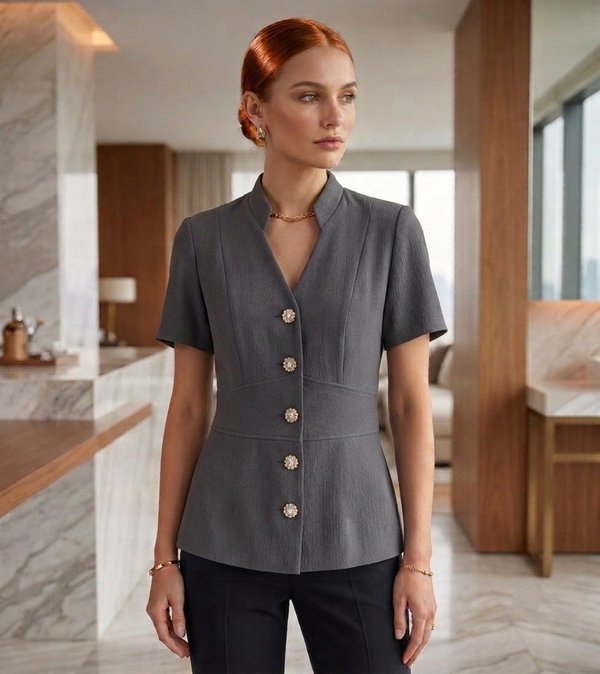
#2429
Notched V-Neck Blouse Waistband Short Sleeve

#2433
Cap Sleeve Peplum Blouse
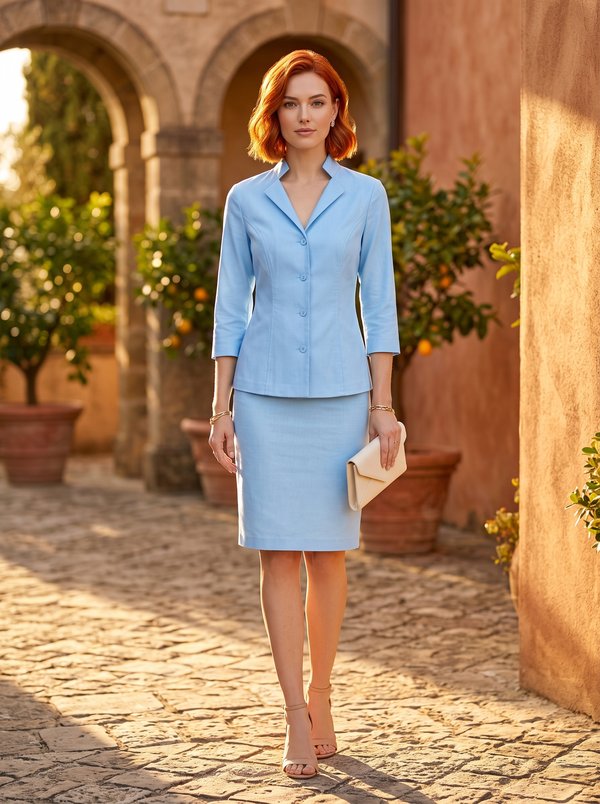
#2418
Fitted Blouse Three-Quarter Sleeves Stand Collar
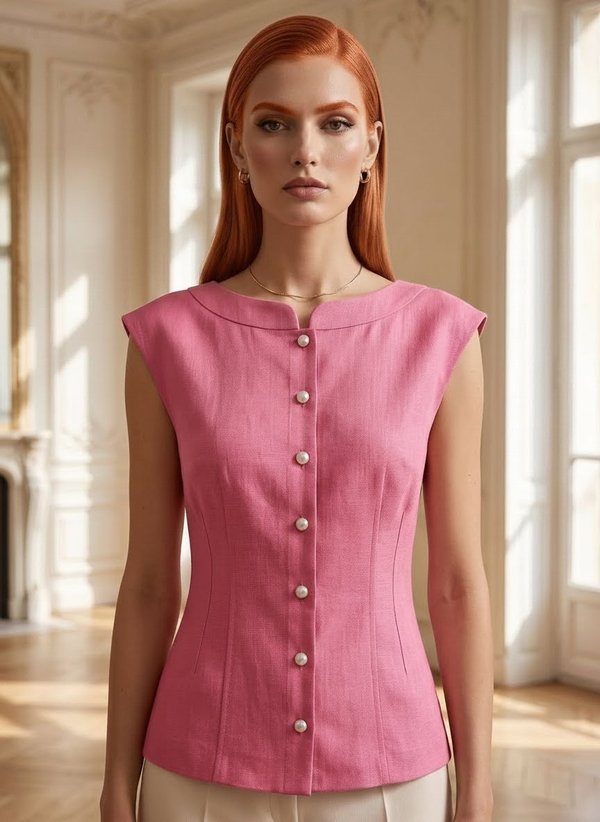
#2434
Fitted Collared Button-Up Blouse

#2435
Collared Blouse With Gathered Shoulders

Minerva Support
Online