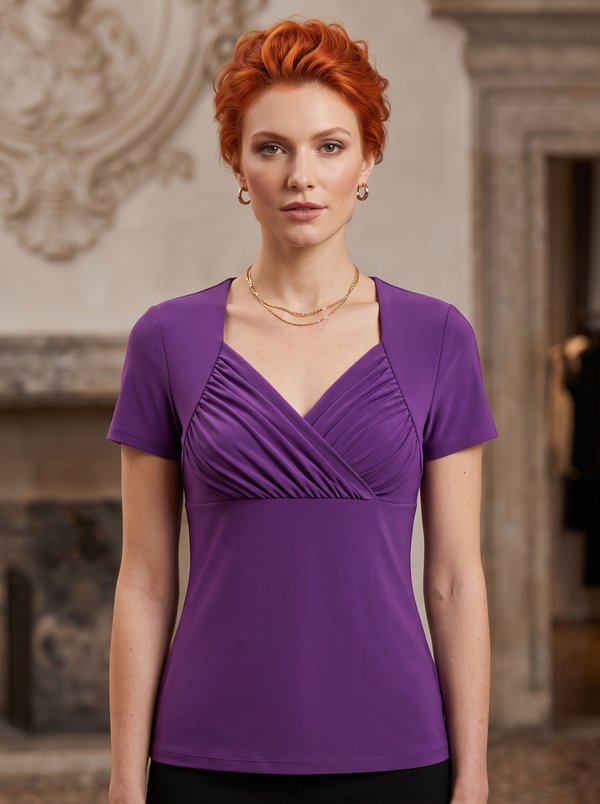
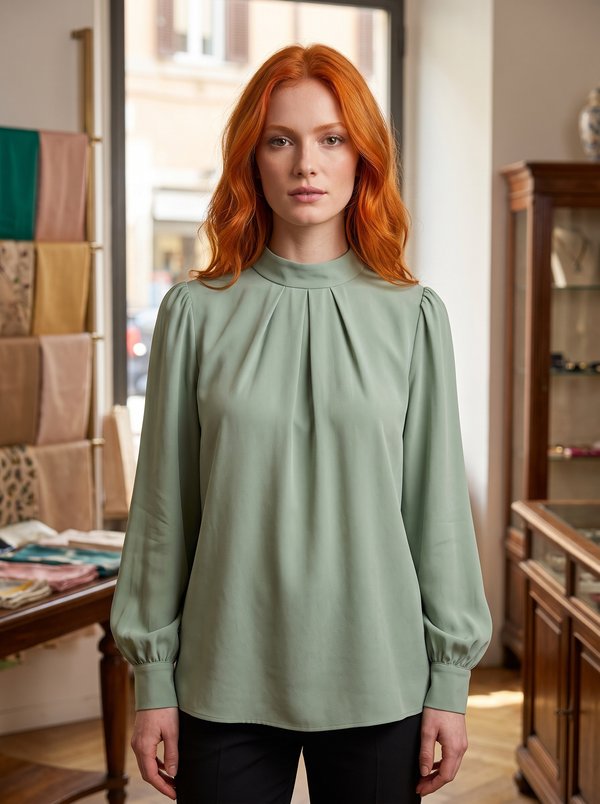
Henley Knit Top with Roll-Tab Sleeves
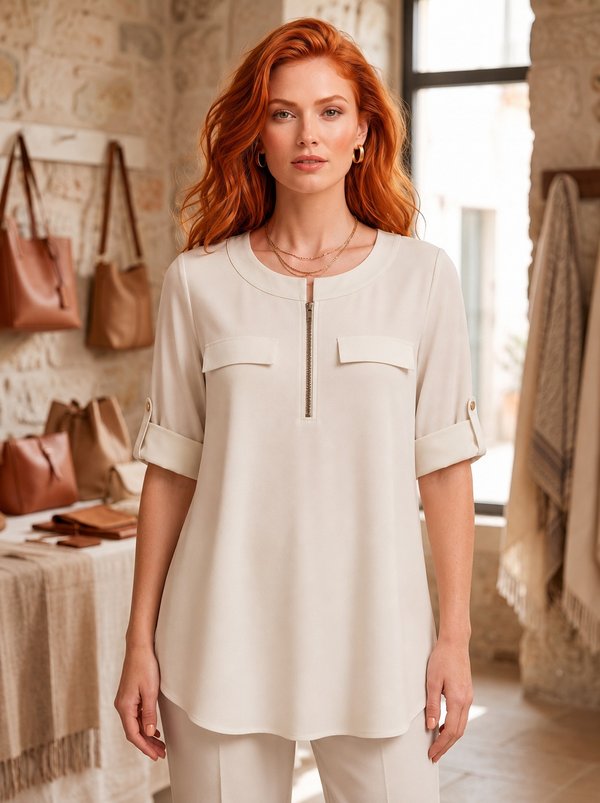
A women's hip-length top for knit fabric with a henley placket closed by four buttons, a narrow stand collar and short set-in sleeves held rolled up by a buttoned tab.
When To Wear
- In spring and summer with jeans, trousers or a skirt.
- As a layer under an open cardigan or jacket.
Key Design Features
Silhouette: Straight, slightly fitted, for knits with medium to high stretch.
Length: Hip length.
Collar: Two-layer stand collar, interfaced, ending at the placket opening.
Front: Front cut on the fold with a notched opening finished by a two-piece placket; four buttons on the placket.
Sleeves: Short set-in sleeves; a folded tab with a buttonhole is topstitched to the inside of each sleeve and buttons onto the outside to hold the roll.
Back: One piece cut on the fold.
Finishing: Seams sewn with a stretch or narrow zigzag stitch or on a 3- or 4-thread overlocker; hem and sleeve hems turned up 1.5 cm and topstitched with a twin needle.
Level Of Difficulty
Intermediate. A placket opening cut into the corners, a stand collar on a knit neckline and buttonholes on knit fabric.
Fabric Recommendations
Knit fabric with medium to high stretch, from natural or blended fibres.
Additional Supplies
- Fusible interfacing for knits (one collar piece, one placket piece)
- 6 buttons (4 for the placket, 1 for each sleeve tab)
Cutter's Must
- From main fabric:
- Back – 1 piece on fold
- Lower Front – 1 piece on fold
- Sleeve – 2 pieces
- Placket – 2 pieces
- Sleeve Decorative Tab – 2 pieces
- Stand Collar – 2 pieces
- From fusible interfacing:
- Stand Collar – 1 piece
- Placket – 1 piece
Tip: Cut pieces from knit fabrics are stitched with a special elastic or narrow zigzag stitch. When serging, trim seam allowances to 0.8 cm. The hem allowance is topstitched with a twin needle to maintain elasticity. You can also stitch pieces directly on a 3- or 4-thread overlock machine.
Sewing Instructions
- Fuse interfacing to one Stand Collar and one Placket.
- Place the two Placket pieces right sides together and stitch around the opening. Clip the corner allowance, turn right side out, and press.
- Place the Placket on the Lower Front, wrong side of the placket to right side of the front, and stitch. Clip the Lower Front into the corners. Turn the placket to the wrong side and smooth. Serge and press the allowances.
- Stitch the side and shoulder seams, press allowances towards the back and serge.
- Place the outer and inner Stand Collars right sides together and stitch along the outer contour. Start and end the stitching strictly at the marked seam line for attachment. Clip allowances at curves. Turn the finished Stand Collar right side out and press.
- Stitch the outer Stand Collar to the neckline, turn under the open edge of the inner Stand Collar and topstitch into the attachment seam.
- Fold each Sleeve Decorative Tab in half lengthwise, right sides together, and stitch along the short and long sides. Trim allowances, turn the tab right side out, and press. Make buttonholes on the tabs.
- Stitch the sleeve seam, press allowances towards the back and serge. Place the tab right side down on the wrong side of the sleeve and topstitch according to the markings. Set the sleeves into the armholes and serge the allowances.
- Serge the bottom edge of the garment and sleeve, press to the wrong side, and topstitch.
- Sew 4 buttons to the placket and one button to each sleeve.