Professional made-to-measure digital sewing patterns — PDF · PLT · DXF AAMA

Minervainervabeta
#2193
#2195

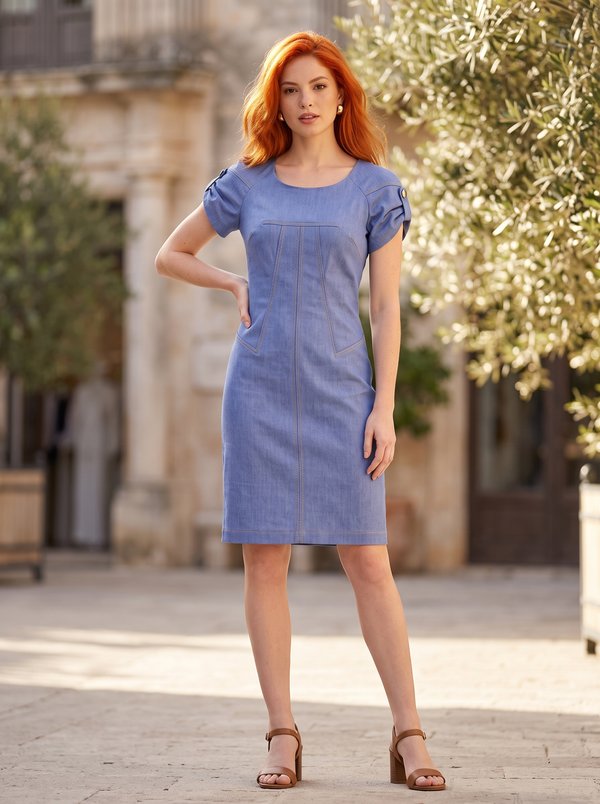
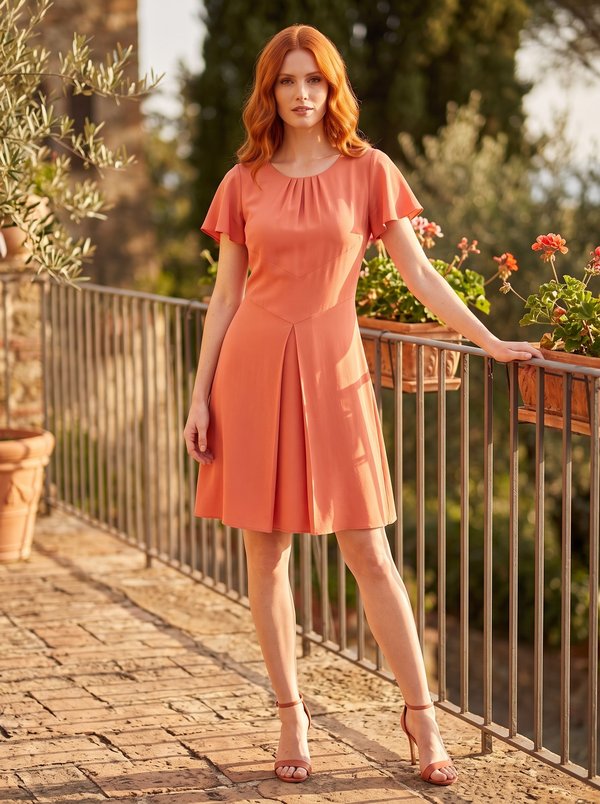
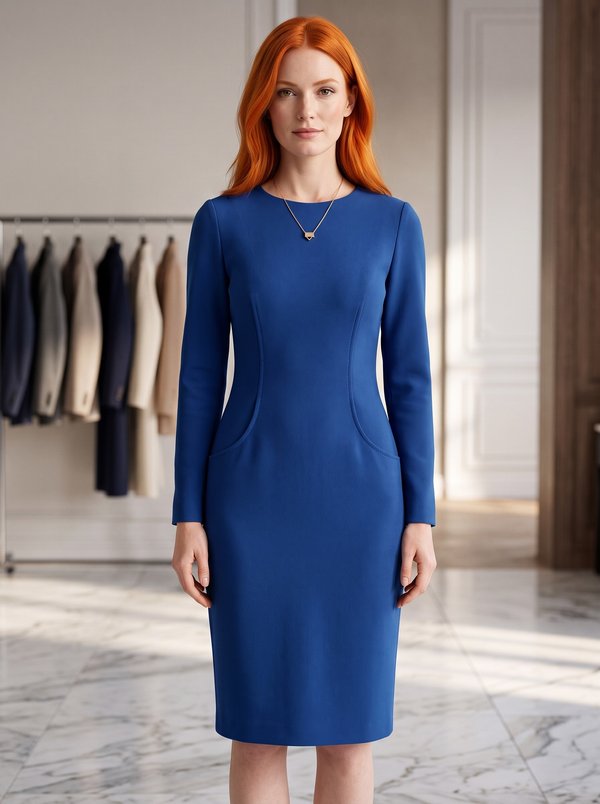
Puff Sleeve Sheath Dress

Pattern #2194

A fitted, knee-length women's sheath dress with a waist seam, princess seams from the shoulder to the hem, short puff sleeves set into the princess seams, and a centre back zip with a vent. Drafted to your own measurements. Recommended fabric: dress fabrics of natural or blended fibres.

Tech. Description

Puff Sleeve Sheath Dress

A fitted, knee-length women's sheath dress with a waist seam, princess seams from the shoulder to the hem, short puff sleeves set into the princess seams, and a centre back zip with a vent.

When To Wear

  • For the office and business meetings, alone or under a cropped jacket.
  • For daytime events and dinners in warm weather.

Key Design Features

Silhouette: Fitted sheath, shaped by princess seams on the bodice and skirt front and back.

Length: To about the knee.

Neckline: Round neck finished with interfaced facings.

Sleeves: Short puff sleeves gathered at the cap and stitched between the centre and side bodice panels; the rest of the armhole is finished with a bias strip topstitched on the inside. Sleeve hems topstitched.

Front: Bodice in a centre panel and two side panels, with the shoulder seam sewn separately on each panel; skirt in three panels.

Waist: Horizontal waist seam joining the bodice and skirt, pressed up.

Back: Centre back seam with an invisible zip and an interfaced vent at the hem; bodice and skirt in panels like the front.

Finishing: Seams overlocked; hem turned up 3 cm and blind-stitched by hand.

Level Of Difficulty

Intermediate. Matching princess seams at the waist, sleeves set into a panel seam, an invisible zip and a back vent.

Fabric Recommendations

Dress fabrics of natural or blended fibres.

Additional Supplies

  • Invisible zip
  • Fusible interfacing (neckline facings, vent)

Cutter's Must

If the patterns have a double contour, they include seam allowances. If the contour is single, the patterns do not include seam allowances. Seam allowances: Hem allowance for the bottom of the garment – 3.0 cm, hem allowance for the bottom of the sleeve – 1.2 cm. Other seams – 1 cm. Attention! First of all, print out the paper patterns and lay them out on the fabric width (fabric width can be from 90 cm to 150 cm) to determine how much material you will need (do not forget to account for paired and symmetrical pieces).

  • From main fabric:
    • Upper center back - 2 pieces
    • Lower center back - 2 pieces
    • Upper side back - 2 pieces
    • Lower side back - 2 pieces
    • Upper side front - 2 pieces
    • Lower side front - 2 pieces
    • Upper center front - 1 piece
    • Lower center front - 1 piece
    • Sleeve – 2 pieces
    • Back neckline facing – 2 pieces
    • Front neckline facing – 1 piece
  • From fusible interfacing:
    • Back neckline facing — 2 pieces
    • Front neckline facing – 1 piece

Sewing Instructions

When stitching pieces, pay attention to the notches - they must match!

  1. Interface the pieces with fusible interfacing.
  2. Stitch the shoulder seams separately on the center and side back and front parts, press allowances towards the back and serge.
  3. Serge the allowance of the lower sleeve edge, press to the wrong side and topstitch. Stitch along the sleeve cap with loosened upper thread and gather.
  4. Stitch the center and side upper back and front parts, inserting the sleeve between them. Press allowances towards the sleeve, serge.
  5. Stitch the princess seams of the lower back and front parts, press allowances towards the center and serge. Stitch the upper and lower back and front parts, press allowances upwards and serge.
  6. On the left back, along the vertical slit edge, cut 5 cm. On both back pieces, interface the slit from the wrong side. On the right side, mark the center seam line (slit fold line). Press the left along the slit fold line, on the right, press only the allowance of the right side of the slit (6 cm) to the wrong side. Align the pieces along the center seam and secure at the upper edge of the slit. Serge the center back seam separately on each piece. Serge the slit allowances. Stitch the center back seam from the zipper mark to the slit corner. Clip the corner of the slit seam allowance on the right. Press open the center seam allowances, press the slit allowances and secure them with machine stitching. Insert the zipper.
  7. Stitch the shoulder seams of the neckline facings, press allowances open. Serge the outer edge. Place the facing with the garment right sides together and stitch the neckline edge. Clip allowances, turn the facing to the wrong side, straighten, press. Secure to the shoulder seams and zipper tape.
  8. Cut a bias binding 4 cm wide and a length equal to the armhole length + 5 cm. Fold the bias binding in half lengthwise with the right side out and press. Place the binding with the armhole edge right sides together and stitch. Clip allowances. Fold the binding to the wrong side and topstitch along the fold to the main piece. Press the seam.
  9. Stitch the side seams, press allowances towards the back and serge.
  10. Press the allowance of the lower edge of the garment to the wrong side and hem with blind stitches.

Features

Order Pattern

Standard Sizes

Individual Measurements

Please double-check the file format and paper size. Your pattern is drafted in exactly the format you select; a different format or paper size later is a new order.

Similar patterns

View all
Support

Minerva Support

Online
Support
Hi! I'm Minerva's AI assistant. What can I help you with?