Professional made-to-measure digital sewing patterns — PDF · PLT · DXF AAMA
A women's cropped hooded jacket with short cut-on sleeves, a separating zip set between front plackets and an elasticated hem band. Unlined, with no pockets. Drafted to your own measurements. Recommended fabric: jacket and raincoat fabrics made from natural or blended fibres.
A women's cropped hooded jacket with short cut-on sleeves, a separating zip set between front plackets and an elasticated hem band. Unlined, with no pockets.
Silhouette: Loose, boxy body drawn in at the hem by the elasticated band.
Length: Cropped, to the waist.
Collar: Two-piece hood with a centre seam, sewn to the neckline; the outer edge is turned 1 cm and then 2 cm and topstitched.
Sleeves: Short, cut in one with the front and back, finished with a folded band sewn into a ring.
Closure: Separating zip set into double front plackets (outer and inner), topstitched 1 cm from the zip.
Back: One piece cut on the fold.
Waist: Folded hem band cut on the fold, with 4 cm wide elastic threaded through and secured at the front edges.
Beginner. Few pieces and straight seams; the zip set between two plackets and the elastic casing need careful, accurate stitching.
Jacket and raincoat fabrics made from natural or blended fibres.
If the patterns have a double contour, seam allowances are included. If the contour is single, seam allowances are not included. Seam allowances: Outer seam allowance of the hood - 3 cm, all other seam allowances - 1 cm. Attention! First, print out the paper patterns and lay them out on the fabric width (fabric width can be from 90 cm to 150 cm) to determine how much material you will need. When stitching pieces, pay attention to the notches - they must match!

#2156
Zip-Front Bomber Jacket
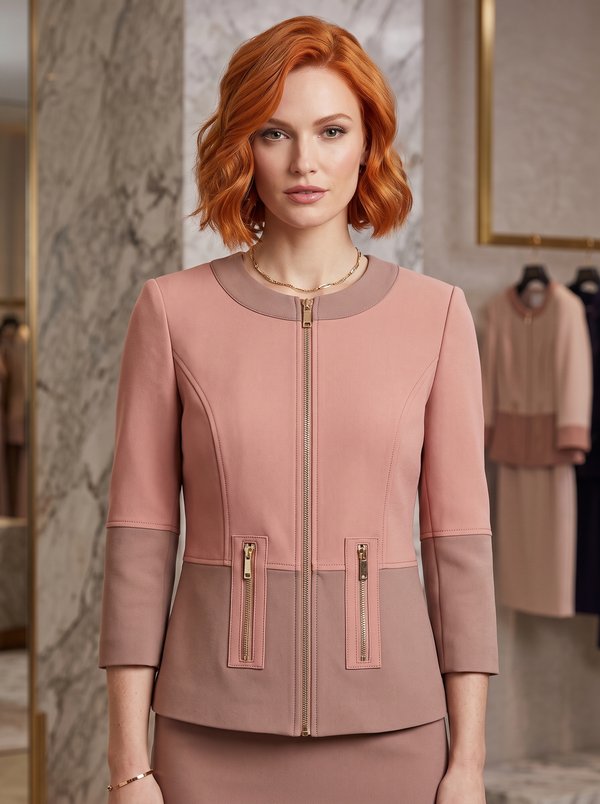
#2165
Color Block Round Neck Zip Jacket

#2139
Jacket with Patch Pockets

#2197
Jacket dress with asymmetric front closure

#2089
Short Sleeve Belted Blazer

#2085
Open front Shawl Collar Blazer with three quarter sleeves and Shaped Hem

#2077
Rounded Collar Button Front Jacket
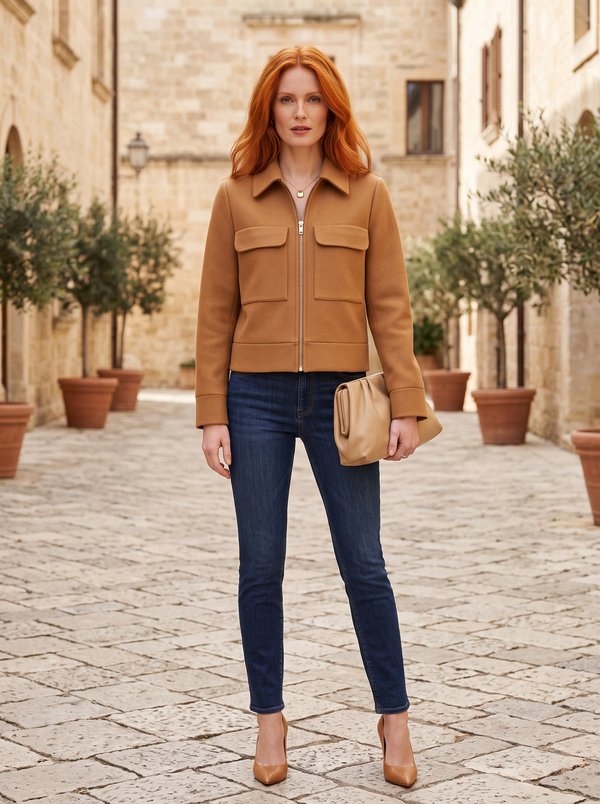
#2241
Collared Patch Pocket Zipper Jacket

Minerva Support
Online