Short Sleeve Belted Blazer
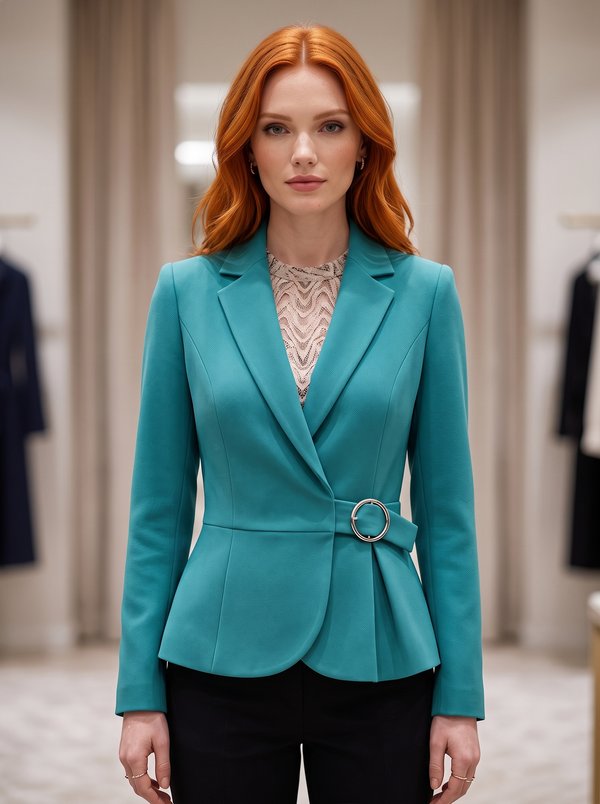
A women's short-sleeve jacket at hip length with a notched collar, front and back yokes, princess seams, framed flap pockets and a self-fabric belt threaded through a waist casing. All main seams are topstitched 0.5 cm.
When To Wear
- In late spring and summer over a top or a dress, with trousers or a skirt.
- For work in warm weather instead of a full-sleeved jacket.
Key Design Features
Silhouette: Semi-fitted, shaped by princess seams front and back and drawn in at the waist by the belt.
Length: Hip length, straight hem.
Collar: Notched collar with lapels; upper and lower collar, a 1 cm stay tape along the lapel roll line.
Front: Single-breasted with buttons and buttonholes; front yoke and princess seams; front facings.
Sleeves: Short set-in sleeves with an eased cap and a topstitched hem.
Pockets: Pockets with a frame (welt) and a flap below the waist, with lining-fabric pocket bags.
Back: Centre back seam, back yoke and princess seams.
Waist: A casing topstitched onto the jacket along marked lines, with a self-fabric belt threaded through and tied at the front.
Finishing: Yoke seams, princess seams, front edges and collar topstitched 0.5 cm; hems overlocked, turned and topstitched. The jacket is unlined.
Level Of Difficulty
Intermediate. Framed flap pockets, a notched collar set between the jacket and the facings, set-in sleeves, a lot of visible topstitching.
Fabric Recommendations
Medium-weight woven fabric with some body that takes topstitching well, such as denim, cotton twill, linen or a cotton suiting. Lining fabric for the pocket bags.
Additional Supplies
- Fusible interfacing (front facings, back neckline facing, upper collar, flaps, pocket frames, belt, 1 cm stay tape)
- Lining fabric (pocket bags)
- Buttons
Cutter's Must
- From main fabric:
- Center Back – 2 pieces
- Side Back – 2 pieces
- Back Yoke – 1 piece
- Center Front – 2 pieces
- Side Front – 2 pieces
- Front Yoke – 2 pieces
- Lower Collar – 1 piece
- Upper Collar – 1 piece
- Center Front Facing – 2 pieces
- Back Neckline Facing – 1 piece
- Sleeve – 2 pieces
- Casing – 1 piece
- Flap – 4 pieces
- Pocket Frame – 2 pieces
- Waistband (belt) – 1 piece
- From lining fabric:
- Smaller Pocket Bag – 2 pieces
- Bigger Pocket Bag – 2 pieces
- From fusible interfacing:
- Center Front Facing – 2 pieces
- Back Neckline Facing – 1 piece
- Upper Collar – 1 piece
- Flap – 2 pieces
- Pocket Frame – 2 pieces
- Waistband (belt) – 1 piece
Sewing Instructions
- Fuse interfacing to the designated pieces. On the Center Front, along the lapel roll line, apply a 1 cm wide stay tape cut on the straight grain from fusible interfacing.
- Stitch the center back seam, overlock the allowances, and press them to the left side. Stitch the Back Yoke to the back. Overlock the allowances and press them towards the yoke. Topstitch 0.5 cm from the seam. Stitch the back princess seams. Overlock the allowances and press them towards the center. Topstitch 0.5 cm from the seam.
- Stitch the Front Yoke to the front. Overlock the allowances and press them towards the yoke. Topstitch 0.5 cm from the seam. Stitch the front princess seams. Overlock the allowances and press them towards the center. Topstitch 0.5 cm from the seam.
- Place the Flap pieces in pairs right sides together and stitch along the side and bottom edges. Trim seam allowances, clip curves, turn right side out, and press. Mark the pocket placement with parallel lines. Fold the Pocket Frame in half wrong sides together and press. Mark stitching guidelines on the Pocket Frame and Flap parallel to the fold. Stitch the Bigger Pocket Bag to the flap. Stitch the Pocket Frame and Flap to the front. Cut the front along the line marked on the pattern. Make diagonal cuts 1-1.5 cm from the end of the pocket. Turn the Pocket Frame and Flap through the opening to the wrong side, and straighten the edges. Secure the pocket corners from the wrong side with a double backstitch at the base of the corners. Stitch the Smaller Pocket Bag into the Pocket Frame attaching seam. Stitch the pocket bag edges together, overlock the allowances.
- Stitch the shoulder and side seams. Overlock the allowances and press them towards the back.
- Fold the short allowances of the Casing inwards twice by 1 cm and topstitch. Press the long allowances inwards and topstitch the Casing onto the jacket along the marked lines.
- Place the Upper Collar and Lower Collar right sides together and stitch along the ends and outer edge. Start and end the stitching strictly at the marked collar attachment line. Trim seam allowances at curves, clip at the mark. Turn the collar right side out, straighten, and press.
- Stitch the Back Neckline Facing to the Center Front Facings at the shoulders and press the seams open.
- Place the Center Front Facing on the right side of the front, right side down, pin, and stitch along the front edge. Stitch up to the notch indicating the end of the collar attachment.
- Stitch the Lower Collar to the jacket neckline, and the Upper Collar to the neckline edge of the Back Neckline Facing and Center Front Facings. Press open the collar attachment seam allowances and secure them close to the seams.
- Stitch the sleeve seam, press the allowance towards the back. Set the sleeves into the armholes according to the notches, easing the sleeve cap at the top.
- Overlock the hem of the sleeve and jacket, fold inwards, and topstitch. Topstitch along the front edge and collar 0.5 cm from the edge.
- Make buttonholes and sew on buttons.
- Fold the Waistband (belt) in half lengthwise right sides together and stitch along the contour, leaving an opening for turning. Trim the allowances at the corners, turn right side out and press. Slipstitch the opening closed. Thread the belt through the Casing.