Men’s Zip-Front Jacket with Shirt Collar – One Pattern, Three Fabrics
A men's hip-length jacket with a separating zip at the centre front, a shirt collar, front and back yokes and vertical zip pockets set into the front panel seams. Elastic at the sides of the hem, buttoned cuffs, full lining.
When To Wear
- In faux leather, in spring and autumn over a shirt or a knit.
- In faux fur or coating fabric, in the cold months with jeans or wool trousers.
Key Design Features
Silhouette: Straight body, drawn in by elastic at the sides of the hem; flat at the centre front and back.
Length: Hip length.
Collar: Shirt-style collar without a stand: the upper collar is cut in one piece, the under collar in two halves with a centre back seam.
Sleeves: Two-piece set-in sleeves with an opening at the hem and a cuff closed with one button.
Front: Long separating zip at the centre front, set between the fronts and the facings. Each front is made of a yoke, a middle front panel and a side front panel.
Pockets: Vertical zip pockets in the seam between the middle and side front panels, with lining pocket bags.
Back: Back yoke and lower back, both with a centre back seam.
Waist: Cut-on facings at the hem of the back and side fronts form casings for elastic tape.
Finishing: Yoke, panel, centre back, under collar and sleeve seams pressed open and topstitched on both sides; cuffs topstitched all around; fusible interfacing on the facings, upper collar and cuffs.
Lining: Full lining, bagged and turned through an opening in a sleeve lining seam.
Level Of Difficulty
Intermediate. A separating zip set between the front and the facing, zip pockets in panel seams, elastic casings, cuffs and a bagged lining.
Fabric Recommendations
Faux leather, faux fur or wool coating fabrics (drap).
Additional Supplies
- Lining fabric
- Fusible interfacing
- 1 long separating zip
- 2 short zips for the pockets
- Elastic tape for the hem casings
- 2 buttons
One Pattern, Three Jackets
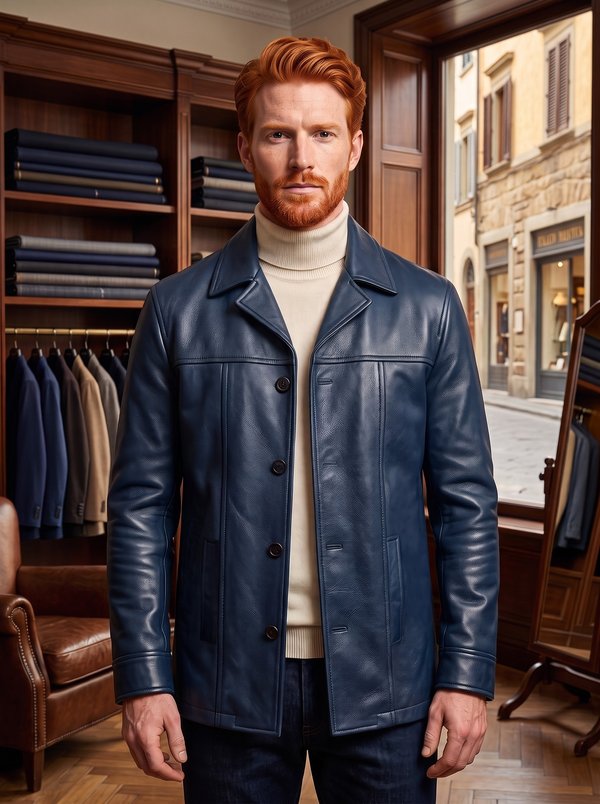
- Faux leather: the timeless leather jacket. The yokes, panel seams and topstitching stand out clearly, and the zip pockets give it a sharp, modern finish.
- Faux fur: a cosy winter jacket in short-pile faux fur (faux mink or teddy, 5–10 mm pile). The short pile keeps every seam and pocket readable.
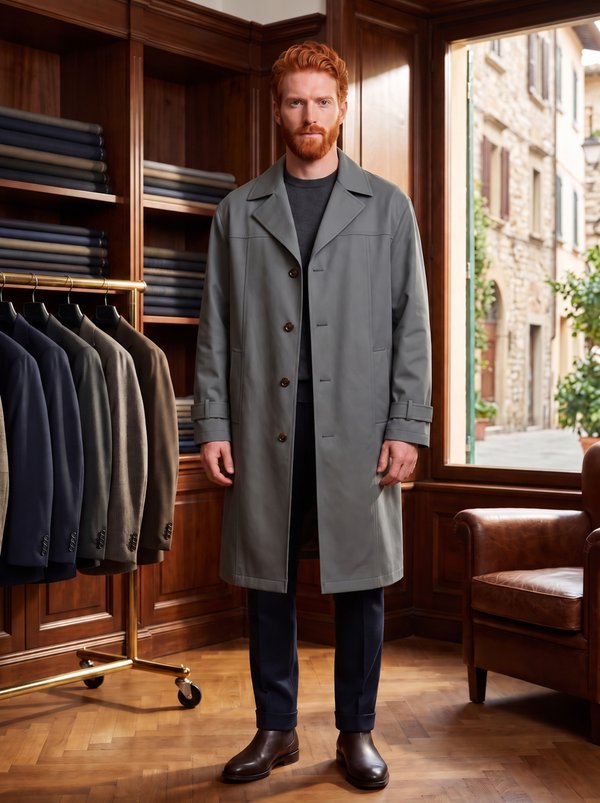
- Wool coating: a smart, tailored version in melton or drap coating, perfect over a knit or a shirt for town and office.
Cutter’s Must
From Main Fabric:
- Lower Collar – 2 pieces
- Upper Collar – 1 piece
- Back Yoke – 2 pieces
- Lower Back – 2 pieces
- Front Yoke – 2 pieces
- Middle Front – 2 pieces
- Side Front – 2 pieces
- Center Front Facing – 2 pieces
- Upper Sleeve – 2 pieces
- Lower Sleeve – 2 pieces
- Cuff – 2 pieces
From Lining Fabric:
For drafting lining patterns use the following patterns:
- Pocket Bag – 4 pieces
- Upper Sleeve – use main fabric pattern, cut 2
- Lower Sleeve – use main fabric pattern, cut 2
- Back – 2 pieces
- Front – 2 pieces
From Fusible Interfacing:
All interfacing pieces are cut using the corresponding main pattern pieces.
- Center Front Facing - cut 2
- Upper Collar - cut 1
- Cuff - cut 2
Important Information
Before cutting your fabric:
- Print and lay out pattern pieces to determine yardage.
- Check mirrored pieces, notches, and grainlines.
- For patterned fabrics, align carefully for symmetry.
Assembly Instructions
Preparation
- Apply fusible interfacing to Center Front Facings, Upper Collar and Cuffs.
- Transfer all markings to fabric: notches, pocket openings, casing fold lines, sleeve pleats and buttonholes.
- Staystitch neckline and armholes to prevent stretching.
Back & Front Assembly (Yokes, Panels, and Pockets)
Back
- Stitch the Back Yoke pieces to the Lower Back pieces.
- Topstitch the seams.
- Attach the assembled Yoke to the Back and topstitch the seam.
Front & Pockets
- Stitch the Front shaping seams (Middle Front to Side Front), leaving the pocket opening unsewn.
- Topstitch the seam allowances.
- Position the zipper behind the pocket opening and stitch it in place.
- From the wrong side, place the pocket bags right sides to the right sides of the pocket opening seam allowances and stitch exactly along the marked side seam lines.
- Press pocket bags toward the center and stitch them together.
Front Yoke & Shoulders
- Attach the Front Yoke to the Front; topstitch the seam.
- Stitch the shoulder seams.
Collar, Facings & Zipper Assembly
- Stitch the Lower Collar pieces together.
- Topstitch the seams.
- Set the Lower Collar into the garment neckline.
- Stitch the Upper Collar to the Center Front Facings.
- Baste the zipper to the front edges, placing it between the fronts and facings with right sides together.
- Place the Upper Collar with Facings onto the garment, right sides together, and stitch along the front edges and around the collar.
- Turn the garment right side out and press carefully.
- Secure the seam allowances of the Upper and Lower Collars together by hand along the inner edge.
Elastic Casing at Back and Side Front
- Press the integrated facings of the Back and Side Front pieces to the wrong side.
- Topstitch along the marked lines to form casings.
- Insert lengths of elastic tape into the casings.
- Secure the ends of the elastic.
Sleeves and Cuffs
- Stitch the upper sleeve and elbow sleeve seams up to the vent mark; press seam allowances open.
- Topstitch the elbow seam as indicated.
Lower Sleeve Pleats
- Fold the lower sleeve pleats along the marked lines.
- Press lightly and secure the pleats with basting stitches within the seam allowance.
- Fold the cuff pieces lengthwise, right sides together; stitch the short ends, turn right side out, and press.
- Place the cuffs onto the sleeve hems right sides together and stitch.
- Turn the cuffs out, press the seam allowance inward, and topstitch in the seam, continuing the topstitching around the entire cuff.
- Set sleeves into the armholes, matching notches.
Lining Assembly & Attachment
- Assemble the lining pieces in the same sequence as the outer garment, leaving an opening of approximately 20 cm in the elbow seam of one sleeve for turning.
- Insert the lining into the jacket right sides together, aligning the center back lines and shoulder seams.
- Stitch the lining to the outer garment along the front facings and neckline.
- Attach the lining to the jacket hem allowance and sleeve hem allowances.
- Turn the garment right side out through the opening left in the sleeve.
- Close the sleeve opening with a neat machine stitch.
Finishing
- Work buttonholes on the cuffs and sew on the buttons.
- Give a final press — ensuring sharp collar edges, flat facings, and crisp hem.