Professional made-to-measure digital sewing patterns — PDF · PLT · DXF AAMA
Men's full-length cargo trousers with wide straight legs, a zip fly, a back yoke and six patch pockets: front pockets with slanted openings, flapped back pockets and flapped cargo pockets set over the side seams. Drafted to your own measurements. Recommended fabric: dense cotton fabrics such as denim; corduroy, including wide-wale corduroy.
Men's full-length cargo trousers with wide straight legs, a zip fly, a back yoke and six patch pockets: front pockets with slanted openings, flapped back pockets and flapped cargo pockets set over the side seams.
Silhouette: Wide, straight legs from hip to hem.
Length: Full length.
Front: Zip fly with cut-on fly facings and a separate button catch; the left front is topstitched along the fly curve.
Pockets: Front patch pockets with a slanted opening, caught into the waist and side seams. Back patch pockets with one-button flaps. Cargo pockets centred over the side seams at mid-thigh: two tucks, about 6.5 cm in from each side edge and topstitched 3 mm from the folds, open slightly into lens-shaped folds; the bottom is sewn flat with no gusset, and the flap closes with two buttons.
Back: Yoke seam pressed towards the yoke and topstitched; centre back seam.
Waist: Straight waistband with a buttonhole on the left end and a button on the right; five belt loops (near the front pockets, at the side seams and at the centre back).
Finishing: Side seams pressed towards the back and topstitched; hem turned twice and topstitched.
Intermediate. A zip fly with a button catch, six patch pockets with lined flaps and buttonholes, tucked cargo pockets set over the side seams, and even topstitching throughout.
Dense cotton fabrics such as denim; corduroy, including wide-wale corduroy.
These cargo trousers can be made in genuine or faux leather.
From Main Fabric:
1. Back Patch Pocket – 2 pieces
2. Front Patch Pocket – 2 pieces
3. Belt Loop Strip – 1 piece
4. Patch Pocket – 2 pieces
5. Front Half – 2 pieces
6. Fly Shield (marked on pattern as “Button Catch) – 1 piece
7. Back Half – 2 pieces
8. Yoke – 2 pieces
9. Patch Pocket Flap – 4 pieces
10. Back Patch Pocket Flap – 4 pieces
11. Waistband – 1 piece
From Fusible Interfacing:
1. Waistband – 1 piece
2. Fly Shield – 1 piece
3. All Pocket Flaps – 1 set
Before cutting your fabric:
1. From the wrong side, apply fusible interfacing to Waistband, Fly Shield (Button Catch), and Pocket Flaps. (Use a hot iron and press firmly to bond.)
2. Attach the Yokes to the Back Halves, right sides together. Press seam allowances toward the yoke and topstitch.
3. Press the slanted opening edge of each Front Patch Pocket to the wrong side, turn under the seam allowance, and topstitch along the folded edge.
4. Press the remaining pocket edges to the wrong side. Position pockets on the Front Halves according to the markings and topstitch along the side and lower edges. Baste pocket edges to the waist and side seam allowances of the pants.
5. Place the Pocket Flap pieces right sides together. Stitch around the outer edges, turn right side out, press, and topstitch. Work buttonholes on each flap as marked.
6. Press the upper edge of each Back Patch Pocket to the wrong side, turn under the seam allowance, and topstitch. Press the remaining edges to the wrong side and topstitch the pockets to the Back Halves along the placement markings.
7. Place each Back Pocket Flap face down along the pocket’s upper edge on the right side of the pants. Stitch, turn the flap down, press, and topstitch along the seam.
8. Sew the Side Seams, press allowances toward the back, and topstitch along the back edge.
9. Form pleats on the designated patch pocket following the markings, press, and topstitch 3 mm from the folds. Press the upper edge of the pocket to the wrong side, turn under the seam allowance, and topstitch.
10. Press the remaining edges to the wrong side, position the pocket on the garment, and topstitch:
11. Place the Flap face down along the upper pocket edge, stitch, turn the flap down, press, and topstitch along the seam.
12. Sew the Front Crotch Seam from the inseam up to the fly notch.
13. Press the fly facings to the wrong side:
14. Position the zipper face down on the right fly extension. Place the Fly Shield (folded in half, wrong sides together) on top, aligning edges, and stitch through all layers. Turn the shield to the inside and edgestitch along the zipper.
15. Close the fly and pin, aligning the center-front markings. Stitch the free zipper tape to the left fly facing without catching the garment front. Overlock seam allowances and secure the lower fly edges with a zigzag bartack.
16. Topstitch the Left Front along the fly curve, catching the facing.
17. Sew the Inseams and finish seam allowances.
18. Press the long edges of the Belt Loop Strip 1 cm to the wrong side. Fold the strip lengthwise with raw edges inside, press, stitch along the long edges, and topstitch along the fold. Cut the strip into 5 equal loops. Baste loops to the upper edge of the pants at the marked positions:
19. Fold the Waistband lengthwise right sides together and stitch the short ends. Turn right side out and press. Pin the Belt to the waist edge of the pants and stitch. Turn under the inner edge, press, and stitch in the ditch from the right side, continuing the topstitching around the entire waistband.
20. Turn the belt loops upward, fold the upper ends under, and topstitch them to the waistband.
21. Press the hem allowance to the wrong side, turn under the raw edge, and topstitch.
22. Work a buttonhole on the left waistband end.
23. Sew a button to the right waistband end.
Ready now, no waiting: PDF A0, A4, US Letter, One Page and Projector files with seam allowances, plus the sewing booklet with fabric requirements — in one ZIP.
Body measurements the sizes are drafted for
| Size | Height | Chest | Waist | Hip |
|---|---|---|---|---|
| L | 183 cm72″ | 107 cm42″ | 92 cm36.2″ | 107 cm42″ |
| XL | 188 cm74″ | 112 cm44″ | 99 cm39.0″ | 113 cm44″ |
Prefer a pattern drafted to your own measurements? Order it below.
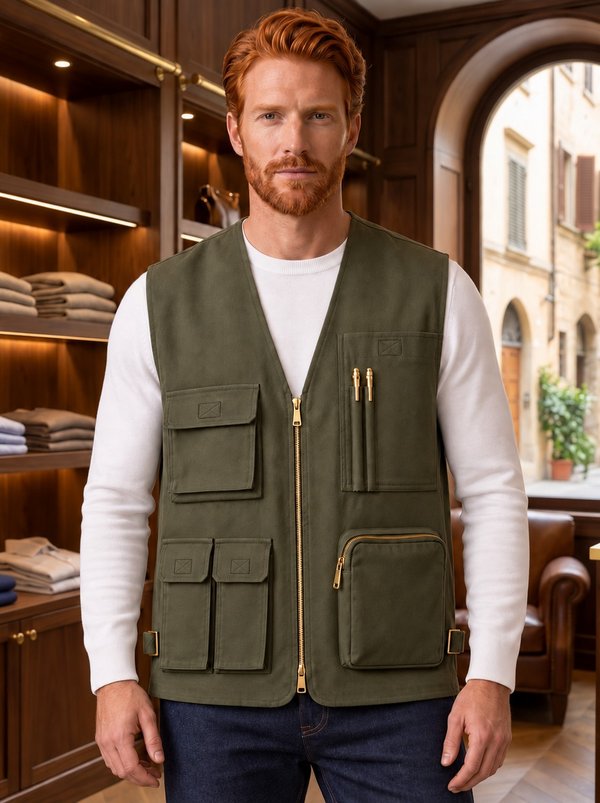
#6045
Men's Multi-Pocket Utility Vest
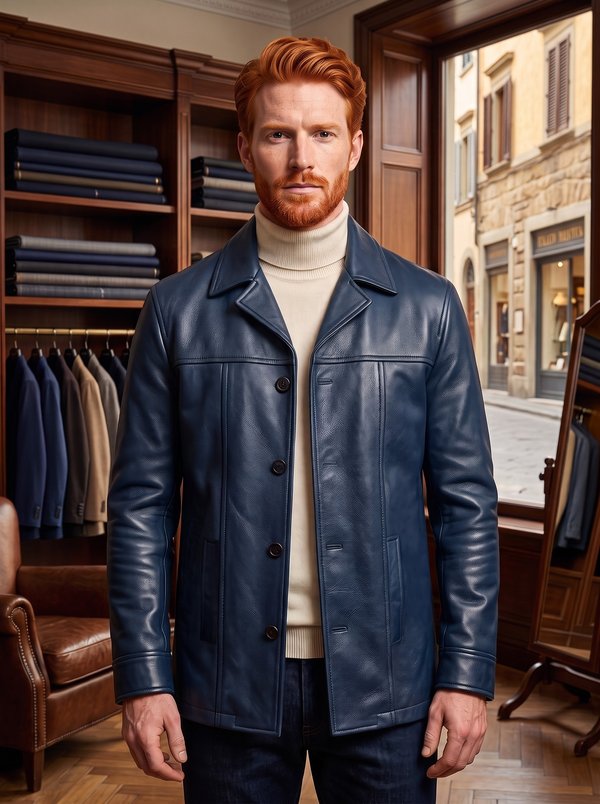
#6046
Men's Yoke Jacket with In-Seam Welt Pockets
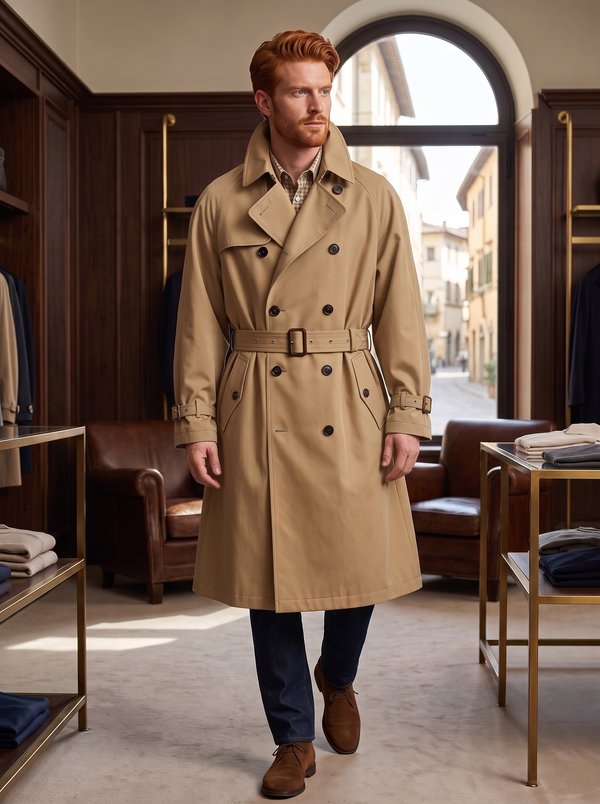
#6030
Men's Double-Breasted Belted Trench Coat
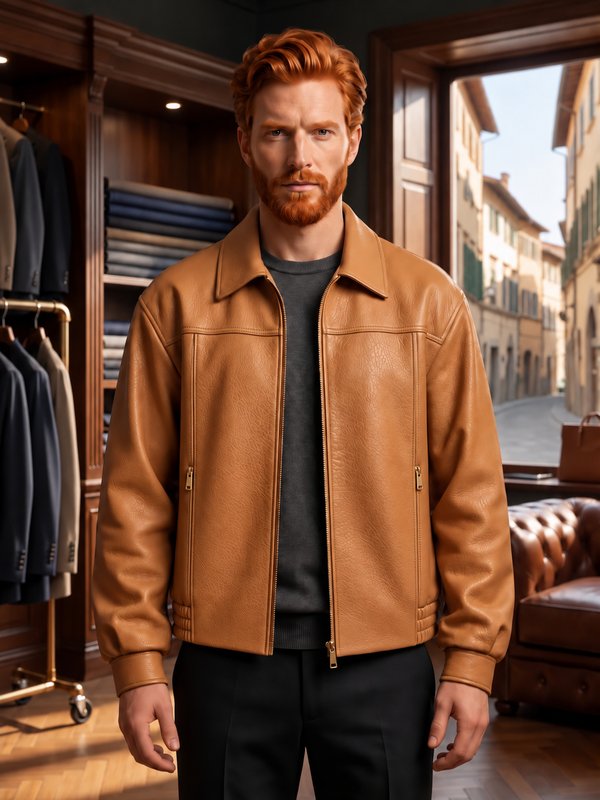
#6050
Men’s Zip-Front Jacket with Shirt Collar – One Pattern, Three Fabrics

#6052
Men's Two-Button Patch Pocket Blazer
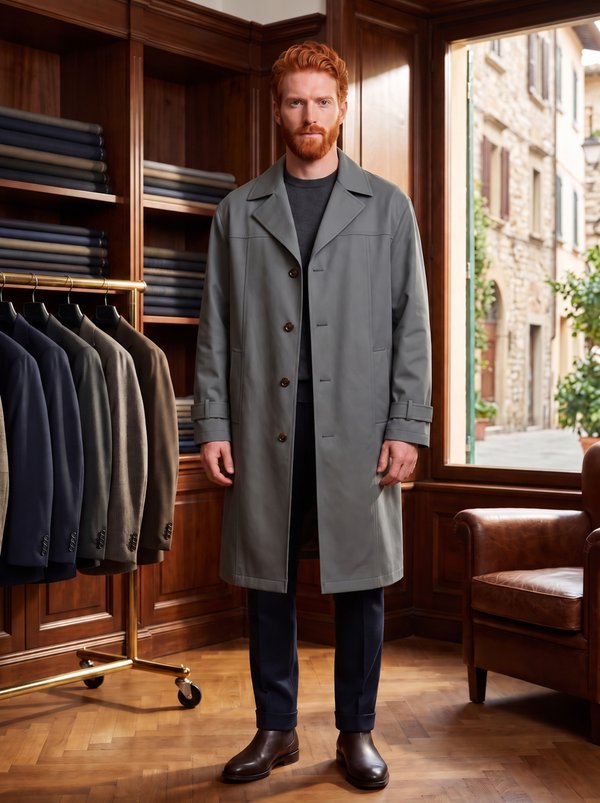
#6053
Men's Single-Breasted Mac Coat with Sleeve Tabs

#6056
Raglan Short Sleeve Collared Zipper Shirt
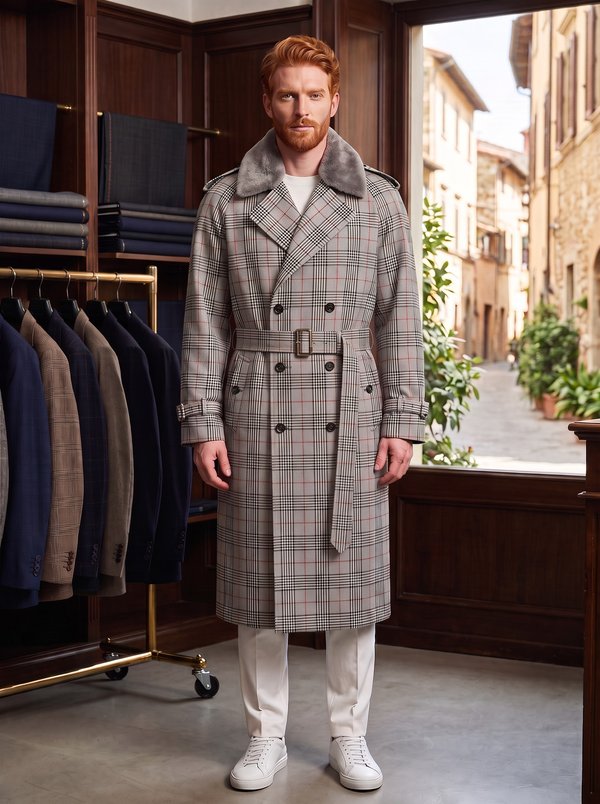
#6023
Double Breasted Belted Trench Coat

Minerva Support
Online