Ruffle V-Neck Empire Waist Button Front Blouse
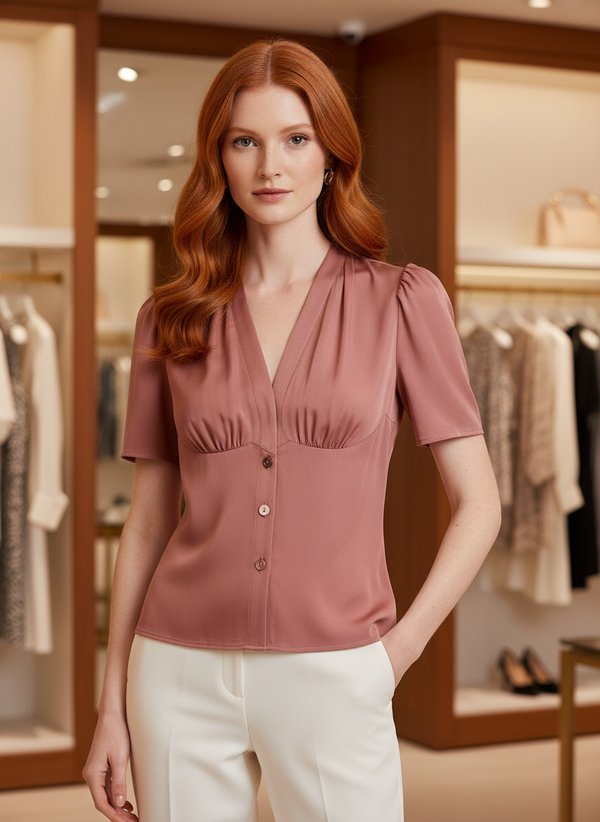
A hip-length women's blouse with a V-neck button front, a narrow stand collar and a gathered ruffle that runs up the front plackets and around the stand. The upper fronts are gathered into a seam under the bust; the lower front is cut in panels. Long sleeves with gathered caps, placket openings and buttoned cuffs.
When To Wear
- At the office with a pencil skirt or tailored trousers, alone or under a jacket.
- Everyday wear with jeans in spring and autumn.
Key Design Features
Silhouette: Gathered above the under-bust seam, closer-fitting below it through the panelled lower front and darted back.
Length: Hip length, hem serged, turned up and topstitched.
Collar: Narrow stand joined to the front plackets in one continuous edge. A ruffle with a narrow rolled-hem edge is gathered and caught between the outer and inner layers, edge-stitched 0.1 cm.
Front: Upper fronts gathered between the notches and joined to the lower front under the bust; the lower front is made of centre and side panels. Separate interfaced plackets on a V-neck opening, buttonholes on the right front, five buttons.
Sleeves: Long, set-in, with the cap gathered. Bound placket opening, pleats at the lower edge and a two-button cuff.
Back: Back yoke over a back with a centre back seam and two darts.
Level Of Difficulty
Intermediate. A ruffle inserted between a stand and front plackets cut as one edge, a gathered under-bust seam, sleeve placket openings and cuffs.
Fabric Recommendations
Blouse fabric of natural or blended fibres (cotton, viscose, polyester), preferably with added elastane.
Additional Supplies
- Fusible interfacing (plackets, cuffs, inner stand)
- 9 buttons
Cutter's Must
- From main fabric:
- Back Yoke – 1 piece
- Back – 2 pieces
- Upper Front – 2 pieces
- Lower Side Front – 2 pieces
- Lower Center Front – 2 pieces
- Placket – 4 pieces
- Sleeve – 2 pieces
- Cuff – 2 pieces
- Sleeve Placket – 2 pieces
- Stand Collar – 2 pieces
- Collar Placket (ruffle) – 1 piece
- From fusible interfacing:
- Cuff – 2 pieces
- Stand Collar – 1 piece
- Placket – 2 pieces
Sewing Instructions
- Fuse interfacing to the Placket pieces, Cuffs and the inner Stand Collar.
- Stitch the Lower Side Front to the Lower Center Front. Overlock the seam allowances and press towards the center front.
- Along the lower edge of the Upper Front, between the notches, sew a line of long loose stitches and gather. Stitch the Upper Front to the lower front. Overlock the seam allowances and press downwards.
- Attach the outer Placket pieces to the fronts. Press the seam allowances towards the placket.
- Stitch the darts on the back. Press the darts towards the center seam. Stitch the center seam of the back. Overlock the seam allowances and press. Attach the Back Yoke to the back. Overlock the seam allowances and press upwards.
- Stitch the shoulder and side seams. Overlock the seam allowances and press towards the back.
- Stitch the outer Stand Collar into the neckline. Press the seam allowances towards the stand.
- Finish the lower edge of the Collar Placket with a narrow rolled hem. Sew a line of long loose stitches along its upper edge and gather.
- Press under the inner edge of the inner Placket pieces. Stitch the inner Plackets to the inner Stand Collar. Press the seam allowances towards the stand, simultaneously pressing the open edge of the stand.
- Place the outer and inner Plackets and Stand Collar right sides together, insert the gathered Collar Placket between them and stitch along the outer edge. Turn the pieces right side out, shape, and press. Topstitch the pressed edges of the inner placket and stand into the attaching seam. Stitch 0.1 cm along the outer edge of the placket and the upper edge of the stand.
- Sleeve opening: cut the sleeve along the marked line, clipping the corner at the top of the cut. Turn the section from the cut to the marked line, measuring 1.7 cm, inwards twice by 0.5 cm and topstitch. Fold the Sleeve Placket in half lengthwise, right sides together, and stitch the corner up to the transverse mark. Trim the seam allowances close to the stitching, clip the seam allowances at the end of the stitching. Turn the placket right side out, press, and topstitch along the fold line from the bottom to the transverse mark at 0.1 cm. Fold the placket with the sleeve right sides together and attach the inner side along the marked line. At the end of the stitching, clip the sleeve transversely from the cut to the attaching line. Fold the placket to the right side, turn under the open edge, and attach. Align the placket with the marked line on the sleeve and topstitch the upper corner along the contour and along the transverse mark.
- Stitch and overlock the sleeve seams. Along the sleeve cap, stitch with loose stitches and gather. Set the sleeves into the armholes. Overlock the seam allowances and press towards the sleeve.
- Fold the cuffs in half and stitch the short sides. Start and end stitching strictly at the marked cuff attaching line. Turn the cuffs right side out and press. Create pleats on the sleeve along the marked lines. Attach the outer side of the cuff to the sleeve. Turn under the inner side of the cuff and topstitch into the attaching seam. Make buttonholes on the cuffs and sew on buttons.
- Overlock the hem of the garment, press to the wrong side, and topstitch.
- On the right front, make buttonholes; on the left, sew on buttons.