Professional made-to-measure digital sewing patterns — PDF · PLT · DXF AAMA
A hip-length women's blouse whose upper fronts are cut in one with a stand collar and gathered into a curved seam under the bust. The lower fronts close with three buttons on cut-on plackets. Short sleeves with a gathered cap whose upper part is finished with a rolled-hem frill and topstitched over the armhole. Drafted to your own measurements. Recommended fabric: fabrics of natural or blended fibres; shirting fabrics.
A hip-length women's blouse whose upper fronts are cut in one with a stand collar and gathered into a curved seam under the bust. The lower fronts close with three buttons on cut-on plackets. Short sleeves with a gathered cap whose upper part is finished with a rolled-hem frill and topstitched over the armhole.
Silhouette: Gathered over the bust, closer-fitting below the under-bust seam; the back is shaped with darts.
Length: Hip length, hem serged, turned up and topstitched.
Collar: Cut in one with the upper fronts, rising into a stand at the back neck; the collar ends are joined by a centre back seam and stitched to the back neckline. The front edges form a V-neck.
Front: Upper fronts gathered between the marks and joined to the lower fronts along a curved seam, clipped at the corners. The lower fronts have interfaced cut-on plackets, three buttons and buttonholes.
Sleeves: Short, gathered at the cap. Between the round marks the cap edge is finished with a narrow rolled hem and laid over the upper armhole, forming a small frill; the lower part of the cap is set into the armhole in the usual way.
Back: Two pieces with a centre back seam and darts.
Intermediate. Gathering into a curved seam with clipped corners, a cut-on collar joined at the back neck and a sleeve cap partly set in and partly topstitched over the armhole.
Fabrics of natural or blended fibres; shirting fabrics.

#5986
High Ruffle Collar Pintuck Front Button Blouse
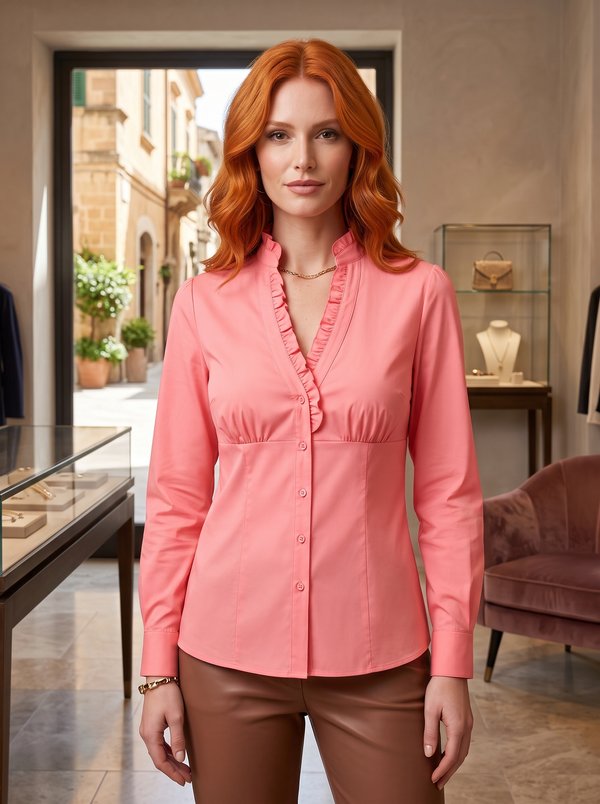
#5999
Ruffle V-Neck Empire Waist Button Front Blouse
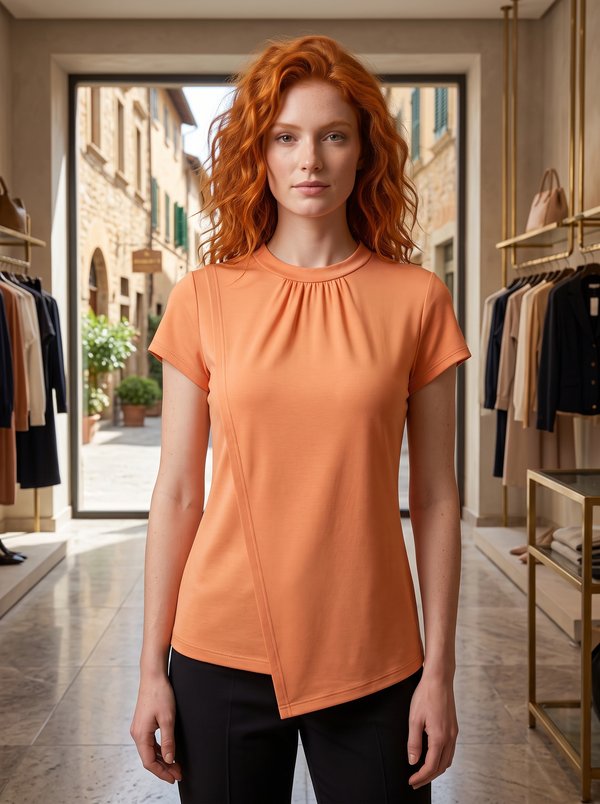
#5969
Gathered Neck Asymmetrical Hem Knit Top
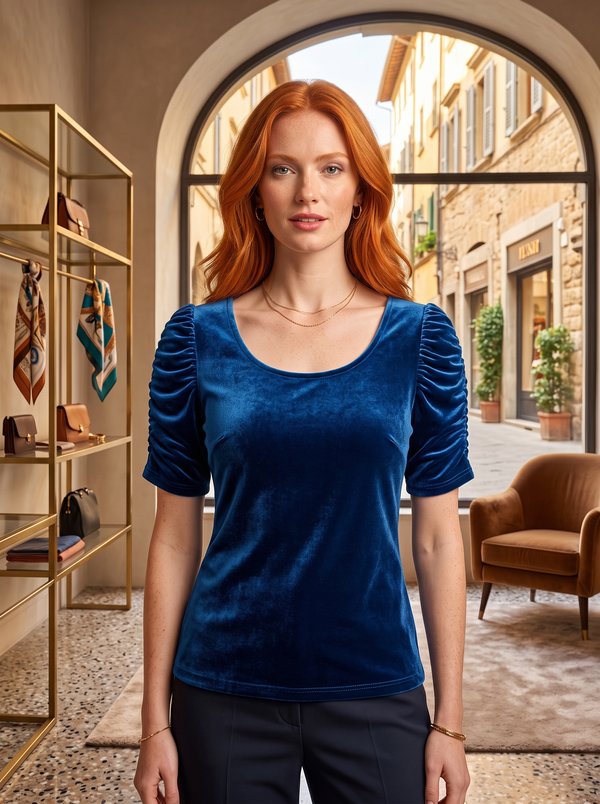
#5968
Ruched Sleeve Round Neck Knit Top
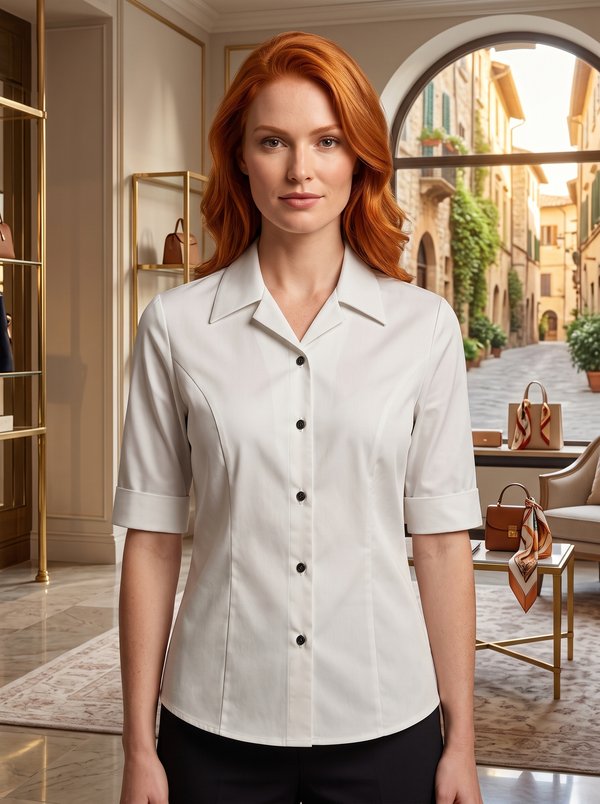
#5958
Fitted Collared Shirt with Cuffs

#5937
Pleated Chiffon Yoke Blouse with Voluminous Sleeves
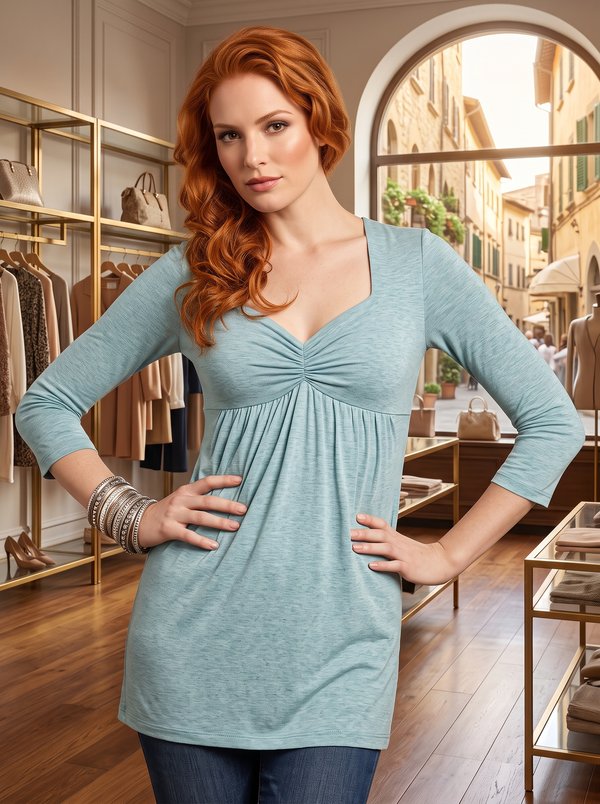
#5935
Empire Waist Ruched Bust Tunic
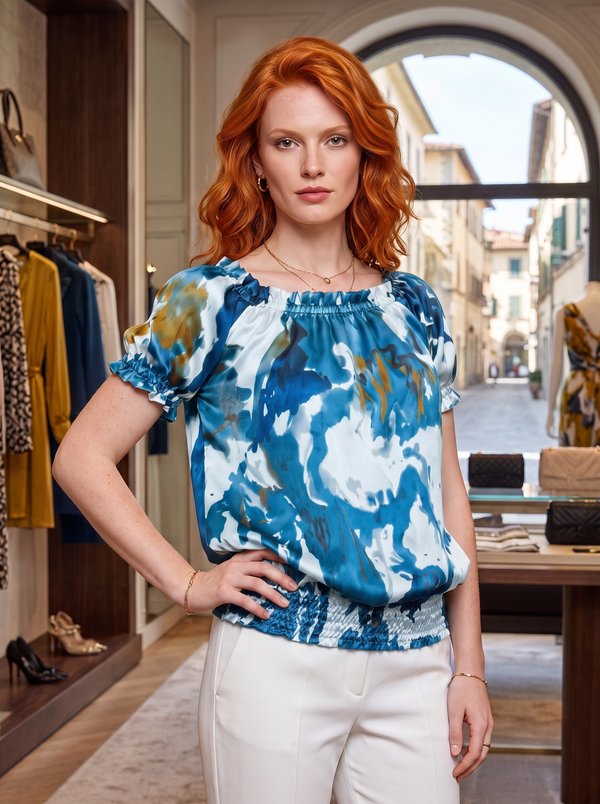
#5904
Gathered Off-Shoulder Blouse with Shirred Hem

Minerva Support
Online