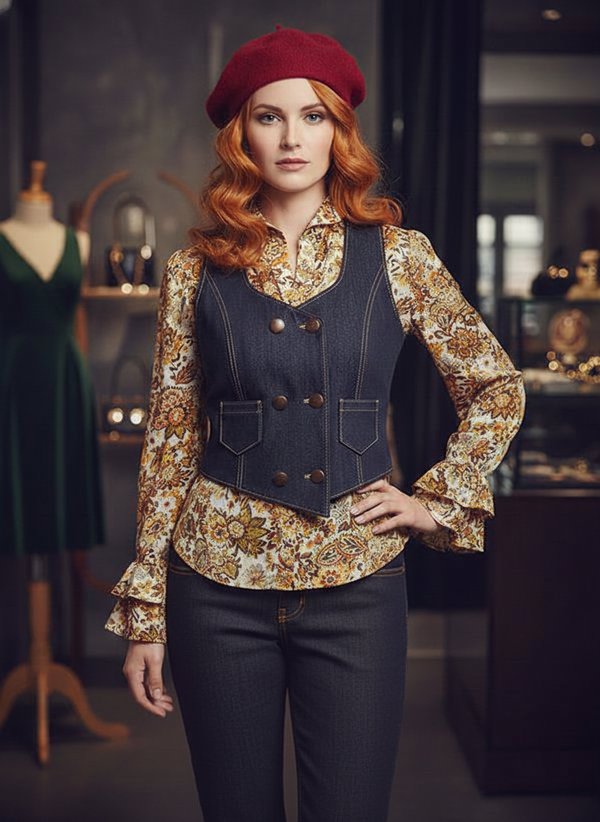
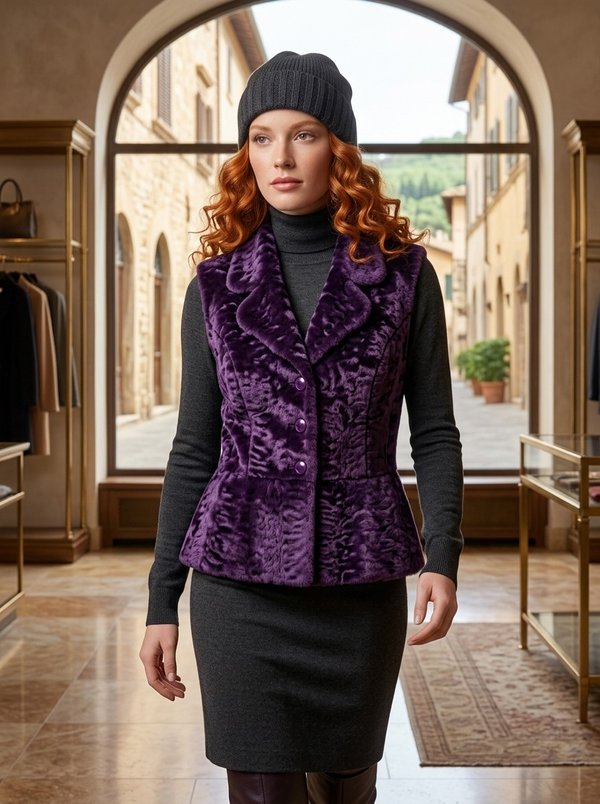
Shawl Collar Vest with Tie Belt
A women's hip-length vest with princess seams at the front and back, a shawl collar cut in one with the fronts and a three-button closure. A self-fabric tie belt is fixed at the left side seam, wraps around the waist and ties at the front.
When To Wear
- Over a blouse or fine knit with trousers or a straight skirt for the office.
- Over long-sleeved tops in spring and autumn as a light extra layer.
Key Design Features
Silhouette: Semi-fitted through princess seams at the front and back, with the belt marking the waist.
Length: Hip length.
Collar: Shawl collar cut in one with the centre fronts, joined at the centre back collar seam and set into the back neckline; the facings repeat the same construction. Front edges and collar understitched 0.2 cm from the seam.
Closure: Three buttons, buttonholes on the right front.
Sleeves: Sleeveless, the shoulder line extended slightly past the shoulder; armholes finished with interfaced facings, understitched and hand-tacked at the shoulder and side seams.
Back: Centre back seam and princess seams.
Waist: No waist seam; tie belt stitched on three edges, turned through and slipstitched closed, attached at the left side seam.
Finishing: Unlined; interfaced front facings and back neck facing hand-tacked to the shoulder and centre back seams; hem overlocked, turned up and stitched in place.
Level Of Difficulty
Intermediate. A shawl collar cut in one with the front, with clipped corners at the neckline, plus facings at the fronts, back neck and armholes.
Fabric Recommendations
Suiting or lightweight coating in natural or blended fibres.
Additional Supplies
- Fusible interfacing (front facings, back neck facing, armhole facings)
- 3 buttons
Cutter's Must
- From main fabric:
- Center Front – 2 pieces
- Side Front – 2 pieces
- Center Back – 2 pieces
- Side Back – 2 pieces
- Center Front Facing – 2 pieces
- Back Neckline Facing – 1 piece
- Waistband (tie belt) – 1 piece
- Front Armhole Facing – 2 pieces
- Back Armhole Facing – 2 pieces
- From fusible interfacing:
- Center Front Facing – 2 pieces
- Back Neckline Facing – 1 piece
- Front Armhole Facing – 2 pieces
- Back Armhole Facing – 2 pieces
Sewing Instructions
- Fuse interfacing to the Center Front Facings, Back Neckline Facing, Front Armhole Facings and Back Armhole Facings.
- Stitch the princess seams joining the Center Front to the Side Front and the Center Back to the Side Back. Overlock the seam allowances and press them towards the center front on the front and towards the center back on the back.
- Stitch the center back seam. Overlock the seam allowances and press them to the left side.
- Stitch the side and shoulder seams. Overlock the seam allowances and press them towards the back.
- Stitch the center back seam of the collar on the Center Front pieces and on the Center Front Facings. Press the seam allowances open.
- Set the collar into the back neckline, clipping into the corners on the front pieces. Press the seam allowances open, clipping at the curves. Stitch the shoulder seams of the Back Neckline Facing and Center Front Facings. Press the seam allowances open. Set the facing collar into the neckline of the Back Neckline Facing, clipping the Center Front Facings at the corners. Press the seam allowances open, clipping at the curves. Overlock the outer edges of the Center Front Facings and Back Neckline Facing.
- Place the Center Front Facing on the front, right sides together, and stitch along the front edge and collar. Understitch the seam allowance to the facing, 0.2 cm from the seam. Turn the front edges right side out and press the seams into shape. Stitch the facing and back neckline seam allowances together 0.1 cm from the collar seam. Hand-tack the facing to the shoulder seams and center back seam.
- Overlock and press up the hem allowance. Stitch the lower corner of the front edge (facing to front) and stitch the hem allowance down to the garment.
- Stitch the shoulder and side seams of the Front Armhole Facings and Back Armhole Facings. Press the seam allowances open. Overlock the outer edges all around. Place the facing on the garment, right sides together, and stitch around the armhole. Clip the seam allowance and understitch it to the facing. Hand-tack the facing to the shoulder and side seams.
- Make buttonholes on the right front and sew the buttons onto the left front.
- Fold the Waistband (tie belt) in half lengthwise, right sides together, and stitch along the long edge and one short end. Turn it right side out, turn in the seam allowances of the open end and slipstitch closed. Attach the belt to the left side seam.