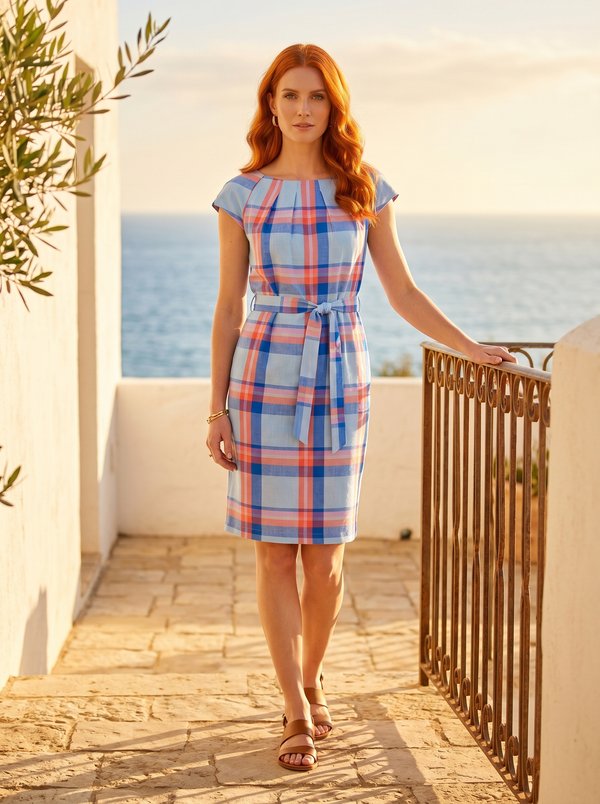
Structured Collar Sheath Dress
A sleeveless, lined women's sheath dress with a stand collar cut in one with the upper front, a deep open V-neckline and a separate pleated upper front whose ends are threaded through a 6 cm decorative buckle under the bust. Invisible zip and vent in the centre back seam.
When To Wear
- At the office and business meetings, with a jacket over it in cooler weather.
- For dinners and daytime events, with court shoes.
Key Design Features
Silhouette: Fitted sheath with a seam under the bust; princess seams on the lower front and on the back.
Length: Above the knee.
Collar: Stand collar cut in one with the interfaced centre upper front pieces and continued at the back by two-part interfaced back facings. The front edges of the collar frame a deep, open V-neckline.
Sleeves: Sleeveless, with cut-on cap shoulders; armholes faced with the lining.
Front: Two-layer construction. The lower front (centre and side panels, lined) is finished at the top with a band folded in half and stitched in the ditch. The upper front, made of a centre piece and a side piece with pleats on each side and faced with lining, lies over it and is caught into the side seams. At the centre its ends pass through the slots of a decorative buckle, are adjusted to length and topstitched.
Closure: Invisible zip, 45 cm, in the centre back seam; the buckle does not open.
Back: Darts pressed towards the centre seam, princess seams, and an interfaced vent at the hem of the centre back seam.
Finishing: 3 cm hem allowance, overlocked and hemmed with blind stitches.
Lining: Back lining attached to the back facings; front lining for the lower front and the side upper front; lining hems turned under twice and topstitched.
Level Of Difficulty
Advanced. A layered front with a pleated, faced upper part, a collar cut in one with the front, a lined back vent, an invisible zip and a lining assembled with facings.
Fabric Recommendations
Lightweight suiting fabrics of natural or synthetic fibres.
Additional Supplies
- Lining fabric
- Invisible zip, 45 cm
- Fusible interfacing (centre upper front, back facings, band, vent)
- Decorative buckle, 6 cm high
Cutter's Must
- From main fabric:
- Center Back – 2 pieces
- Side Back – 2 pieces
- Center Upper Front – 4 pieces
- Side Upper Front – 2 pieces
- Center Lower Front Part – 1 piece
- Side Lower Front – 2 pieces
- Waistband – 1 piece
- Back Facing 1 – 2 pieces
- Back Facing 2 – 2 pieces
- From lining fabric:
- Center Back Lining – 2 pieces
- Side Back Lining – 2 pieces
- Upper Side Front Lining – 2 pieces
- Lower Center Front Lining – 1 piece
- Lower Side Front Lining – 2 pieces
- From fusible interfacing:
- Center Upper Front – 2 pieces
- Back Facing 1 – 2 pieces
- Back Facing 2 – 2 pieces
- Waistband – 1 piece
Sewing Instructions
- Fuse corresponding pieces with fusible interfacing.
- Stitch darts on the back. Press darts towards the center seam.
- On both Center Back pieces, interface the vent extension from the wrong side. Overlock the center seam allowance of the back separately on each piece, simultaneously overlocking the vent. Stitch the center seam of the back from the top edge to the upper notch, and from the lower notch to the edge of the vent. Clip the corner of the vent seam allowance on the right side. Press the center seam allowances open. Press the right side of the vent by 1 cm and topstitch. Press the vent allowances and secure with machine stitching. Insert the invisible zipper into the opening.
- Join the Side Back to the Center Back, press allowances towards the center, overlock.
- Join the Side Lower Front pieces to the Center Lower Front Part, press allowances towards the center, overlock. Join the Lower Side Front Lining pieces to the Lower Center Front Lining in the same way, press allowances towards the center, overlock. Press the bottom of the lining twice to the wrong side and topstitch.
- Place the lower front and its lining wrong sides together and baste along the top and side edges. Press the Waistband in half lengthwise, right side out. Overlock the long edge of the inner half. Attach the outer half of the Waistband to the top edge, press allowances towards the Waistband. Stitch in the ditch of the attaching seam to secure the inner half.
- Join a non-interfaced Center Upper Front to each Side Upper Front. Clip the allowance and press towards the center piece. Lay and secure the pleats on the Side Upper Front.
- Stitch the shoulder seams, clip allowances at curves and press open.
- Join Back Facing 1 and Back Facing 2, press allowances open. Attach the back lining to the facing, press allowances towards the facing. Overlock the center seam allowances. Stitch the center seam from the top to the upper notch, and from the lower notch to the bottom. Join the Side Back Lining to the Center Back Lining, press allowances towards the center and overlock. Press the bottom of the lining twice to the wrong side and topstitch.
- Join each interfaced Center Upper Front to an Upper Side Front Lining, clip the allowance and press towards the center.
- Stitch the shoulder seams of the lining, clip allowances at curves and press open.
- Place the lining and the main garment with right sides together and stitch around the neckline, part of the center front edge, the lower edge of the upper front and the armhole edges, ending the stitching precisely at the marked side seam line on the back side. Clip allowances at curves, turn the garment right side out.
- Place the upper front over the lower front and baste them together along the side edges.
- Insert the front between the lining and the main back fabric and stitch the side seams. Overlock allowances, press towards the back, turn the garment right side out.
- Overlock the bottom edge of the garment, press to the wrong side and hem with blind stitches.
- Thread the center front ends of the upper front through the slots of the decorative clasp, adjust the length, trim if necessary, overlock and topstitch.