Professional made-to-measure digital sewing patterns — PDF · PLT · DXF AAMA
A close-fitting women's knit top at hip length with a folded high collar and long sleeves cut differently on each side: the left sleeve is a plain set-in sleeve, the right sleeve is cut in two parts with a gathered three-layer flounce set into the seam from the collar to the wrist. Drafted to your own measurements. Recommended fabric: knit fabric with medium or high stretch, in natural or blended fibres.
A close-fitting women's knit top at hip length with a folded high collar and long sleeves cut differently on each side: the left sleeve is a plain set-in sleeve, the right sleeve is cut in two parts with a gathered three-layer flounce set into the seam from the collar to the wrist.
Silhouette: Close-fitting, from a one-piece front and a one-piece back.
Length: Hip length.
Collar: High collar cut as one piece, folded in half lengthwise, wrong sides together, and sewn to the neckline; its open end sits at the right shoulder seam and is closed together with the flounce seam.
Sleeves: Long. Left sleeve one-piece, set into the armhole. Right sleeve made of a front and a back part sewn to the front and back armholes; the collar end, right shoulder and outer sleeve are then stitched in one continuous seam, and the underarm seam is sewn together with the side seam.
Flounce: Three flounces of different widths are layered (narrowest on top, widest underneath), gathered along the inner edge and caught into the right shoulder and sleeve seam, the narrow one facing the front and the wide one facing the back. The flounce starts 1.5 cm above the sleeve hem and extends 2 cm above the collar, where it is turned inside and hand-stitched over the collar seam. The outer edges are left raw.
Back: One plain piece, no centre back seam.
Finishing: Seams sewn with an elastic or narrow zigzag stitch and overlocked; garment and sleeve hems turned up and topstitched with a twin needle.
Intermediate. An asymmetric sleeve construction with a continuous collar, shoulder and sleeve seam, a gathered multi-layer flounce caught into that seam, and hand finishing at the collar.
Knit fabric with medium or high stretch, in natural or blended fibres.
If the patterns have a double contour, seam allowances are included; if the contour is single, seam allowances are not included. Seam allowances: garment and sleeve hem – 1.5 cm; outer edge of the flounces – 0 cm; all other seams – 1 cm. First print the paper patterns and lay them out on the fabric width (90–150 cm) to determine how much fabric you need. Match the notches when stitching!
Attention! Before starting, check that the collar, when sewn into a ring, fits over the head.
Tip: Cut pieces from knit fabrics are sewn with a special elastic or narrow zigzag stitch. When serging, trim seam allowances to 0.6 – 0.8 cm. The hem allowance is topstitched with a twin needle to maintain elasticity.

#5866
High Neck Ruched Sleeve Top
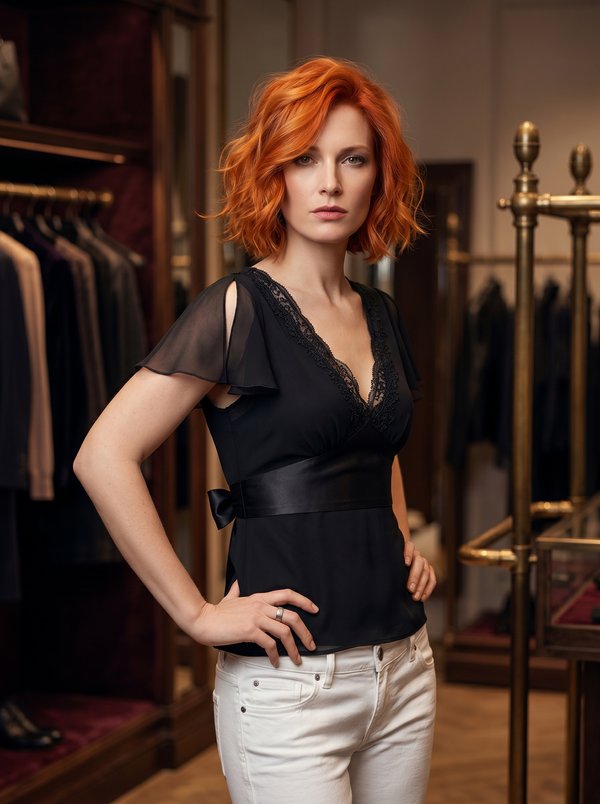
#5868
V-Neck Flutter Sleeve Tie Back Blouse

#5898
Braided Strap Knit Top with Wrap Overlay
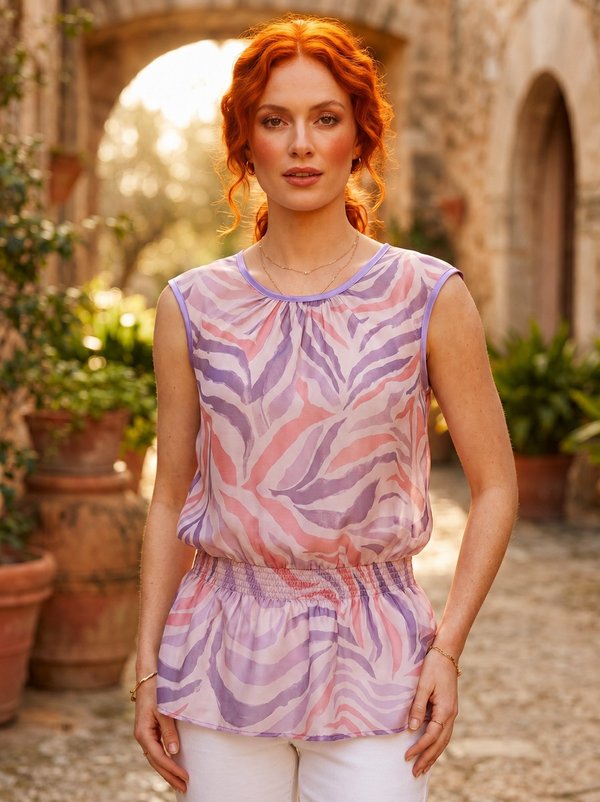
#5815
Gathered Neck Cap Sleeve Peplum Blouse
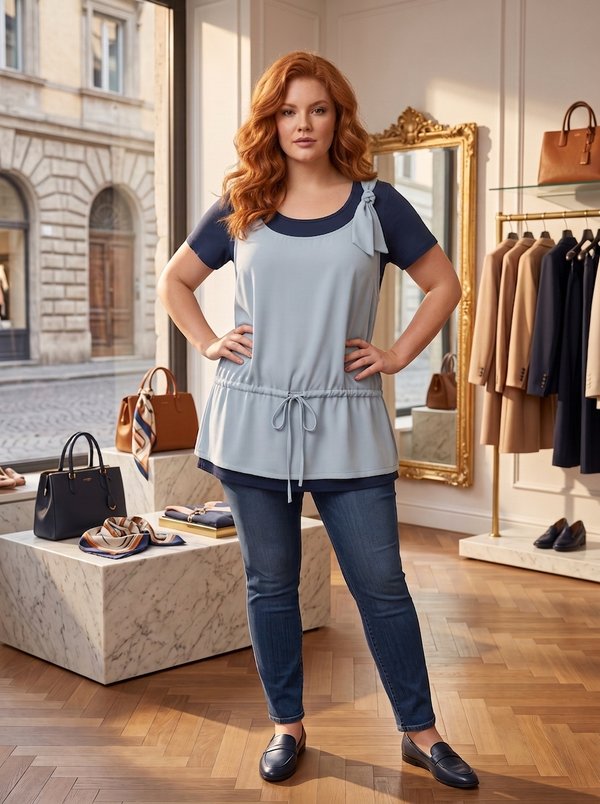
#5808
Drawstring Top with Single Shoulder Tie
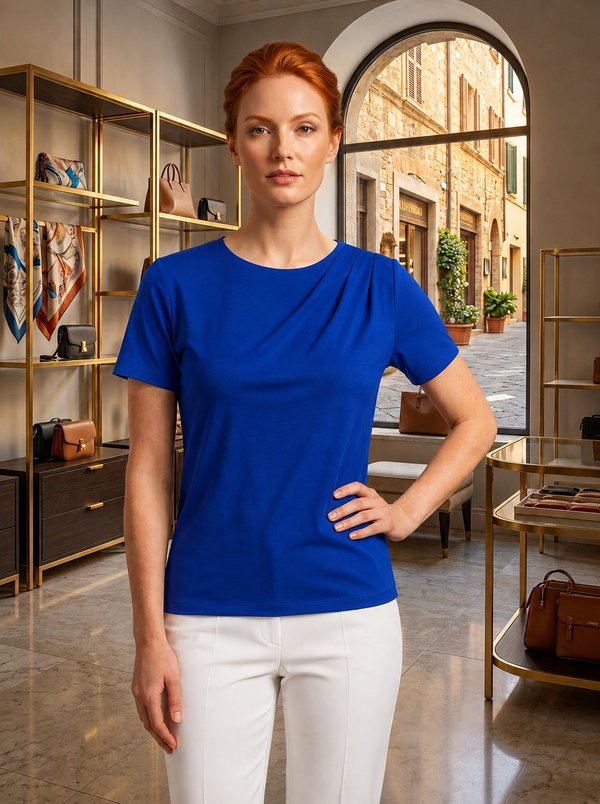
#5922
Asymmetrical Draped Short Sleeve T-shirt

#5800
Knit Blouson Top With Waistband

#5930
Fitted Turtleneck Ruched Front Long Sleeve Top

Minerva Support
Online