Short Sleeve Coat
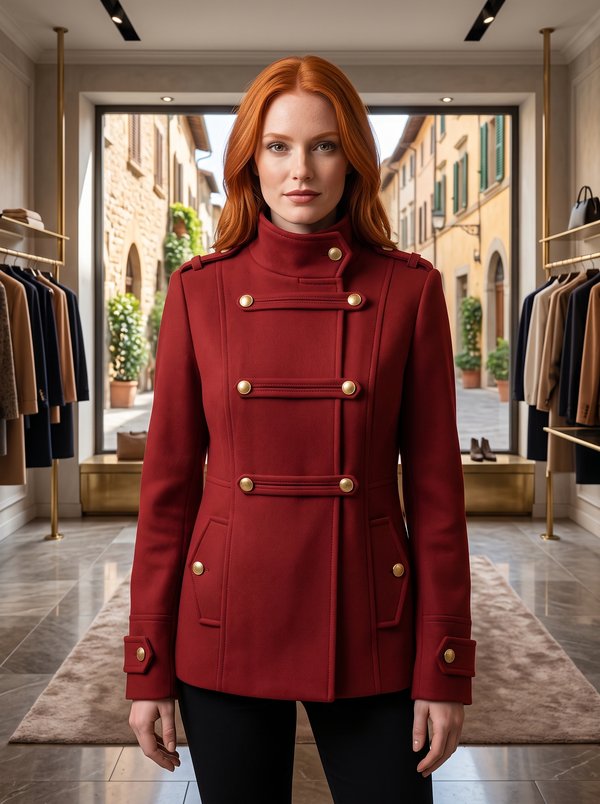
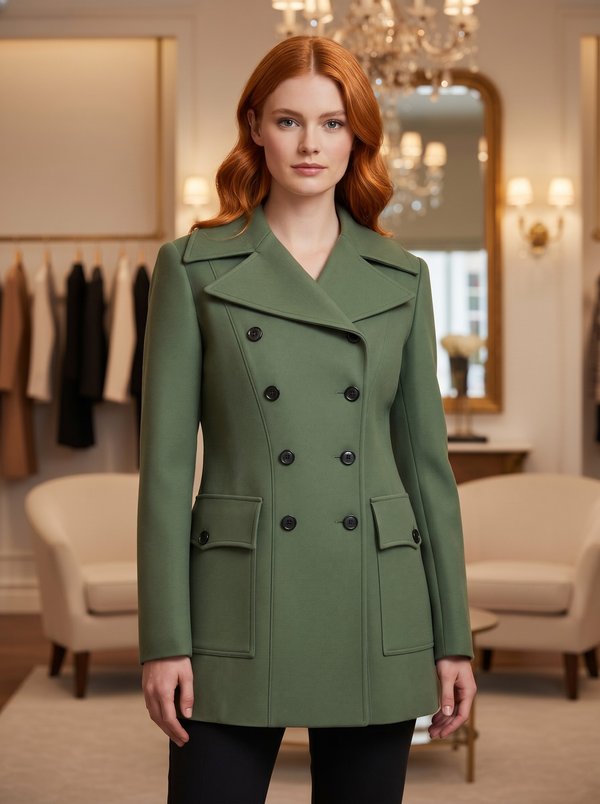
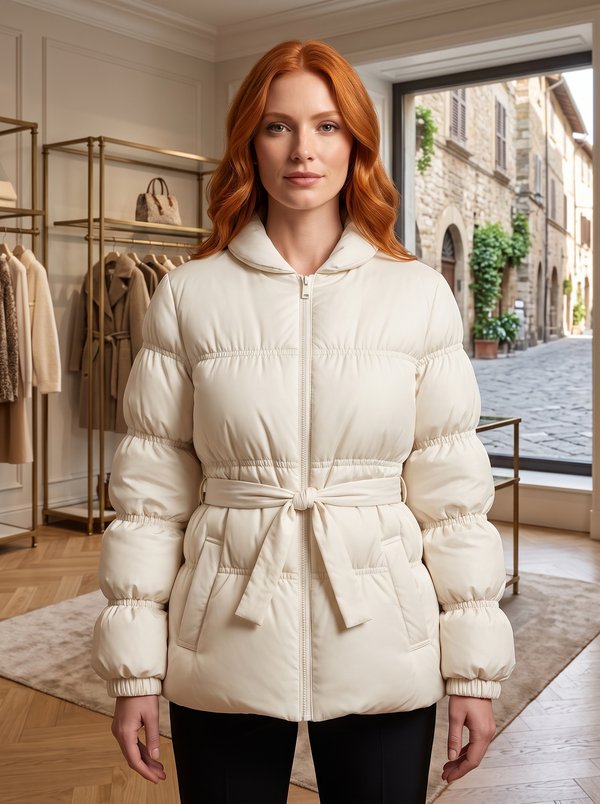
A women's lined coat, ending above the knee, with elbow-length sleeves cut in one with the front and back panels and finished with turn-back cuffs. Princess seams with in-seam pockets at the front, a button-up collar and a self-fabric tie belt.
When To Wear
- In spring and early autumn, over dresses, or with trousers and a fine knit underneath.
- Belted at the waist or worn open over a fitted outfit.
Key Design Features
Silhouette: Semi-fitted, shaped by princess seams at the front and back; drawn in at the waist by the tie belt.
Length: Above the knee.
Collar: High collar with a lapel step on the right front; the collar has its own buttonhole and button, so it can be fastened up.
Sleeves: Cut in one with the front and back panels, with a seam along the top of the arm. Elbow length, with a folded turn-up cuff.
Closure: Single-breasted, two buttons on the front and one on the collar; buttonholes on the right front and collar.
Pockets: In-seam pockets in the front princess seams, with cut-on pocket facings and lining pocket bags.
Back: Centre back seam and princess seams.
Waist: Separate tie belt, topstitched 0.7 cm from the edge all round.
Finishing: Front edges, lapel and collar topstitched 1 cm from the edge; stay tape along the top-of-sleeve line; raglan shoulder pads.
Lining: Full lining, including the sleeves, stitched to the facings and to the cuffs.
Level Of Difficulty
Intermediate. Cut-on sleeves with set-in side panels, in-seam pockets in princess seams, an asymmetric collar and lapel, a full lining joined at the cuffs.
Fabric Recommendations
Coating fabrics of natural or blended fibres.
Additional Supplies
- Lining fabric
- Fusible interfacing (front facings, back neck facing, under collar, cuffs, pocket and armhole areas)
- 1 cm stay tape
- Raglan shoulder pads
- 3 buttons
Cutter's Must
- From main fabric:
- Back – 2 pieces
- Front – 2 pieces
- Back side – 2 pieces
- Front side – 2 pieces
- Collar – 2 pieces
- Back neck facing – 1 piece
- Front facing – 2 pieces
- Cuff – 2 pieces
- Belt – 1 piece
- From lining fabric:
- Back – 2 pieces
- Front – 2 pieces
- Back side – 2 pieces
- Front side – 2 pieces
- Pocket Bag – 4 pieces
- From fusible interfacing:
- Front facing – 2 pieces
- Back neck facing – 1 piece
- Collar – 1 piece
Attention: The lining front panels and back panels are cut according to the main pattern pieces, subtracting the width of the front facings and back neck facing, respectively.
Note: It is permissible to overlock the princess seams and side seam allowances of the main fabric and lining from the bottom to the waist.
Sewing Instructions
- Fuse fusible interfacing to the front facing, back neck facing, and lower collar. Fuse the pocket placement area on the center and side panels of the front, and the armhole on the front side. Apply grain line tape 1 cm wide from the neckline to the bottom of the sleeve on the front and back pieces. Fuse the upper corner at the armhole on the front and back pieces. Press the cuffs in half lengthwise. Fuse half of the cuff. The fusible interfacing should extend 1-2 cm beyond the fold line.
- Stitch the back side panels to the center back panels. Press seams open and overlock. Clip the corner on the back at the start of the armhole. Stitch the lower armhole and sleeve cap sections on the back. Press the seam towards the sleeve. Stitch the center back seam. Press seam open and overlock.
- Stitch pocket bags to the integrated pocket stays. Press seams towards the pocket bag. Stitch the front side panels to the center front panels, simultaneously stitching the pocket bags. On the front side, clip the seams at the pocket opening. Press the pocket stays towards the center of the front, press the princess seam open and overlock. Clip the corner on the front at the start of the armhole. Stitch the lower armhole and sleeve cap sections on the front. Press the seam towards the armhole.
- Stitch the upper edges of the sleeves. Press seams open. Stitch the lower edges of the sleeves and side edges with a single seam. Press seams open and overlock. Fold the cuffs into a loop right sides together and stitch. Press seam open. Turn the cuffs right side out, fold in half, and press. Attach the cuffs to the sleeves with the non-fused side. Press seam open.
- Fold the collar pieces right sides together. Stitch the right end of the collar from the notch (marked 'o') to the upper edge. Trim the seam. Clip the seam allowance at the mark near the beginning of the seam. Turn the collar right side out and press. Attach the upper collar to the neckline of the back and front. Press seam open.
- Stitch the shoulder seams of the back neck facing and front facing. Press seams open.
- Fold the right front facing with the front right sides together and stitch the right front edge and lapel break. Topstitch the seam allowance of the front edge from the bottom to the notch onto the front facing. The stitching should be 0.2 cm from the seam. Stitch the lower edge of the front facing to the front strictly along the marked hemline, stopping 1.5 cm before the inner edge of the front facing. Trim the seam of the lower front corner. Slash the seam allowance at the neckline near the lapel break mark. Turn the front edge right side out, smooth the seams. Attach the lower collar to the neckline of the facing and front facing. Press seam open.
- Fold the left front facing with the front right sides together and stitch the left front edge and collar. Topstitch the seam allowance of the front edge from the bottom to the notch onto the front facing. The stitching should be 0.2 cm from the seam. Stitch the lower edge of the front facing to the front strictly along the marked hemline, stopping 1.5 cm before the inner edge of the front facing. Trim the seam of the lower front corner. Press the collar and front edges. Stitch a reinforcing seam along the collar attachment seam to the neckline. Topstitch 1 cm from the edge of the front edge, lapel, and collar.
- Stitch the lining pieces similarly to the main fabric pieces. Turn under the lower lining seam allowance twice by 1.5 cm and topstitch.
- Overlock and press up the hem seam allowance of the garment. Attach shoulder pads. Stitch the lining to the inner edges of the front facings and back neck facing. Start and end the stitching halfway across the hem allowance of the main garment. Slash the seam allowance on the inner edge of the front facing at the start of the lining attachment. Fold the front facing allowance from the hemline to the slash inwards and hand stitch with blind stitches. Overlock the lining attachment seam and press towards the lining.
- Stitch the lining to the cuffs. Press the seam towards the cuff. Stitch a reinforcing seam along the cuff attachment seam.
- On the right front and collar, make buttonholes; on the left front, sew on buttons.
- Fold the belt piece in half lengthwise right sides together and stitch along the long side and one short side. Turn the belt right side out, turn in the seam allowances of the unstitched section, and topstitch 0.7 cm from the edge around the perimeter of the belt.