Professional made-to-measure digital sewing patterns — PDF · PLT · DXF AAMA
A women's cropped denim jacket with a centre front separating zip, a stand collar and a hem band that each fasten with a button over a shaped tab, curved panel seams front and back, flap patch pockets, and sleeves with a topstitched inset strip and buttoned cuffs. Unlined, with double topstitching throughout. Drafted to your own measurements. Recommended fabric: denim.
A women's cropped denim jacket with a centre front separating zip, a stand collar and a hem band that each fasten with a button over a shaped tab, curved panel seams front and back, flap patch pockets, and sleeves with a topstitched inset strip and buttoned cuffs. Unlined, with double topstitching throughout.
Silhouette: Semi-fitted, shaped by curved panel seams from the armholes on the front and back.
Length: Cropped, ending in a hem band at about the waist.
Collar: Interfaced stand collar with a button extension and a shaped end, fastened with one button at the front and topstitched.
Closure: Separating zip at the centre front, set between the front edges and faced with interfaced front facings tacked to the shoulder seams.
Pockets: Two patch pockets on the lower fronts with a turned and topstitched top edge; flaps with rounded corners stitched above them, turned down and fastened with one button each. Pockets and flaps double-topstitched 0.1 cm and 0.7 cm from the edge.
Sleeves: Set-in sleeves with an inset strip joined to the sleeve and double-topstitched; the seam is left open at the lower end as a slit. Interfaced cuffs with a shaped end and one button each.
Back: Centre back panel and two side backs joined with curved seams, topstitched 0.1 cm from the seam.
Waist: Interfaced hem band made of a back belt and right and left front parts, folded in half and topstitched all round; it closes with a shaped tab and a button at the centre front.
Finishing: Armhole seams pressed towards the body and double-topstitched 0.1 cm and 0.7 cm from the seam; shoulder and side seams pressed towards the back and overlocked.
Intermediate. A faced separating zip, flap pockets, a sleeve slit built into an inset seam, cuffs and a buttoned hem band, all with even double topstitching on heavy fabric.
Denim.
From Main Fabric:
From Fusible Interfacing:
Before cutting your fabric, print and lay out the paper patterns according to your fabric width (90–150 cm) to determine required yardage.
Remember to account for paired and symmetrical pieces.
When sewing, pay close attention to all notches — they must match precisely to ensure correct construction and fit.
Decorative double topstitching is an essential visual feature of this design and should be executed consistently throughout the garment.
Apply fusible interfacing to the Center Front Facing, Stand Collar, Cuff, Back Waistband, Right Front Waistband, and Left Front Waistband.
Place the Stand Collar pieces right sides together and stitch the closure allowance, outer contour, and shaped end.
Trim seam allowances at the corners and clip at the curves.
Turn the stand collar right side out and press.
Stitch the princess seams of the Center Front Panel and Side Front Panel, and of the Center Back and Side Back.
Press seam allowances toward the center and overlock.
Topstitch at 0.1 cm from the seams.
Place the front pieces right sides together and align the edges, measure the front edge length.
Attach the zipper to the front edge.
Turn the front edge allowances inward along the zipper area and press.
Press the upper seam allowance of the Pocket to the wrong side, turn under and topstitch.
Press the side and lower seam allowances of the pocket to the wrong side.
Place the pockets onto the front according to the markings.
Topstitch the patch pockets with double topstitching at 0.1 cm and 0.7 cm from the edge.
Place the Flap pieces right sides together and stitch along the outer contour on three sides.
Clip seam allowances at the curves, turn the flap right side out.
Shape the seams and press.
Topstitch the flap with double topstitching at 0.1 cm and 0.7 cm from the edge.
Overlock the free edge of the flap.
Work a buttonhole.
Attach the flap to the front, turn downward and topstitch with double stitching at 0.1 cm and 0.7 cm.
Sew the button onto the pocket according to the buttonhole placement.
Overlock the outer edge of the Center Front Facing.
Place the facing onto the front right sides together and stitch along the front edge.
Stitch from the front side.
Turn the front edges right side out, shape the seams, and press.
Stitch the shoulder and side seams.
Press the shoulder and side seams toward the Back and overlock.
Attach the outer Stand Collar to the neckline, turn under the open edge of the inner stand collar and topstitch in the seam of attachment.
Topstitch along the stand collar.
Secure the Center Front Facing to the shoulder seams with a 1 cm bartack.
Attach the Right Front Waistband and Left Front Waistband to the Back Waistband.
Press the seams open.
Fold the waistband lengthwise at the center, right side outward, and press.
Attach the outer waistband to the lower edge of the jacket, press the seam allowance toward the waistband.
Stitch the waistband corners.
Trim excess fabric at the corners, turn right side out.
Turn under the open edge of the inner waistband and topstitch in the seam of attachment.
Topstitch around the waistband perimeter.
Attach the Sleeve Inset to the Sleeve, leaving the slit area unstitched.
Clip seam allowances at the marking, press toward the inset, pressing the slit area open.
Topstitch along the seam with double stitching at 0.1 cm and 0.7 cm.
Stitch and overlock the sleeve seam.
Fold the Cuff lengthwise at the center, right sides together, and stitch the shaped end and closure allowance.
Trim seam allowances at the corners, turn right side out, and press.
Attach the outer side of the cuff to the lower edge of the sleeve.
Turn under the upper edge of the inner cuff and topstitch in the seam of attachment.
Topstitch around the cuff contour.
Set the sleeves into the armholes.
Press seam allowances toward the armhole, overlock, and topstitch with double stitching at 0.1 cm and 0.7 cm from the sleeve attachment seam.
Work buttonholes on the Stand Collar, waistband, and sleeve cuffs.
Sew the buttons accordingly.

#5739
Jacket with Waist Inset & Belt
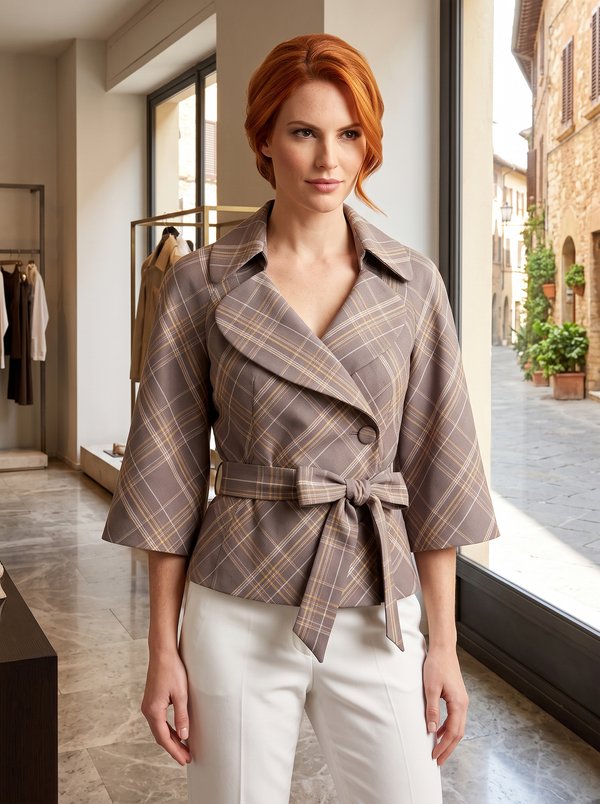
#5745
Belted Blazer With Broad Lapels

#5735
Jacket with Loops Closure

#5733
Fitted V-Neck Jacket with Pleated Cuffs

#5731
Cropped Jacket with Peter Pan Collar
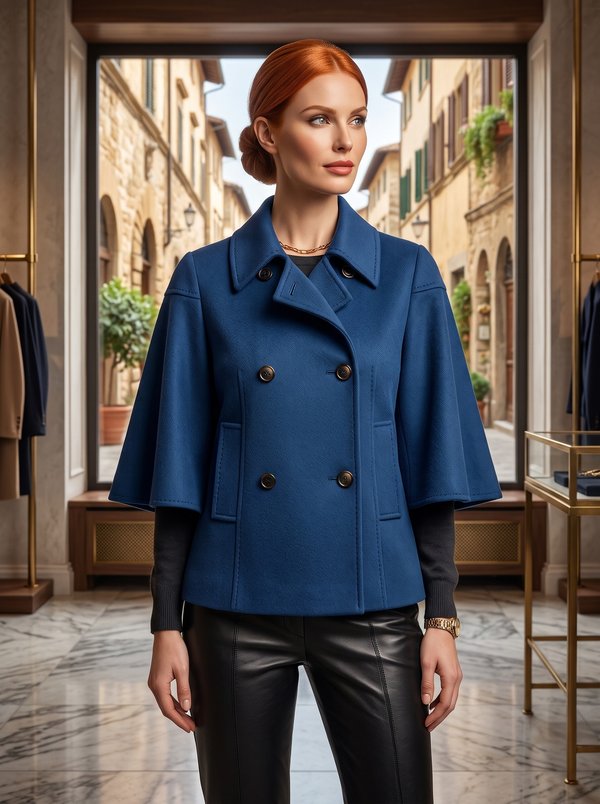
#5729
Double-Breasted Jacket with Flared Sleeves

#5721
Cropped Stand Collar Jacket

#5708
Shearling Jacket Asymmetrical Fur Collar

Minerva Support
Online