Professional made-to-measure digital sewing patterns — PDF · PLT · DXF AAMA

Minervainervabeta
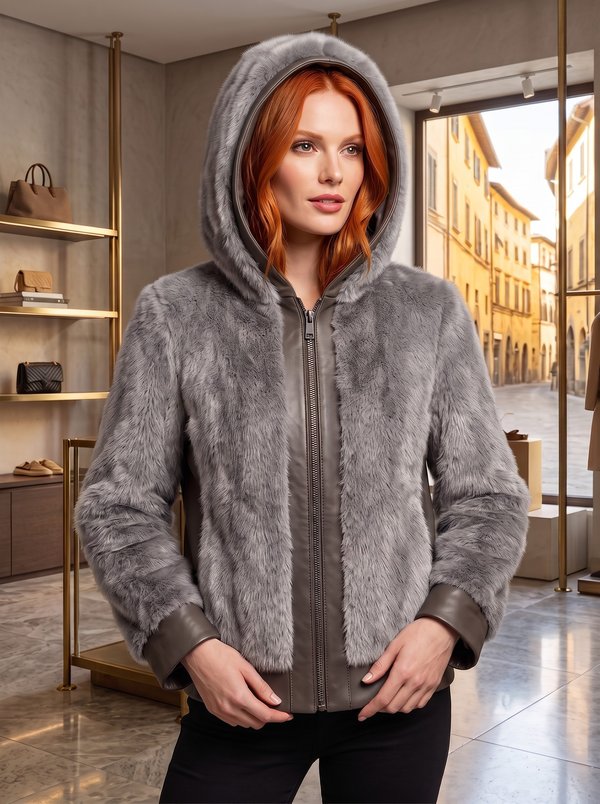
#5708
#5711

Faux Fur Hooded Belted Jacket

Pattern #5709

A hip-length women's wrap jacket in faux fur with a hood cut in one with the fronts, set-in sleeves and in-seam side pockets with faux leather underlays. The wrap is held by inner ties and a self-fabric belt passing through faux leather belt loops. Fully lined. Drafted to your own measurements. Recommended fabric: faux fur.

Tech. Description

Faux Fur Hooded Belted Jacket

A hip-length women's wrap jacket in faux fur with a hood cut in one with the fronts, set-in sleeves and in-seam side pockets with faux leather underlays. The wrap is held by inner ties and a self-fabric belt passing through faux leather belt loops. Fully lined.

When To Wear

  • In cold autumn and winter weather over knitwear, with jeans or trousers.
  • Over dresses for evening outings in winter.

Key Design Features

Silhouette: Relaxed and straight, drawn in at the waist by the belt.

Length: Hip length.

Hood: Cut in one with the fronts and set into the back neckline, with a centre seam; the inner hood is formed by the cut-on front facings, also seamed at the centre, and the two centre seams are tacked together.

Sleeves: Long, wide set-in sleeves; sleeve and side seams are stitched in one.

Front: Wrap front with no buttons. Two ties of lining fabric (40 × 4 cm) at the waist, one on the left facing and one on the right side seam of the lining, hold the underlap in place.

Waist: Self-fabric faux fur tie belt, threaded through faux leather belt loops topstitched onto the side seams; an extra loop on the right front edge is suggested.

Pockets: In-seam pockets in the side seams with lining pocket bags; faux leather underlays are stitched to the back pocket bags so leather, not lining, shows at the opening.

Back: One piece.

Lining: Full lining attached to the front facings, back neck facing, jacket hem and sleeve hems; the jacket is turned through an opening in the left sleeve seam of the lining.

Level Of Difficulty

Intermediate. Handling faux fur, a hood cut in one with the fronts and their facings, in-seam pockets with leather underlays and a bagged full lining.

Fabric Recommendations

Faux fur.

Additional Supplies

  • Lining fabric (also for the pocket bags and inner ties)
  • Faux leather (belt loops, pocket underlays)

Cutter's Must

  • From faux fur:
    1. Back – 1 piece
    2. Front – 2 pieces
    3. Sleeve – 2 pieces
    4. Waistband – 1 piece
    5. Back Neckline Facing – 1 piece
  • From faux leather:
    1. Belt-Loop – 1 piece
    2. Underlay Piece – 2 pieces
  • From lining fabric:
    1. Back – 1 piece
    2. Front – 2 pieces
    3. Sleeve – 2 pieces
    4. Upper Pocket Bag – 2 pieces
    5. Lower Pocket Bag – 2 pieces

Attention: the front and back lining pieces are cut without the width of the cut-on front facings and the back neckline facing, respectively.
Sewing Instructions

  1. Stitch the Underlay Piece to the Lower Pocket Bag. Place the Lower Pocket Bag with the underlay on the right side of the Back, aligning the notches. Place the Upper Pocket Bag on the Front, right side down, and stitch. Press the seam allowances towards the pocket bag and topstitch them to it.
  2. Stitch the shoulder seams.
  3. Stitch the center seam of the hood. Clip the seam allowance at the base of the neck. Stitch the hood into the back neckline.
  4. Set the sleeves into the armholes.
  5. Stitch the underarm sleeve seam and the side seam, together with the pocket bags, in one continuous seam.
  6. Cut the Belt-Loop from faux leather. Fold it into three layers and topstitch the long edges 0.2 cm from the edge. Cut it into belt loops and topstitch them onto the side seams at the markings. Tip: For ease of use, it is recommended to topstitch an additional belt loop on the right side of the right front edge, at the level of the side belt loops.
  7. Stitch the Back Neckline Facing to the front facings. Stitch the center seam of the inner hood (the facing part of the fronts). Clip the seam allowance at the base of the neck. Stitch the inner hood into the neckline of the Back Neckline Facing. Press the cut-on front facing to the wrong side. Secure the seam allowances of the center hood seams together.
  8. Cut two ties from lining fabric, each 40 cm long and 4 cm wide. Press the ties lengthwise in half, wrong sides together. Then unfold and press the raw edges towards the marked center line. Fold the tie lengthwise again and topstitch 0.1 cm from the edge. Attach the ties to the left front facing and to the right side seam of the lining at the waistline.
  9. Sew the lining pieces together, leaving an unstitched section in the left sleeve seam for turning. Place the lining and the jacket right sides together and stitch it to the inner edges of the front facings and the Back Neckline Facing. Stitch the bottom corner of the front edge exactly along the marked hemline. Trim the seams of the bottom front facing corners. Turn up the lining sleeves and stitch them to the hem of the jacket sleeve.
  10. Stitch the lining to the bottom of the jacket. Turn the jacket right side out through the opening in the sleeve, smooth out the seams, and stitch the opening in the sleeve closed.
  11. Fold the Waistband (belt) right sides together and stitch along the outer contour, leaving an opening in the center of the upper belt seam. Turn the belt right side out and stitch the opening closed.

Order Pattern

Standard Sizes

Individual Measurements

Please double-check the file format and paper size. Your pattern is drafted in exactly the format you select; a different format or paper size later is a new order.

Similar patterns

View all
Support

Minerva Support

Online
Support
Hi! I'm Minerva's AI assistant. What can I help you with?