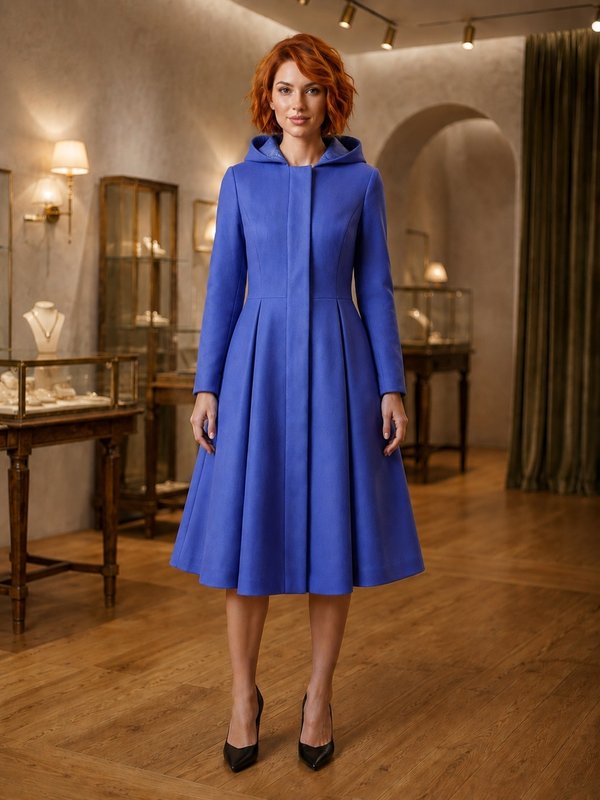
Coat with Wide Lapels
A women's unlined knee-length denim coat with princess seams on the front and back, a notched collar with wide lapels, a one-button front, single-welt pockets and a centre back vent.
When To Wear
- In spring and early autumn as a light coat over dresses, shirts and trousers.
- With a belt passed through the side-seam belt loops, or worn open.
Key Design Features
Silhouette: Semi-fitted, shaped by princess seams running from the armholes on the front and back.
Length: Knee length.
Collar: Notched collar with wide lapels, attached together with the front facing.
Closure: Single-breasted, one button with a buttonhole on the right front.
Sleeves: Two-piece set-in sleeves with a vent and one button at the hem.
Pockets: Single-welt pockets on the side fronts, welt ends topstitched.
Back: Centre back panels and side back panels; centre back seam ending in a vent, topstitched diagonally at its top.
Finishing: Front edges understitched 0.2 cm from the seam: to the facing along the closure and to the front along the lapels. Belt loops on the side seams. All seams overlocked.
Lining: Unlined.
Level Of Difficulty
Intermediate. Single-welt pockets, a notched collar set in with the facing, a back vent and sleeve vents; no lining.
Fabric Recommendations
Denim.
Additional Supplies
- Fusible interfacing (fronts, facings, welts, pocket stay, sleeve and coat hems)
- 3 buttons (one for the front, one for each sleeve vent)
Cutter's Must
From main fabric:
- Belt-Loop – 1 piece
- Center Back – 2 pieces
- Side Back – 2 pieces
- Lower Collar – 1 piece
- Upper Collar – 1 piece
- Side Front – 2 pieces
- Center Front – 2 pieces
- Center Front Facing – 2 pieces
- Off-Set Welt – 2 pieces
- Pocket Bag – 4 pieces
- Upper Sleeve – 2 pieces
- Lower Sleeve – 2 pieces
- From fusible interfacing: Center Front Facing, Off-Set Welt, pocket stay tape, Center Front, sleeve and coat hem allowances.
Sewing Instructions
- Fuse fusible interfacing to the Center Front Facing, Off-Set Welt, pocket stay tape, sleeve hem and coat hem.
- Overlock: the centre back edges of the Center Back, the side edges of the Side Front and Side Back, the princess seam edges of the Center Front and Center Back, the shoulder edges of the front and back.
- Stitch the princess seams on the front and back. Press the princess seams on the front and back open.
- Fold each Off-Set Welt in half lengthwise, right sides together, and press. Stitch the ends of the welt, trim the excess fabric at the corners and turn the welt right side out. Press the finished welt.
- Place the Upper Collar on the Lower Collar, right sides together, and stitch. Turn the collar right side out, ease out the seams and press.
- On the welt, mark the line for stitching it to the front, checking the width. On the front, mark the pocket position. Place the welt, right side up and folded edge down, on the right side of one Pocket Bag, matching the raw edges, with the Pocket Bag extending equally beyond both ends of the welt. Place the welt on the front, matching the marked lines on the front and on the welt, and stitch it on; the welt lies between the front and the Pocket Bag. Press the seam allowances of the welt and Pocket Bag towards the welt. Place the second Pocket Bag on the right side of the front, right side down, its edge butted against the welt seam; baste it and stitch 0.8–1 cm from the welt seam. Check from the wrong side that the stitching lines of the welt and Pocket Bag are parallel. Remove the basting. Cut the pocket opening, making diagonal cuts into the corners 1–1.5 cm from each end. Turn the welt and Pocket Bag pieces through the opening to the wrong side and ease out the edges. Secure the pocket ends from the wrong side with a double backstitch across the base of the triangles. Stitch and overlock the Pocket Bag pieces together. Baste the welt to the front and press. Topstitch the ends of the welt. Remove the basting.
- Press under 1 cm along the edge of the vent underlap and topstitch it on the Center Back. Stitch the centre back seam. Press the centre back seam open, stopping 5 cm above the vent. Press the vent towards the centre back. At the top of the vent, stitch across the centre back seam diagonally along the marking, catching the vent allowance.
- Stitch the shoulder and side seams of the coat and press them open.
- Overlock the inner edge of the Center Front Facing. Place the facing on the right side of the front, right side down, pin and stitch along the front edge, working from the front side and attaching the collar at the same time. Understitch the seam allowance 0.2 cm from the seam: along the closure onto the facing, along the lapels onto the front. Turn the front edges right side out and ease out the seams. Overlock the collar seam and topstitch the neckline seam allowance down onto the coat.
- Stitch the elbow seam of the sleeve and the vent corners on the Lower Sleeve and Upper Sleeve. Press the elbow seam open, clip into the allowance at the top of the vent and press the vent.
- Stitch the front seam of the sleeve and press it open.
- Set the sleeves into the armholes, matching the notches, and overlock the armhole seam.
- Overlock and press up the hems of the coat and sleeves. Stitch the hems of the sleeves and coat.
- Make a buttonhole on the right front and sew a button on the left front. Sew a button on each sleeve vent.
- Fold the Belt-Loop strip in half lengthwise, right sides together, match the edges and stitch 0.5–0.7 cm from the edges. Turn it right side out and press it either with the seam on the fold or with a 0.1–0.2 cm edge rolled to the inside. Cut the belt loops to length and topstitch them on the side seams at the markings.