Flared Long Coat
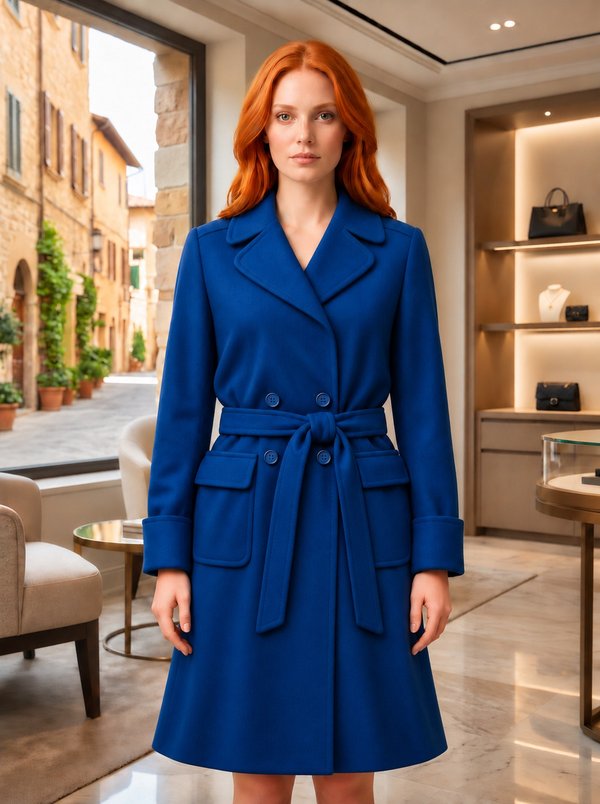
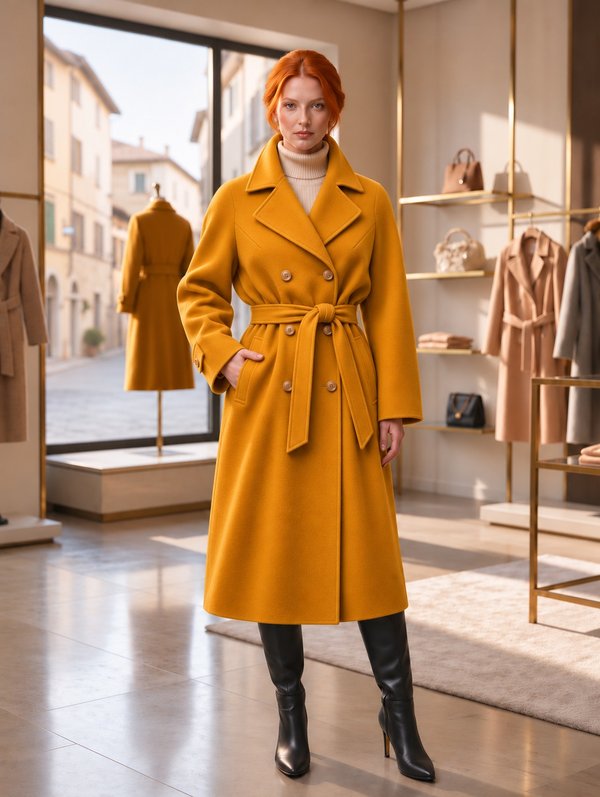
A below-the-knee women's coat, flared from the shoulders, with raglan sleeves in two parts, princess seams front and back, vertical single-welt pockets and turned-back lined cuffs. Single-breasted button front with a turn-down collar; fully lined.
When To Wear
- Autumn and early spring over dresses and knitwear: the flared cut leaves room for layers.
- Everyday city wear with trousers or a knee-length skirt.
Key Design Features
Silhouette: A-line, widening from the shoulders to the hem through the princess seams.
Length: Below the knee.
Collar: Turn-down collar with upper and lower collar, the lower collar stitched to the coat neckline and the upper collar to the facings; topstitched 1.5 cm from the edge.
Sleeves: Raglan, in two parts: the front sleeve is sewn to the front, the back sleeve to the back, joined by an overarm seam. Lined cuffs turned back over the sleeve, topstitched 1.5 cm from the top edge, attached through a cuff underlay piece.
Front: Centre front and side front panels joined by princess seams; single-breasted, three buttons, buttonholes on the right front.
Pockets: Vertical single-welt pockets in the side fronts, welts topstitched 1.5 cm from the edges, with underlay pieces on the pocket bags.
Back: Centre back seam and princess seams.
Finishing: Front edges and collar topstitched 1.5 cm from the edge; hem allowances interfaced; shoulder pads.
Lining: Full lining, including the sleeves and cuffs, sewn to the front facings and back neck facing.
Level Of Difficulty
Advanced. Single-welt pockets with mitred ends, a two-part raglan sleeve with lined turn-back cuffs, a collar set between coat and facings, and a full lining.
Fabric Recommendations
Coating fabrics: lightweight wool coating (drap) or velour.
Additional Supplies
- Lining fabric (also for the pocket bags and cuff linings)
- Fusible interfacing (front facings, back neck facing, lower halves of the welts, lower collar, underlay pieces, cuff underlay pieces, hem allowances; 4 cm strips over the pocket markings)
- Buttons
- Shoulder pads
Cutter's Must
- From main fabric:
- Middle Back – 2 pieces
- Side Back – 2 pieces
- Back Neckline Facing – 1 piece on fold
- Center Front Facing – 2 pieces
- Right Upper Collar – 1 piece
- Left Upper Collar – 1 piece
- Right Lower Collar – 1 piece
- Left Lower Collar – 1 piece
- Off-Set Welt – 2 pieces
- Center Front – 2 pieces
- Side Front – 2 pieces
- Underlay Piece – 2 pieces
- Back Sleeve – 2 pieces
- Front Sleeve – 2 pieces
- Cuff – 2 pieces
- Cuff Underlay Piece – 2 pieces
- From lining fabric:
- Cuff – 2 pieces
- Middle Back – 2 pieces
- Side Back – 2 pieces
- Front – 2 pieces
- Back Sleeve – 2 pieces
- Front Sleeve – 2 pieces
- Pocket Bags – 4 pieces
- From fusible interfacing: Center Front Facings, Back Neckline Facing, lower halves of the Off-Set Welts, lower collar, Underlay Pieces and Cuff Underlay Pieces. Additionally, fuse interfacing to the hem allowances.
Sewing Instructions
- Stitch the center back seam and the princess seams of the back and front.
- On the fronts, make the welt pockets: fold each Off-Set Welt right sides together, stitch the ends, turn right side out and press. Topstitch 1.5 cm from the edges. On the wrong side of the front, press a strip of interfacing approximately 4 cm wide over the pocket marking. Place the welt and one Pocket Bag right sides together with the front, pin along the pocket opening marking, and stitch, ensuring that the longitudinal raw edges of the welt and pocket bag align with the center line of the pocket marking. Cut the front along the line between the stitches, and diagonally towards the ends of the stitches. Be careful not to damage the welts and pocket bags! Press the seam allowances open. Turn the welts and pocket bags through the opening to the wrong side and baste. Turn under one long edge of the Underlay Piece and topstitch it onto the second Pocket Bag. On the wrong side of the front, place this pocket bag onto the welt, directing the pocket bag upwards, and from the right side, stitch the welt into the attachment seam, catching the pocket bag. Press the pocket bag downwards. Turn the small triangles at the ends of the opening to the wrong side and stitch precisely from the ends of the upper stitching to the ends of the lower stitching. Trim the pocket bags even and stitch them together. Sew the short ends of the welt to the front.
- Stitch the Front Sleeves to the raglan armholes of the fronts and the Back Sleeves to the raglan armholes of the back.
- Stitch the overarm seams of the sleeves. Stitch the underarm sleeve seams and the side seams of the coat in one.
- Stitch the shoulder seams of the Center Front Facings and the Back Neckline Facing. Place the facings on the coat, right sides together, and stitch along the front edges.
- Join the right and left collar halves, then stitch the upper and lower collar together along the outer edge and turn. Stitch the lower collar into the coat neckline, right sides together, and the upper collar to the neckline of the facings. Press the seam allowances open. Stitch together the pressed-open seam allowances of the lower collar seam and the Back Neckline Facing seam.
- Stitch the main-fabric and lining Cuffs into rings. Stitch each Cuff to its lining along the upper edge, turn and topstitch 1.5 cm from the edge. Stitch the lower edge of the lining cuff to the Cuff Underlay Piece, press the seam allowances open and topstitch. Stitch the Cuff Underlay Piece to the sleeve.
- Lower edge: fold the facings forward onto the right side of the coat. Turn the hem seam allowances to the wrong side and stitch. Turn the facings to the inside. Topstitch the front edges and the collar 1.5 cm from the edge.
- Attach shoulder pads.
- Assemble the lining pieces. Stitch the lining to the lower edges of the cuff linings, the inner edges of the Center Front Facings and the Back Neckline Facing. Hem the lining.
- Work buttonholes on the right front and sew the buttons on the left front.