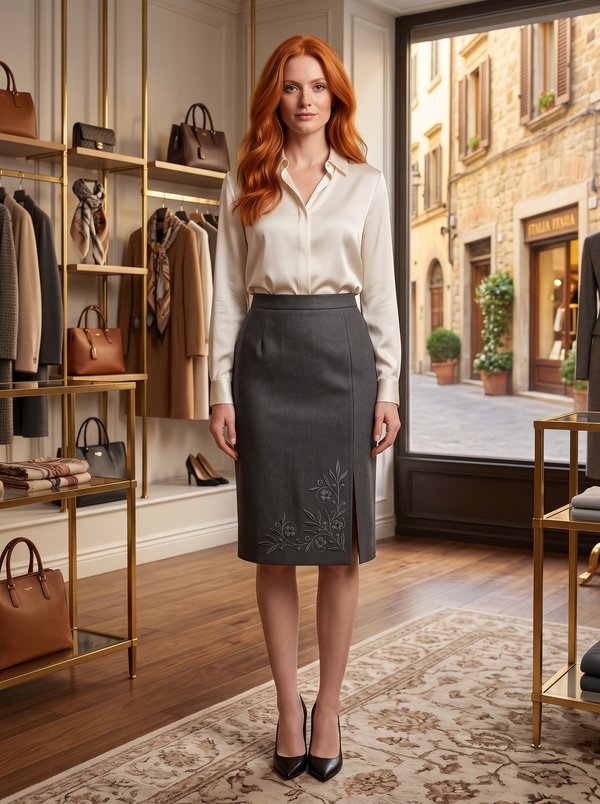
Boule Skirt
A women's lined panel skirt with a rounded boule shape: wide through the hips and tapering in towards the hem. It has curved princess seams front and back, a zipper and a slit in the centre back seam, and an upper edge bound with bias binding instead of a waistband.
When To Wear
- For the office, with a tucked-in shirt or a fitted knit top and a short jacket.
- For dinners and theatre evenings when made in silk, with a simple top so the shape of the skirt stays in view.
Key Design Features
Silhouette: Rounded boule shape, curving out from the waist over the hips and narrowing at the hem.
Skirt: Seven panels: a centre front panel cut on the fold, two centre back panels and four side panels. Curved princess seams run from waist to hem on the front and back.
Waist: No waistband. The upper edge is trimmed to 8 mm and bound with a bias strip, edge-stitched, with a hook and eye at the ends of the binding.
Closure: Zipper in the centre back seam, set so the teeth are not visible.
Back: Slit at the lower end of the centre back seam; its edge allowances are fused with interfacing and sewn to the hem allowance.
Finishing: Hem pressed up and sewn by hand.
Lining: Full lining cut from the same panels, basted to the upper edge and caught in the binding, sewn by hand to the zipper tapes; the lining hem is 2 cm shorter than the skirt.
Level Of Difficulty
Intermediate. Matching curved princess seams on seven panels, a centre back zipper above a slit, a lined skirt and a bias-bound upper edge.
Fabric Recommendations
Light skirt fabrics; the sample is made in silk.
Additional Supplies
- Lining fabric
- Fusible interfacing (slit edge allowances)
- Zipper
- Hook and eye
Cutter's Must
- From main fabric:
- Front-Back Gore – 3 pieces (1 cut on fold for the center front, 2 for the center back)
- Skirt Gore – 4 pieces (front and back side panels)
- Waistband (bias binding for the upper edge) – 1 piece
- From lining fabric:
- Front-Back Gore – 3 pieces (1 cut on fold for the center front, 2 for the center back)
- Skirt Gore – 4 pieces
- From fusible interfacing: strips for the seam allowances along the edges of the back lower slit.
Sewing Instructions
- Iron fusible interfacing to the seam allowances along the edges of the back lower slit (fusible interfacing is ironed to the wrong side of the piece with a strongly heated iron).
- Stitch the center back seam between the zipper opening mark and the lower slit mark. Press the seam allowances open. Press the seam allowances along the edges of the zipper opening and the slit to the wrong side.
- Stitch the zipper so that the teeth are not visible.
- Stitch the front and back princess seams (Front-Back Gores to Skirt Gores), as well as the side seams. Press the seam allowances open.
- On the lining pieces, stitch the seams. Insert the lining into the skirt, wrong side to wrong side, baste to the upper edge of the skirt, turn under and sew to the zipper tapes.
- Trim the seam allowance at the upper edge of the skirt to a width of 8 mm. Bind the upper edge of the skirt with the bias binding (Waistband piece). Fold the binding in half lengthwise, right side out, and press. Unfold it flat again. Turn one long edge towards the pressed fold and press. Turn the second long edge towards the pressed fold, stopping 2 mm short of it, and press. Fold the binding again along the center fold. Insert the upper edge of the skirt between the halves of the binding, butting the raw edge against the center fold, with the wider half of the binding on the lining side. Pin the outer half of the binding, turn under the ends of the binding and stitch them closed, baste the binding and edge-stitch. Sew a hook and eye to the ends of the binding.
- Press the hem seam allowance of the skirt to the wrong side and sew by hand. Sew the slit edge allowances to the hem allowance. Hem the lining so that the lining is 2 cm shorter than the skirt.