Tailored Women's Blazer
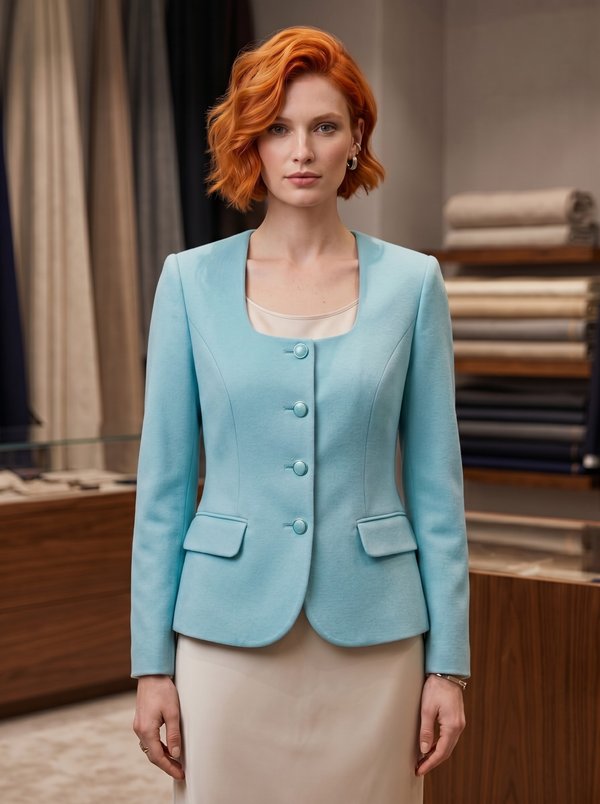
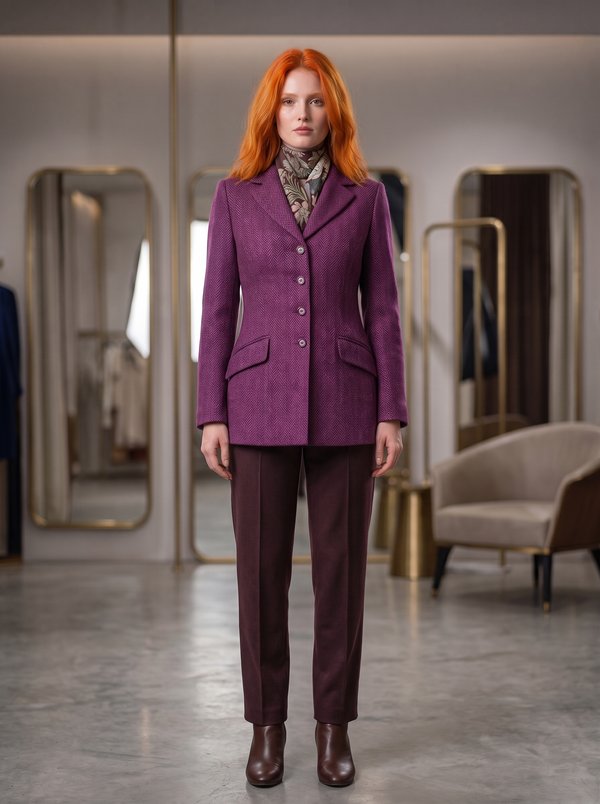
A women's hip-length jacket with notched lapels, a horizontal front seam above the waist, pockets set into the openings of the front darts and a concealed button closure. Back panel seams, two-piece sleeves, fully lined.
When To Wear
- For the office and business meetings, with matching trousers or a skirt.
- Over a blouse or a fine knit top with jeans for everyday wear in spring and autumn.
Key Design Features
Silhouette: Fitted, shaped by front darts below the horizontal seam and by back panel seams.
Length: Hip length.
Collar: Notched collar and lapels; upper collar and facing lapels slightly wider than the under layers.
Sleeves: Two-piece set-in sleeves (upper and under sleeve), eased cap, a 4 cm strip of synthetic padding under the cap seam allowances. Shoulder pads.
Front: Each front is cut in two parts joined by a horizontal seam above the waist, with a vertical dart in the lower part.
Closure: Concealed: buttonholes are stitched round 2 mm from the marking over a piece of suede and cut in the right front facing; topstitching along the front edge keeps them hidden. Buttons on the left front.
Pockets: Vertical pockets in the openings of the front darts, with one pocket bag in main fabric and one in lining.
Back: Centre back cut on the fold between two side back panels.
Lining: Full bagged lining with a 2 cm ease pleat at the centre back and an ease fold at the hem, turned through a 20 cm opening in one sleeve seam.
Level Of Difficulty
Advanced. A notched collar set between the jacket and the facings, buttonholes worked through the facing for a concealed closure, dart pockets, a two-piece sleeve with sleeve-head padding and a bagged lining.
Fabric Recommendations
Medium-weight jacket fabrics that hold a crisp edge: wool suiting, gabardine, faux suede.
Additional Supplies
- Lining fabric
- Fusible interfacing (fronts, front facings, back neck facing, collar, pocket areas, sleeve and jacket hem allowances)
- Buttons for the concealed closure
- Small piece of suede (behind the buttonholes)
- Shoulder pads
- Strip of synthetic padding about 4 cm wide (sleeve heads)
Cutter's Must
- From main fabric:
- 1. Front - 2 pieces
- 2. Lower Front - 2 pieces
- 3. Center Back - 1 piece on fold
- 4. Side Back - 2 pieces
- 5. Upper Sleeve - 2 pieces
- 6. Lower Sleeve - 2 pieces
- 7. Lower Collar (upper and under collar) - 2 pieces, each on fold
- 8. Center Front Facing - 2 pieces
- 9. Back Neckline Facing - 1 piece on fold
- 10. Pocket Bag - 2 pieces
- From lining fabric:
- Front - join the Front and Lower Front paper pattern pieces and cut minus the width of the center front facing - 2 pieces
- Back - Center Back minus the width of the back neckline facing, with a pleat approx. 2 cm deep along the center line for ease
- 11. Upper Sleeve - 2 pieces
- 12. Lower Sleeve - 2 pieces
- 13. Pocket Bag - 2 pieces
- From fusible interfacing: reinforce the fronts, center front facings, back neckline facing, collar and pocket areas; on the sleeves, the hem allowances. Additionally, press interfacing to the hem allowances of the jacket pieces.
Sewing Instructions
- Stitch the upper edge of each lower front to the front.
- Stitch the dart, leaving the pocket opening open.
- From the wrong side of the front, place both pocket bags of each pocket (one main-fabric, one lining) on the pocket opening seam allowances, right sides together, and pin, pinning the lining pocket bag to the front (center-side) seam allowance of the opening.
- Stitch the pocket bag from the main material exactly along the marked seam line, and the lining pocket bag - stopping 0.75 cm before the marked seam line.
- Turn the pocket bags forward and stitch.
- Stitch the back panel seams (center back to side backs), side seams and shoulder seams.
- On the right center front facing, stitch along the four sides of the marking for each buttonhole at a distance of approx. 2 mm, placing a piece of suede on the wrong side. Cut the buttonholes.
- Stitch the back neckline facing to the center front facings.
- Place the facings on the jacket right sides together and pin along the front edges and lapels, making the lapels of the facings slightly wider than the lapels of the fronts at the corners.
- Stitch the center front facings along the front edges and lapels up to the collar notch (leave the facings lying on the fronts right sides together for now).
- Stitch the two collar pieces together along the outer edge, making the upper collar slightly wider than the under collar.
- Insert the collar between the facings and the jacket.
- Stitch the under collar into the neckline of the fronts.
- Clip the fronts at the corners up to the stitching. Stitch the long edge of the under collar into the back neckline of the jacket.
- Stitch the upper collar into the neckline of the facings, clipping the facing seam allowances at the corners.
- Trim the seam allowances of the upper and under collar seams to 0.75 cm and press them open.
- Turn the center front facings to the wrong side.
- Precisely pin the upper and under collar seams together across the back.
- Turn the back neckline facing up and stitch the seam allowances of the two collar seams together close to the seam.
- Press the jacket hem seam allowance to the wrong side, but do not stitch yet.
- Stitch the upper sleeve and lower sleeve together.
- Turn the sleeve hem seam allowances to the wrong side and press.
- Set in the sleeves, easing them at the cap.
- Under the seam allowances of each sleeve attachment seam in the cap area, sew a strip of synthetic padding approx. 4 cm wide.
- Attach shoulder pads.
- Create a pleat for ease of fit on the back lining and secure it under the neckline and a few centimeters above the hemline of the garment.
- Stitch the darts on the lining pieces.
- Stitch the lining pieces similarly to the main garment, leaving an unstitched section of about 20 cm on the elbow seam of one of the sleeves.
- Insert the lining into the main garment, right sides facing in, aligning along the center back line and shoulder seams.
- Stitch the lining to the center front facings and neckline.
- Stitch the lining to the bottom of the sleeves.
- Form an ease fold at the hem and stitch the lining to the hem edge.
- Turn the garment right side out through the unstitched sleeve section, then stitch this section closed.
- Topstitch the right front along the front edge as marked, so that the buttonholes stay hidden. Sew the buttons on the left front to match.