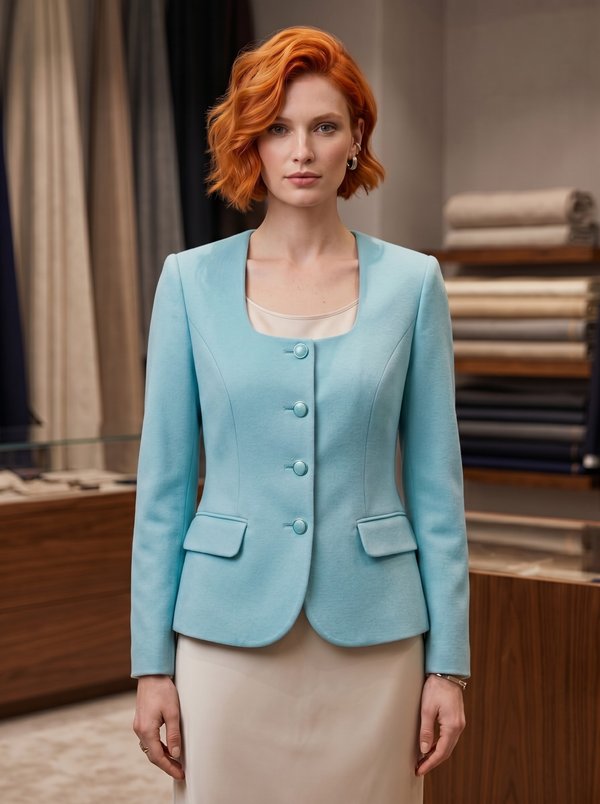
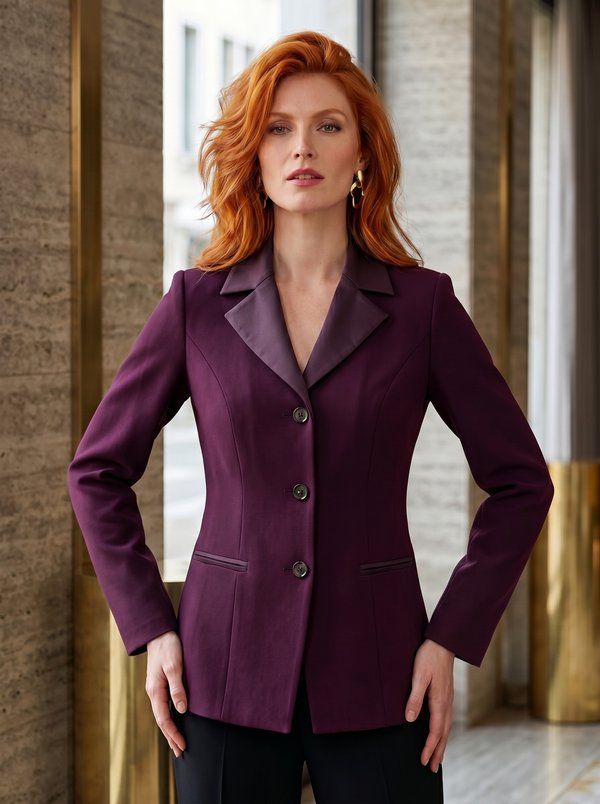
Single-Breasted Wool Jacket
A lined, hip-length women's jacket in wool with a notched collar, a single-breasted four-button front, framed welt pockets with flaps and two-piece set-in sleeves. Shaped with darts on the fronts and back.
When To Wear
- As a suit jacket for the office, with trousers or a straight skirt.
- Over knitwear or a shirt in autumn and spring.
Key Design Features
Silhouette: Semi-fitted, shaped by vertical darts on the fronts and back.
Length: Hip length, straight hem.
Collar: Notched collar with lapels; interfaced under collar set into the jacket neckline, upper collar joined to the facings and stitched to the front edges in one seam.
Sleeves: Two-piece (upper and lower sleeve); the cap is eased with gathering stitches and shrunk with the iron before setting in; interfaced hem allowance.
Closure: Single-breasted, four buttons with buttonholes on the right front.
Pockets: Two framed welt pockets with two pocket frames and a flap on the lower fronts; flaps backed with lining fabric and edgestitched.
Back: Centre back seam and two vertical darts.
Finishing: Shoulder pads; interfaced front facings, back neckline facing and back hem allowances.
Lining: Full lining cut from the jacket pieces minus the facings, with a 1 cm ease pleat at the centre back and an ease fold at the hem.
Level Of Difficulty
Advanced. Framed welt pockets with flaps, a two-part notched collar, shrinking the sleeve cap and a full bagged lining; in plaid, the checks must be matched at the seams.
Fabric Recommendations
Wool. Plaid wool also works if the checks are matched at the seams when cutting.
Additional Supplies
- Lining fabric (lining, pocket bags, flap underside)
- Fusible interfacing (front facings, under collar, flaps, back neckline facing, back and sleeve hem allowances, a 4 cm strip at the pocket markings)
- 4 buttons
- Shoulder pads
Cutter's Must
- From wool:
- Back - 2 pieces
- Front - 2 pieces
- Upper Sleeve - 2 pieces
- Lower Sleeve - 2 pieces
- Collar - 2 pieces
- Flap - 2 pieces
- Pocket Frame - 4 pieces
- Center Front Facing - 2 pieces
- Back Neckline Facing - 1 piece
- From lining fabric:
- Cut the lining fronts from the Front pattern minus the width of the center front facings. Cut the sleeve hems with a seam allowance only. Cut the lining back from the Back pattern minus the width of the back neckline facing, with the center back on the fold; the grain line runs parallel to the fold, which creates an ease pleat approximately 1 cm deep.
- Upper Pocket Bag - 2 pieces
- Lower Pocket Bag - 2 pieces
- Flap - 2 pieces
- From fusible interfacing:
- Additionally, iron fusible interfacing to the hem allowances of the back pieces.
Note: If you are sewing a jacket from plaid fabric, pin the pieces to the fabric, aligning the plaid pattern at the seams.
Sewing Instructions
- Reinforce the center front facings, under collar, flaps and back neckline facing with fusible interfacing (heat-activated interfacing is ironed to the wrong side of the piece with a hot iron).
- On the fronts, stitch and press open the darts, and trim the seam allowances along the pocket openings. Baste the pocket openings closed with cross stitches, precisely aligning the edges of the openings.
- Stitch the side seams of the jacket.
- On the fronts, make framed welt pockets with two pocket frames and flaps: stitch one main-fabric flap and one lining flap right sides together along the sides and lower edge, turn and edgestitch. On the wrong side of the front, iron a strip of interfacing approximately 4 cm wide over the pocket marking. Place two pocket frames on the front, right sides together, pin along the pocket opening marking and stitch, making sure the long raw edges of the pocket frames align with the center line of the pocket marking. Cut the front between the stitching lines, cutting diagonally towards the ends of the stitching. Be careful not to cut the pocket frames! Press the cut edges away from the opening. Turn the pocket frames through the opening to the wrong side so that a neat frame is formed and baste, with the folded edges of the frames meeting in the middle of the opening. Stitch in the ditch of the attachment seams. Turn the small triangles at the ends of the opening to the wrong side and stitch them to the frames exactly from the end of the upper stitching to the end of the lower stitching. Insert the open edges of the flaps between the frames and stitch them in the ditch of the upper frame seam. From the inside, stitch the upper pocket bag to the flap seam allowances and the lower pocket bag to the seam allowances of the lower frame. Trim the pocket bags even and stitch them together.
- On the back pieces, stitch and press open the darts. Stitch the center back seam.
- Stitch the shoulder seams. Attach the under collar to the neckline. Stitch the shoulder seams of the back neckline facing and center front facings, and attach the upper collar to the neckline of the facings; press the seam allowances open and clip the curves. Place the upper collar joined with the facings on the jacket, right sides together, and stitch the front edges and collar; turn right side out and press; hand-stitch the raw edge of the upper collar to the neckline. From the right side, roll and straighten the front edges and collar, and baste.
- Two-piece sleeve: reinforce the sleeve hem allowance with fusible interfacing. Stitch the upper sleeve and lower sleeve together along both seams; press the seam allowances open and turn the sleeve right side out. Press the sleeve hem allowance to the inside.
- Setting in the sleeve: gather the sleeve cap with small running stitches between the marks and pull up the thread until it matches the corresponding length of the armhole. Dampen the fabric and shrink out the gathers with the tip of a hot iron. Pin the sleeve into the armhole, matching the notches, and stitch from the sleeve side. Attach the shoulder pads.
- Lining: fold the ease pleat and secure it below the neckline and a few centimeters above the hemline. Stitch the center back seam of the lining back and the darts on the lining pieces. Sew the lining pieces together in the same way as the jacket, leaving an opening of about 20 cm in the elbow seam of one sleeve. Place the lining in the jacket right sides together, matching the center back and shoulder seams. Stitch the lining to the facings and neckline. Form an ease fold at the hem and stitch the lining to the hem allowance. Turn the jacket right side out through the opening in the sleeve lining, then stitch the opening closed. Make buttonholes on the right front as marked and sew on the buttons.