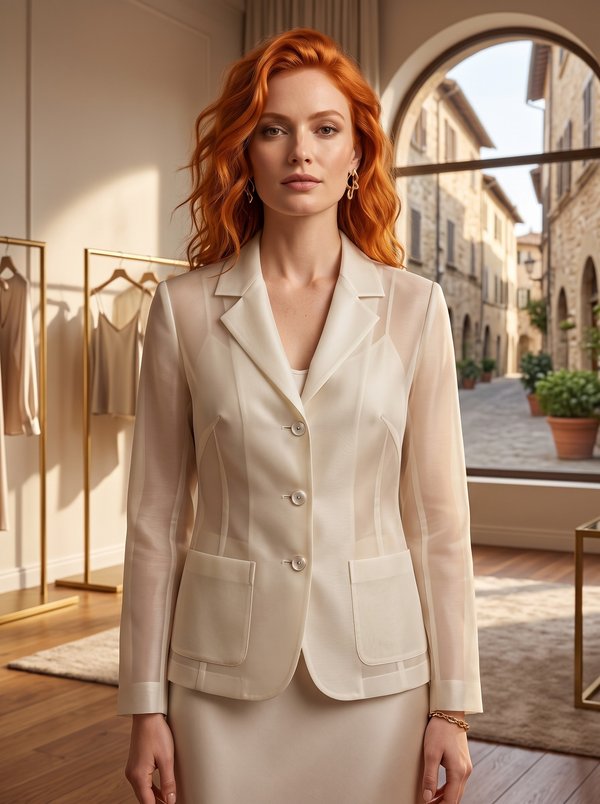
Shawl Collar Single-Breasted Blazer with Contrast Trim
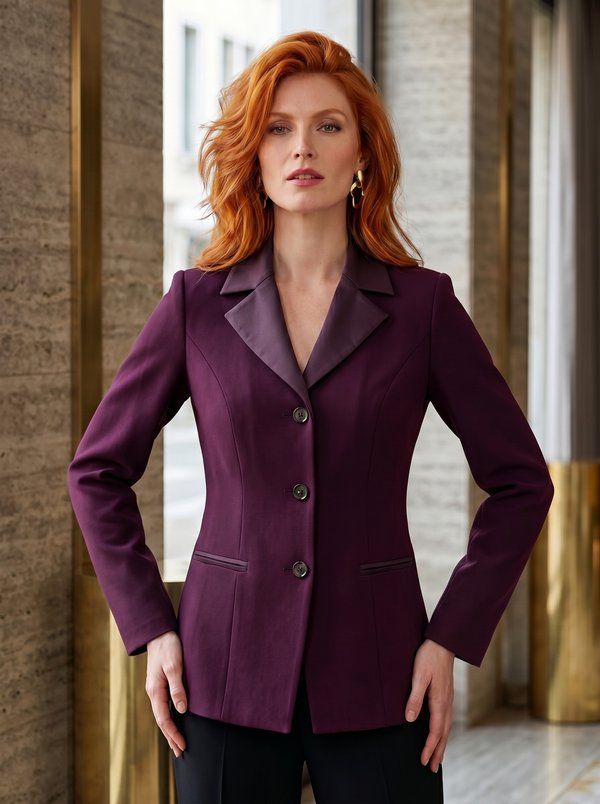
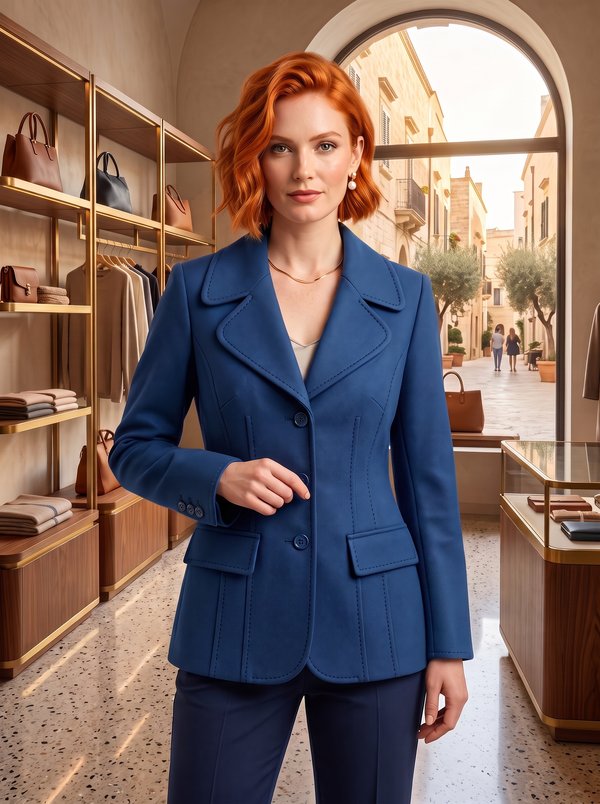
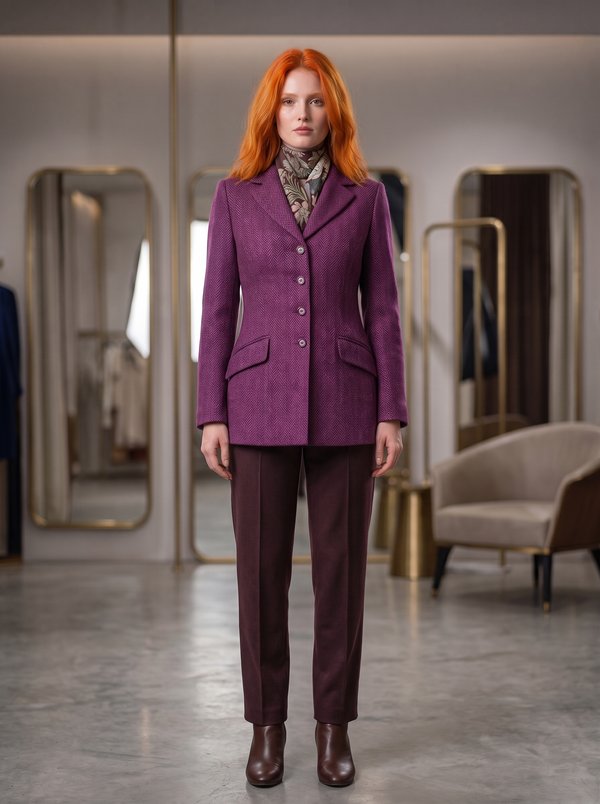
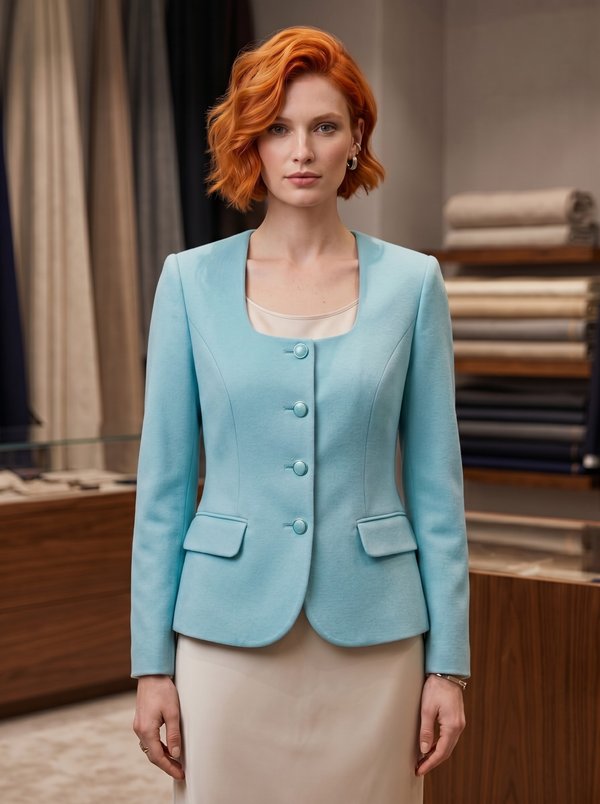
A fitted, hip-length women's jacket with a double-layer shawl collar, princess seams on the front and back and two-tone welts set into a horizontal seam on the side fronts. The collar layers, welts, cuffs and front facings are cut partly from a contrasting fabric.
When To Wear
- For the office over a blouse or a fine knit, with trousers or a straight skirt.
- For evening events and receptions, with the contrast trim in satin or another lustrous fabric.
Key Design Features
Silhouette: Fitted at the waist by princess seams on the front and back.
Length: Hip length.
Collar: Two shawl collars laid one over the other. The lower collar is cut in two parts (main fabric and contrasting fabric), stitched along the shaped edge and basted to the front; the upper collar is joined to the facings. Both collars and the back neck facing are interfaced.
Closure: Single-breasted, buttonholes on the right front; the drawing shows four buttons. Front facings in the contrasting fabric.
Sleeves: Two-piece set-in sleeves with eased caps, finished with a double-layer cuff: the outer layer in contrasting fabric, topstitched along the fold.
Front: Each side front is cut in an upper and a lower part; an off-set welt (main fabric under, contrasting fabric on top) is caught into the seam between them and its short ends are basted to the side front. The welts have no pocket bags.
Back: Centre back seam and princess seams.
Finishing: Shoulder pads; interfaced hem allowances on the back and sleeves.
Level Of Difficulty
Advanced. A double-layer shawl collar set between jacket and facings, welts caught into a seam, eased two-piece sleeves and two-fabric cuffs.
Fabric Recommendations
Main fabric: jacket-weight suiting, crepe or gabardine. Contrasting fabric: satin or another fabric of similar weight that presses well.
Additional Supplies
- Contrasting fabric (welts, collar upper parts, front facings, cuffs)
- Fusible interfacing (upper and lower collars, lower welts, back neck facing, cuffs, hem allowances of the back and sleeves)
- Buttons for the front
- Shoulder pads
Cutter's Must
- From main fabric:
- Lower Part of Upper Collar – 1 piece
- Center Back – 2 pieces
- Side Back – 2 pieces
- Upper Side Front – 2 pieces
- Lower Off-Set Welt – 2 pieces
- Lower Side Front – 2 pieces
- Back Neckline Facing – 1 piece
- Center Front – 2 pieces
- Lower Part of Lower Collar – 2 pieces
- Upper Sleeve – 2 pieces
- Lower Sleeve – 2 pieces
- Lower Cuff – 2 pieces
- From contrasting fabric:
- Upper Off-Set Welt – 2 pieces
- Upper Part of Upper Collar – 1 piece
- Upper Part of Lower Collar – 2 pieces
- Center Front Facing – 2 pieces
- Upper Cuff – 2 pieces
- From fusible interfacing:
- Upper Collar – 1 piece
- Lower Collar – 2 pieces
- Lower Off-Set Welt – 2 pieces
- Back Neckline Facing – 1 piece
- Cuff – 2 pieces
- Strips for the hem allowances of the back pieces and sleeves
Sewing Instructions
- Place one lower off-set welt (main fabric) and one upper off-set welt (contrasting fabric) right sides together, stitch along the upper edge, turn and edgestitch. Overlock the open edges of the welt together.
- Baste the welt to the lower side front (welt pointing downwards) and stitch the upper side front to the lower side front. Fold the welt up and baste its short ends to the side front. The welts are decorative: there is no pocket opening and no pocket bag.
- On the back, stitch the center back seam and princess seams and press them open; stitch the front princess seams. Stitch the side and shoulder seams of the jacket.
- Place the upper part of lower collar and the lower part of lower collar right sides together, stitch along the upper and shaped edges, turn and press. Overlock the remaining open edges together.
- Baste the lower collar to the front and stitch within the seam allowance. Stitch the lower part of upper collar into the neckline. Stitch the shoulder seams of the back neckline facing and center front facings, and stitch the upper part of upper collar into the neckline of the facings. Press the seam allowances open and clip the curves.
- Place the upper collar with the attached facings on the jacket, right sides together, and stitch the front edges and collar; turn right side out and press. Hand-stitch the neckline allowance of the upper collar to the neckline seam.
- From the right side, roll the front edges and collar into position and baste. Lower edge: fold the center front facings forward. Turn the hem allowance to the wrong side and stitch. Turn the facings back to the wrong side.
- Two-piece sleeves: Interface the sleeve hem allowance. Stitch the upper sleeve and lower sleeve together; press the seam allowances open and turn the sleeve right side out. Press the hem allowance to the inside.
- Setting the sleeves: Run small ease stitches along the sleeve cap between the marks and pull the thread to fit the armhole. Dampen the fabric and shrink out the fullness with the tip of a hot iron. Pin the sleeve into the armhole, matching the notches, and stitch from the sleeve side.
- Cuffs: Place the upper cuff and lower cuff right sides together in pairs and stitch along the upper edges. Open each cuff out flat and stitch the short ends. Fold the cuff in half, wrong sides together, and topstitch along the fold.
- Stitch the main fabric layer of the cuff (lower cuff) to the lower edge of the sleeve, right sides together, and press the seam allowances open. Overlock the open allowances, press them to the wrong side and stitch in the ditch of the cuff seam.
- Sew in the shoulder pads. Make the buttonholes on the right front as marked and sew on the buttons.