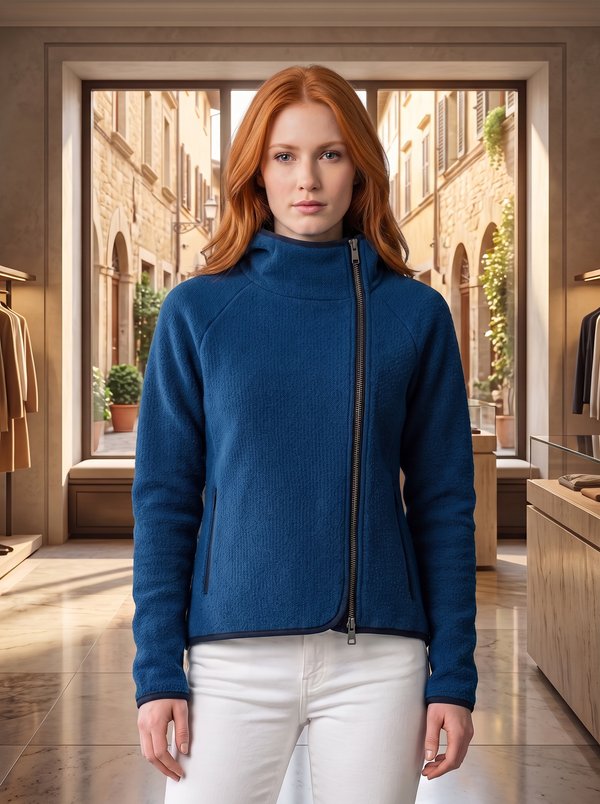
Sleeveless Hoodie
A women's sleeveless hip-length hoodie with the hood cut in one with the fronts, a concealed half-zip at the centre front and a horizontal seam above the hem that holds a flap with two eyelets and a threaded tie over a patch pocket.
When To Wear
- Over a long-sleeved top or a T-shirt in spring and early autumn.
- With jeans or trousers for everyday and weekend wear.
Key Design Features
Silhouette: Straight, loose fit with darts on the fronts.
Length: Hip length, with a separate lower band joined to the front and back by a horizontal seam.
Collar: Hood cut in one with the fronts and set into the back neckline; the centre hood seam is a flat-felled seam topstitched 0.75 cm from the seam. The hood opening is turned under to 1.5 cm and topstitched.
Sleeves: Sleeveless; armholes bound with a self-fabric bias binding.
Closure: Concealed 22 cm zip at the centre front; below it the centre front is a closed seam.
Pockets: Patch pocket at the centre of the lower front band, topstitched close to the edge and at 0.75 cm. Above it, a flap is caught into the seam between the bodice and the lower band; two eyelets on the flap carry a tie made of a bias strip.
Back: Centre back seam topstitched close to the seam and at 0.75 cm; lower back band cut on the fold.
Finishing: Shoulder seams and the lower band seam topstitched; 4 cm hem topstitched.
Level Of Difficulty
Intermediate. A cut-on hood with a flat-felled centre seam, a concealed zip set into a partial opening, bias-bound armholes and a flap caught into a horizontal seam.
Fabric Recommendations
Blouse fabrics or gabardine.
Additional Supplies
- Fusible interfacing (flap)
- 1 concealed zip, 22 cm
- 2 eyelets, inner diameter about 0.5 cm
Fabric & Materials
You will need: Gabardine, 150 cm wide - to determine the length of material needed for cutting, lay out the paper patterns on the fabric width and determine the required length; fusible interfacing; 1 invisible zipper, 22 cm long; 2 eyelets with an inner diameter of approx. 0.5 cm. Fabric recommendations: blouse fabrics.
Cutter's Must
- Front Hood (front cut in one with the hood) – 2 pieces
- Back – 2 pieces
- Lower Front – 1 piece on fold
- Lower Back – 1 piece on fold
- Flap – 1 piece on fold
- Pocket – 1 piece
- Armhole Facing (bias binding) – 2 pieces
- Casing Tie – 1 piece
Interfacing: reinforce half the width of the Flap with fusible interfacing.
Sewing Instructions
- Sew the centre back seam. Press the seam allowances to the right and topstitch the right Back along the seam, close to the seam and 0.75 cm from it.
- Sew the centre hood seam as a flat-felled seam: stitch the seam, press both seam allowances to one side, trim the lower seam allowance close to the stitching, turn under the upper seam allowance, baste and topstitch from the right side of the hood 0.75 cm from the seam.
- On each Front Hood, clip the seam allowance into the corner. Stitch the darts and press them towards the back.
- Sew the shoulder seams. Set the hood into the back neckline. Trim the seam allowances of this seam to 0.5 cm, serge them together and press downwards. Press the shoulder seam allowances towards the front and topstitch the front close to the seams.
- Sew the invisible zipper between the cross marks at the centre front, stitching it only from the start of the coil. Turn under the upper ends of the zipper tapes and sew them to the seam allowances.
- Sew the centre front seam from the lower zipper mark down. Turn the seam allowance along the hood opening and the seam allowances along the front opening to the wrong side, turning them under to a width of 1.5 cm. Topstitch close to the edge, stitching diagonally towards the top end of the zipper.
- Sew the side seams, including those of the Lower Front and Lower Back. Press the hem allowance to the wrong side, turn it under to a width of 4 cm and topstitch.
- Press the cut-on facing at the top of the Pocket to the wrong side and topstitch. Press the seam allowances along the side and lower edges of the Pocket to the wrong side. Pin the Pocket to the Lower Front along the placement lines and topstitch close to the edge and 0.75 cm from it.
- Stitch the Flap along the side edges, turn it right side out and topstitch. Set the eyelets on the Flap at the markings. Baste the Flap, with its open raw edges together, to the upper edge of the Lower Front between the cross marks. Stitch the lower band to the upper part of the hoodie, catching the Flap in the seam. Press the seam allowances up and topstitch along the seam.
- Bind the armholes with the Armhole Facing bias strips. Before pressing the strips, make a template: cut a strip 2.2 cm wide (twice the width of the finished binding plus 2 mm) from thin card or stiff interfacing. Place the template on the wrong side of each strip along its lengthwise centre line, turn the long edges of the strip over the template, press and remove the template. Then fold the strip lengthwise almost in half and press, so that the lower half is 2 mm wider than the upper half. Stitch the ends of the binding together. Trim the seam allowances off the armhole edges. To ease the armholes, sew a line of long machine stitches 0.75 cm from the edge of each armhole (starting from the seams) and draw up the fabric slightly on the bobbin thread. Insert the edge of each armhole between the two halves of the binding, matching the edge to the fold of the binding, with the wider half on the wrong side. From the right side, topstitch the binding close to the edge, catching the half underneath.
- On the Casing Tie bias strip, press the long raw edges 0.75 cm to the wrong side. Fold the strip in half lengthwise and topstitch the long edges together close to the edge. Thread the ends of the tie through the eyelets of the Flap.