Professional made-to-measure digital sewing patterns — PDF · PLT · DXF AAMA
A sleeveless women's dress below the knee with a V-neck, a double-breasted button front, princess seams and a flared lower part with pleats turned towards the side seams. Drafted to your own measurements. Recommended fabric: dress fabrics of natural or blended fibres.
A sleeveless women's dress below the knee with a V-neck, a double-breasted button front, princess seams and a flared lower part with pleats turned towards the side seams.
Silhouette: Fitted bodice, flared from the waist.
Length: Below the knee.
Neckline: V-neck formed by the double-breasted overlap, finished with an interfaced front and back neck facing.
Sleeves: Sleeveless; armholes finished with a 4 cm bias strip folded in half and topstitched to the inside.
Front: Centre front panel running to the hem; side fronts joined by a princess seam that turns at the waist, with pleats in the lower part.
Closure: Double-breasted with buttonholes on both fronts, outer buttons and inside buttons.
Back: Upper back with darts, joined at the waist to a lower back cut on the fold with pleats.
Finishing: Hem turned 2.5 cm and topstitched; seams serged.
Intermediate. A princess seam with a clipped corner at the waist, pleats, a faced double-breasted front with buttonholes and bias-bound armholes.
Dress fabrics of natural or blended fibres.
If the patterns have a double contour, they include seam allowances. If the contour is single, the patterns do not include seam allowances. Seam allowances: all seams 1 cm; hem allowance – 2.5 cm. Attention! First, print out the paper patterns and lay them out on the fabric width (fabric width can be from 90cm to 150cm) to determine how much material you will need (do not forget to account for paired and symmetrical details). When stitching pieces, pay attention to the notches - they must match!
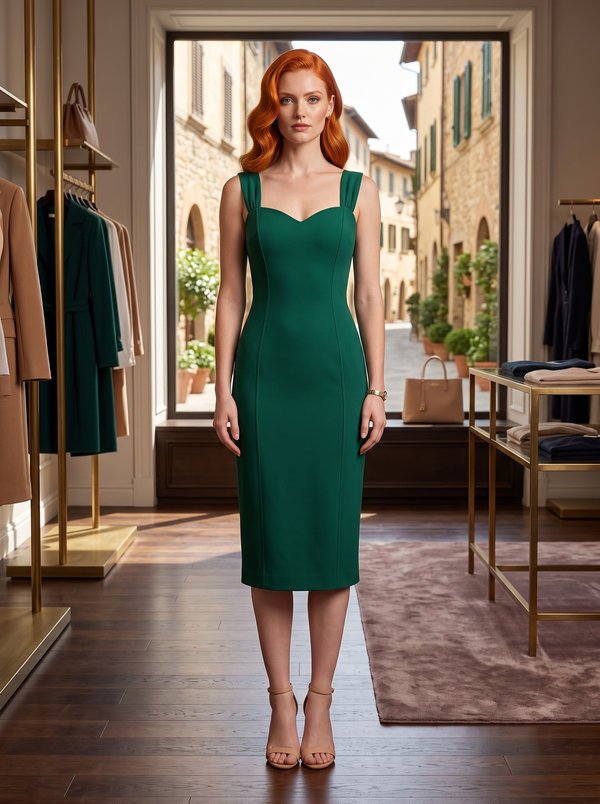
#4944
Fitted Strap Dress with Back Vent

#4932
Strappy Button Front Gathered Midi Dress
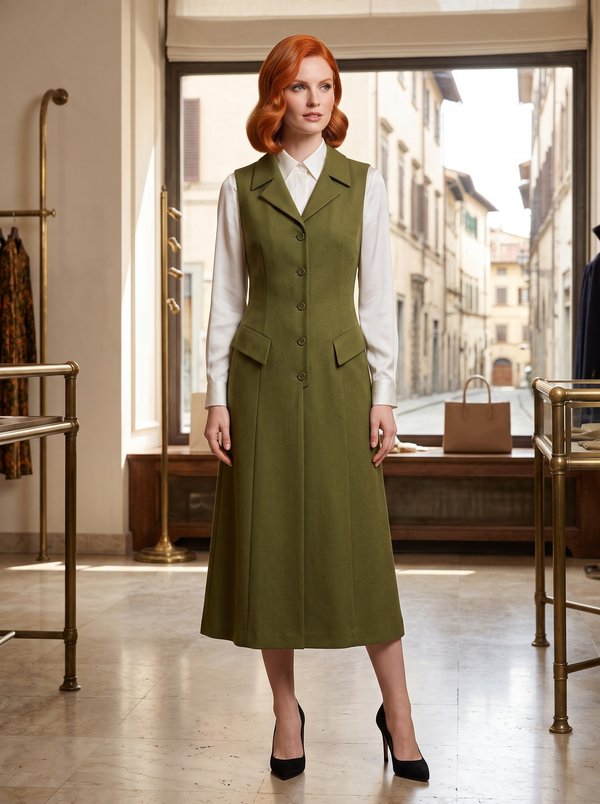
#5070
Fitted Collared Pinafore with Flapped Pockets

#4869
Buttoned Strap Pinafore Dress with Pockets

#4785
Sleeveless Racerback Blouson Dress
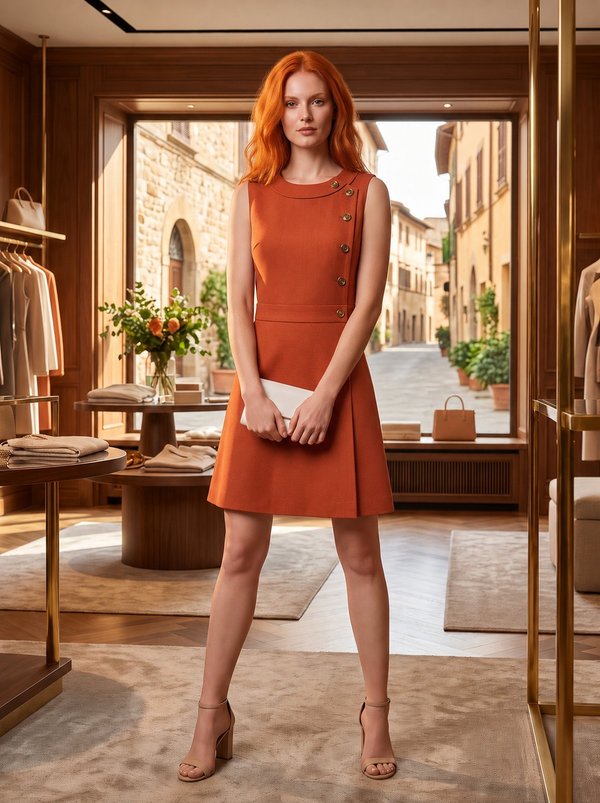
#4746
Asymmetrical Button Front Sleeveless A-line Dress
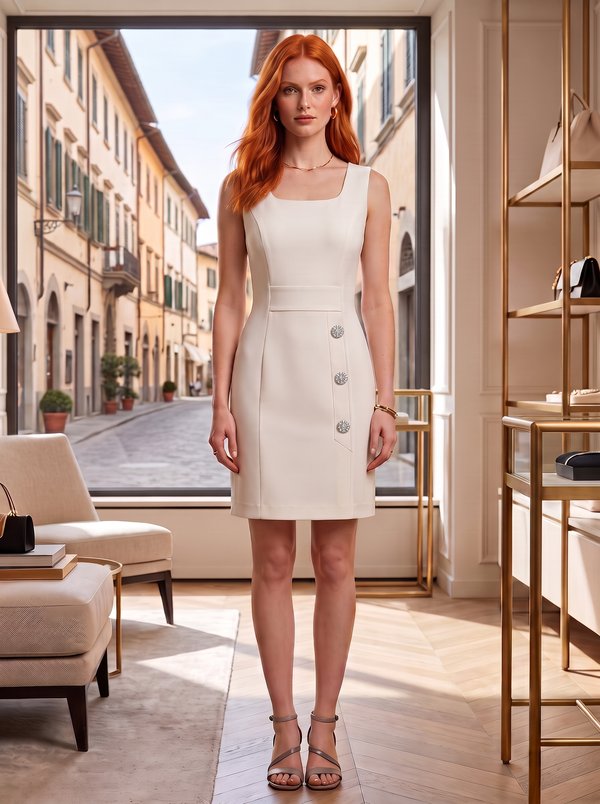
#4745
Square Neck Sheath Dress with Buttons

#4696
Sleeveless Gathered Neck Trapeze Dress

Minerva Support
Online