Professional made-to-measure digital sewing patterns — PDF · PLT · DXF AAMA
A women's below-the-knee lined coat with a notched collar and lapels, princess seams front and back, in-seam pockets in the front princess seams and a separate tie belt. The right front buttons over the left, with an inner button underneath. Drafted to your own measurements. Recommended fabric: coating fabrics made from natural or blended fibres.
A women's below-the-knee lined coat with a notched collar and lapels, princess seams front and back, in-seam pockets in the front princess seams and a separate tie belt. The right front buttons over the left, with an inner button underneath.
Silhouette: Fitted, shaped by princess seams and darts on the back and centre fronts; the belt draws in the waist.
Length: Below the knee.
Collar: Notched collar with lapels: the lower collar is set into the coat neckline and the upper collar into the facings. Front edges understitched 0.2 cm.
Sleeves: Long two-piece set-in sleeves with elbow and front seams; shoulder pads.
Closure: Buttonholes on the right front and buttons on the left front; one more buttonhole at the top of the left front fastens to an inner button.
Pockets: In-seam pockets in the front princess seams, with lining-fabric pocket bags.
Back: Centre back seam, princess seams and darts.
Waist: Separate tie belt, cut in one piece and folded lengthwise.
Lining: Full lining of the body and sleeves, cut from the main pieces minus the facings and bagged out through an opening in the left side seam.
Intermediate. A notched collar with faced lapels, in-seam pockets in princess seams, a bagged full lining, set-in two-piece sleeves with shoulder pads and buttonholes.
Coating fabrics made from natural or blended fibres.
From Main Fabric:
From Lining Fabric:
Lining pieces are cut using main pattern pieces with the following modifications:
From Fusible Interfacing:
All interfacing pieces are cut using the corresponding main pattern pieces.
Additionally, interface:
Before cutting your fabric:
Apply fusible interfacing to the required pattern pieces.
Stitch the darts on the Center Back pieces, press the dart intake toward the center.
Stitch the shaped seams of the Center Back with the Side Back, press the seam allowances open.
Stitch the center back seam, press the seam allowances open.
On the Center Front, stitch the darts, press the dart intake downward.
Attach the Pocket Bags to the Center Front and Side Front, press the seam allowances toward the pocket bags.
Stitch the shaped seams of the Center Front with the Side Front, simultaneously stitching the pocket bags.
Press the seam allowances open, clipping the corner on the Side Front.
Press the pocket bags toward the center.
Stitch the shoulder and side seams of the coat, press the seam allowances open.
Place the Upper Collar and Lower Collar together and stitch along the ends and outer edge.
Begin and end the stitching exactly at the marked collar attachment line.
Trim the seam allowances along the curves and clip at the marking.
Turn the collar right side out, shape, and press.
Stitch the shoulder seams of the Center Front Facing and the Back Neckline Facing, press the seam allowances open.
Place the Center Front Facing onto the Center Front, right sides together, pin, and stitch along the front edge and lapel.
Stitch upward to the notch marking the end of the collar attachment.
Trim seam allowances at the corners.
Understitch the seam allowance:
– in the closure area to the Center Front Facing
– in the lapel area to the Center Front
Position the stitching 0.2 cm from the seam.
Turn the front edges right side out and shape the seams.
Attach the Lower Collar to the neckline of the main garment, and the Upper Collar to the neckline edge of the Back Neckline Facing and Center Front Facing.
Press the seam allowances open and secure them close to the seams.
Stitch and press open the elbow seam of the sleeve (Upper Sleeve to Lower Sleeve).
Press the sleeve hem allowance.
Stitch and press open the front seam of the sleeve.
Set the sleeves into the armholes.
Attach shoulder pads.
On the lining pieces, stitch the seams, leaving an opening in the left side seam for turning.
Set in the sleeves.
Attach the lining to the Center Front Facing and Back Neckline Facing.
Attach the lining to the hem of the garment and the sleeve hems.
Turn the coat right side out through the opening.
Close the opening.
Work buttonholes on the right Center Front.
Sew buttons on the left Center Front.
On the left Center Front, work one upper buttonhole and sew the internal button.
Fold the Belt (Waistband) lengthwise, right sides together, and stitch along the contour, leaving an opening at the center.
Trim seam allowances, turn right side out, and press.
Close the opening.
Turn the coat right side out and carefully shape all edges and corners, ensuring the front edges, lapels, and collar are fully turned and aligned.
Press the garment thoroughly:
Roll the seams slightly toward the underside where appropriate to prevent them from being visible on the right side.
Ensure the lining is evenly distributed inside the garment and does not pull or distort the outer fabric.
Optionally, secure the lining with thread tacks at the armholes and side seams to prevent shifting during wear.
Verify that all edges are clean, sharp, and symmetrical.
Ensure the hem hangs evenly and the garment maintains a balanced silhouette.
Give the garment a final press to achieve a crisp, tailored appearance.
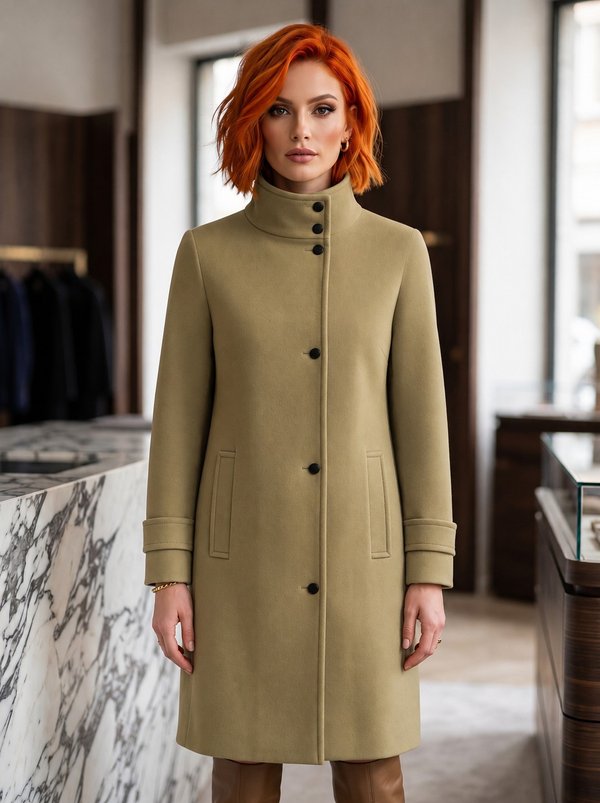
#4866
Straight Coat with Stand Collar and Sleeve Bands
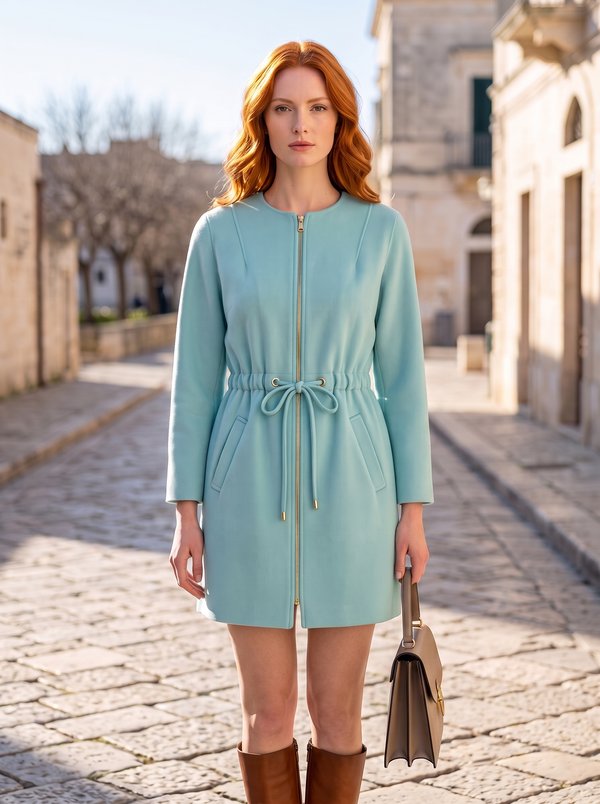
#4852
Zipper Front Drawstring Waist Coat

#4829
Wide Collar Asymmetrical Zipper Jacket

#4803
Belted Fly Front Coat Notched Lapel
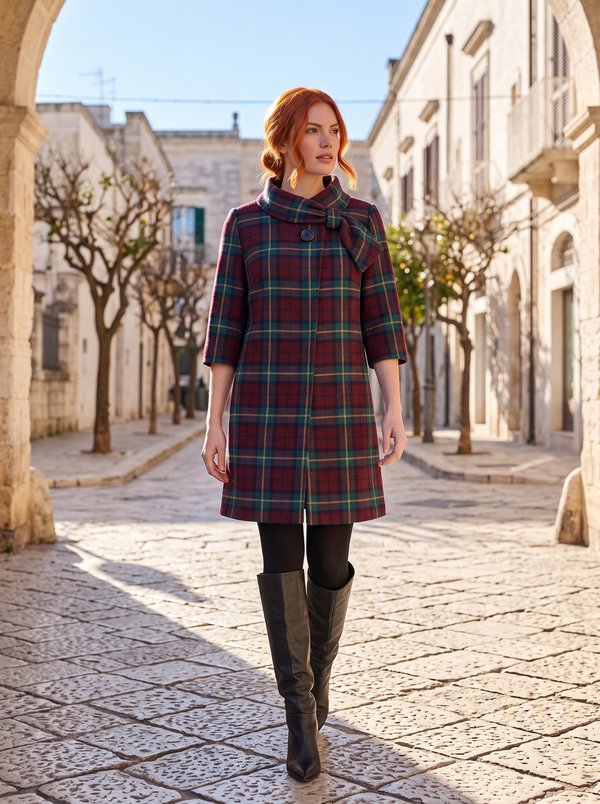
#4801
Asymmetrical Coat with Looped Collar End
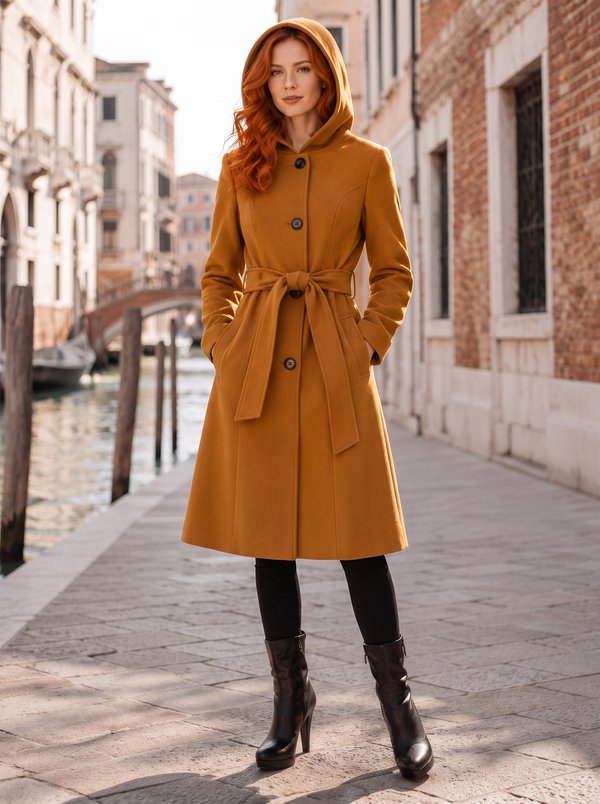
#4796
Hooded Belted Flared Coat

#4794
Asymmetrical Button Front Flared Coat with Sleeves' Drawstring
#4793
Tailored Notched Collar Mid-Thigh Coat

Minerva Support
Online