Professional made-to-measure digital sewing patterns — PDF · PLT · DXF AAMA
A women's hip-length top for knit fabric, with wide dolman sleeves cut from knit lace, a solid knit front and back cut on the fold, a double-layer neckline finish, and folded cuffs and hip band. Drafted to your own measurements. Recommended fabric: low-stretch knit of natural or blended fibres for the body, cuffs and band; knit lace for the sleeves.
A women's hip-length top for knit fabric, with wide dolman sleeves cut from knit lace, a solid knit front and back cut on the fold, a double-layer neckline finish, and folded cuffs and hip band.
Silhouette: Loose through the sleeves and upper body, drawn in at the hip by the band.
Length: Hip length, finished with a folded band.
Neckline: Round neckline finished with an upper and a lower facing, each joined at the shoulders. The upper facing is interfaced and stitched to the neckline; the lower facing is folded under and topstitched into the attachment seam.
Sleeves: Dolman sleeves in knit lace, joined to the front and back with long curved seams that run down to the band. Sleeve and side seams are stitched in one.
Back: One piece cut on the fold, with no centre back seam.
Waist: Hip band cut on the fold, sewn into a ring, folded lengthwise and stretched slightly when attached.
Finishing: Cuffs sewn into rings, folded in half and stretched slightly onto the sleeve edges; all seams overlocked.
Intermediate. Two different knits (plain knit and knit lace) in one garment, a double neckline facing, and evenly stretched cuffs and band.
Low-stretch knit of natural or blended fibres for the body, cuffs and band; knit lace for the sleeves.
If the patterns have a double contour, they include seam allowances. If the contour is single, the patterns do not include seam allowances. Seam allowances: all seams 1 cm. Attention! First, print out the paper patterns and lay them out on the fabric width (fabric width can be from 90 cm to 150 cm) to determine how much material you will need. When stitching pieces, pay attention to the notches - they must match!

#4804
Knit Colorblock Top with Cuffed Sleeves

#4802
Pintucked Blouse with Lace and Roll-Tab Sleeves
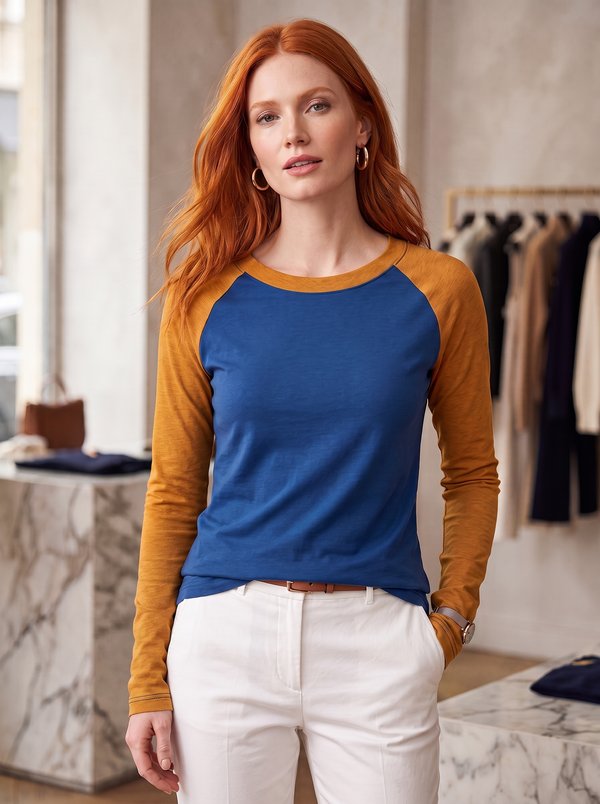
#4808
Fitted Raglan Long Sleeve Top
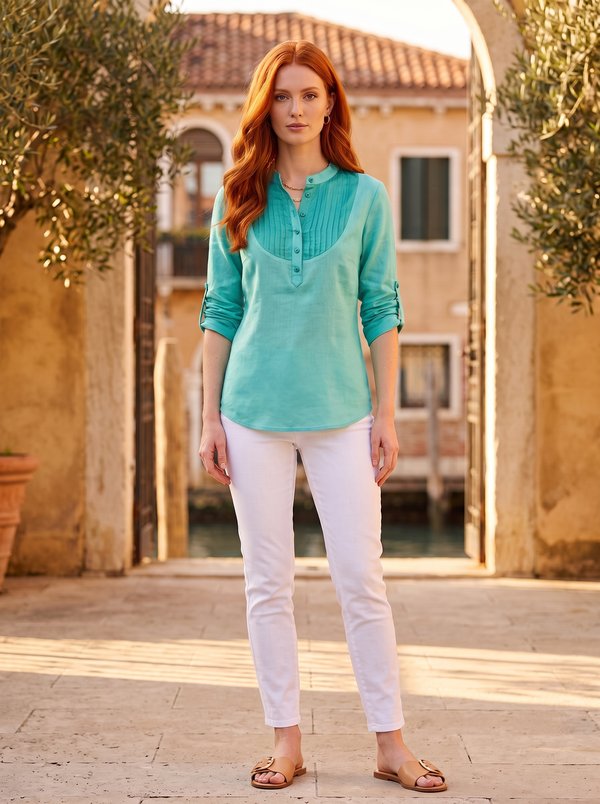
#4809
Stand Collar Pintuck Tab Sleeve Blouse
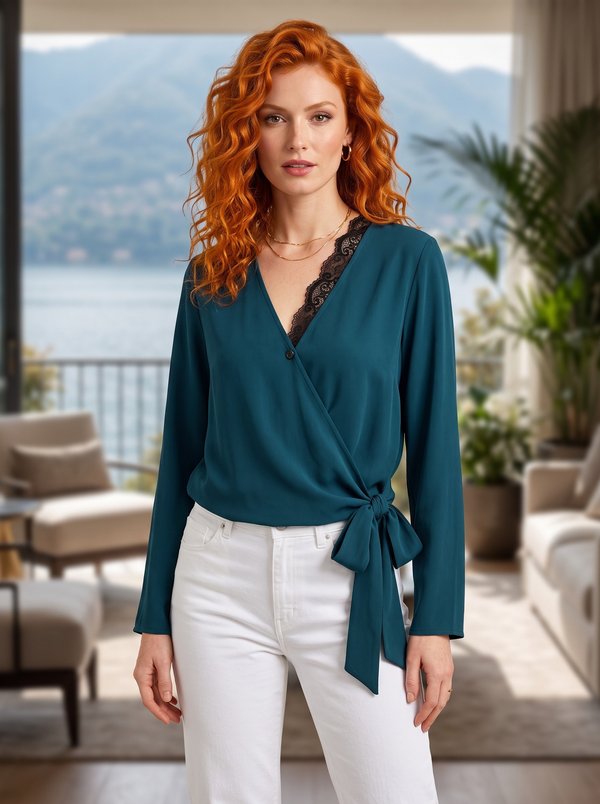
#4787
Lace Trim Wrap Blouse with Side Ties
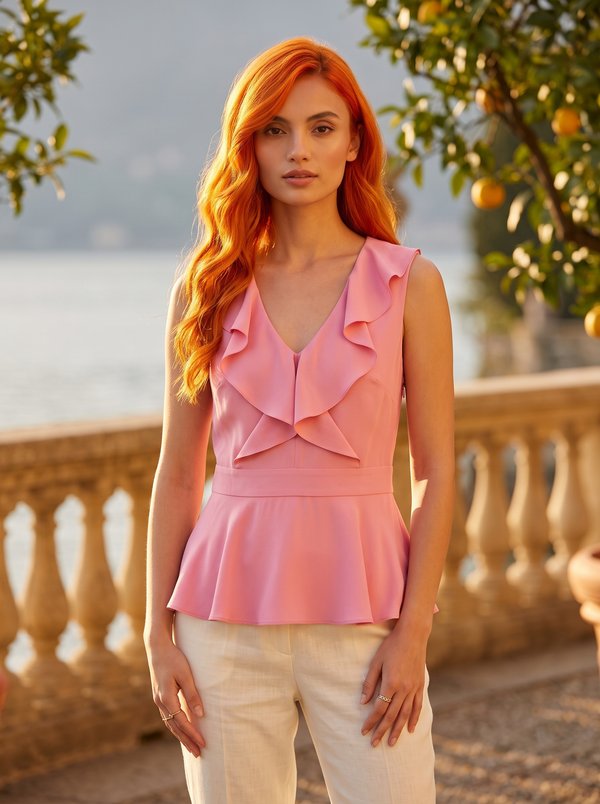
#4782
Ruffled V-Neck Peplum Top

#4781
Mock Neck Gathered Bodice Bell Sleeve Blouse

#4780
Trimmed Neck Blouse with Bloused Hem

Minerva Support
Online