Professional made-to-measure digital sewing patterns — PDF · PLT · DXF AAMA
A women's knee-length pencil skirt in a jeans style: a separate centre front placket with six sewn-on buttons, curved front pockets, two patch pockets on the back, a folded waistband and a concealed zipper above a slit in the centre back seam. Drafted to your own measurements. Recommended fabric: dense dress fabrics made from natural or blended fibres.
A women's knee-length pencil skirt in a jeans style: a separate centre front placket with six sewn-on buttons, curved front pockets, two patch pockets on the back, a folded waistband and a concealed zipper above a slit in the centre back seam.
Silhouette: Pencil skirt, close-fitting through the hips and narrowing slightly towards the hem.
Length: About knee length.
Waist: Interfaced waistband folded in half lengthwise, the inner layer secured by stitching in the ditch; darts in the back.
Front: Two front pieces joined by a placket that runs from the waistband to the hem and is topstitched 0.1 cm from the seams. Six buttons are sewn onto the placket without buttonholes: the skirt opens at the back.
Pockets: Curved front pockets, the opening faced with the pocket bag and understitched 0.1 cm from the seam; the pocket bag is stitched to a side piece that forms the pocket back. Two patch pockets with a pointed lower edge on the back, the top edge turned under and topstitched.
Back: Centre back seam with a concealed zipper at the top and a slit at the hem, topstitched 0.5 cm from the fold.
Finishing: The hem is turned up and topstitched.
Intermediate. Front pockets with a side piece, patch pockets, a set-in front placket, a concealed zipper combined with a slit in the same seam and a folded waistband.
Dense dress fabrics made from natural or blended fibres.
If the patterns have a double contour, the patterns include seam allowances. If the contour is single, the patterns do not include seam allowances. Seam allowances: all seams 1 cm. Allowance for the upper edge of the pocket – 3 cm; Allowance for the lower edge of the front, back panels and placket – 3 cm. Attention! First of all, print out the paper patterns and lay them out on the fabric width (fabric width can be from 90cm to 150cm) to determine how much material you will need. When stitching pieces, pay attention to the notches - they must match!
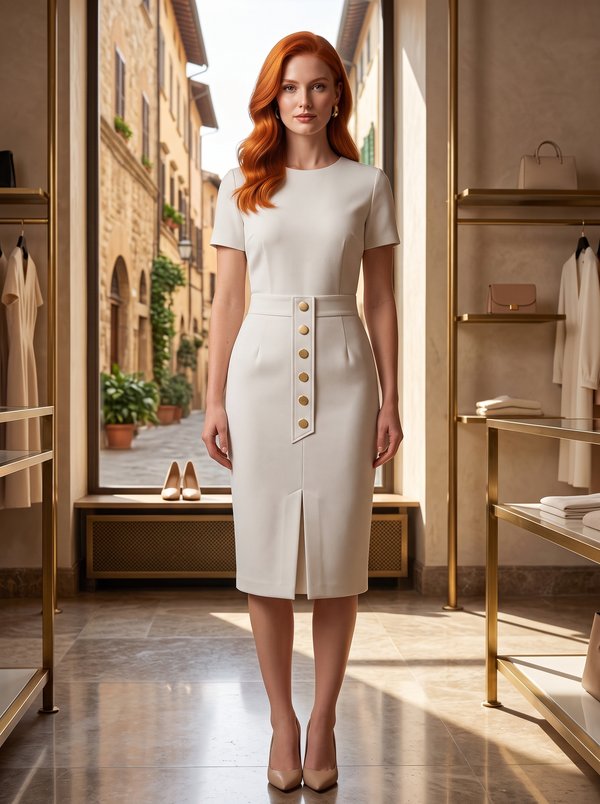
#4722
Button Front High Waisted Pencil Skirt

#4723
Denim Pencil Skirt with Yoke Pockets
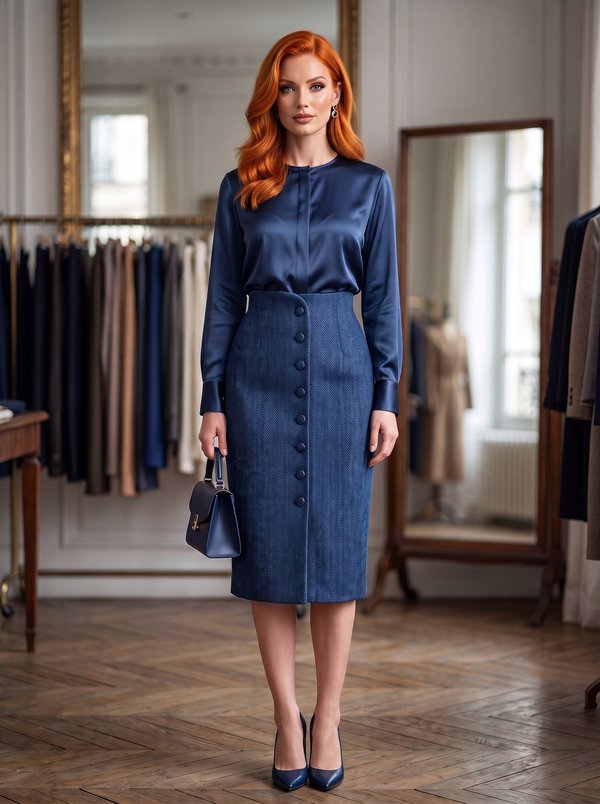
#4729
High-Waist Button-Front Pencil Skirt
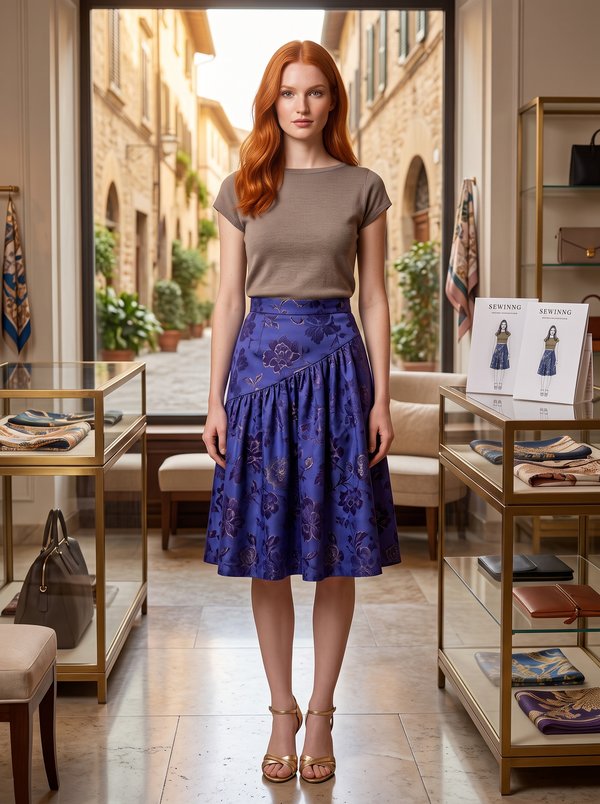
#4712
Asymmetrical Yoke Gathered Skirt
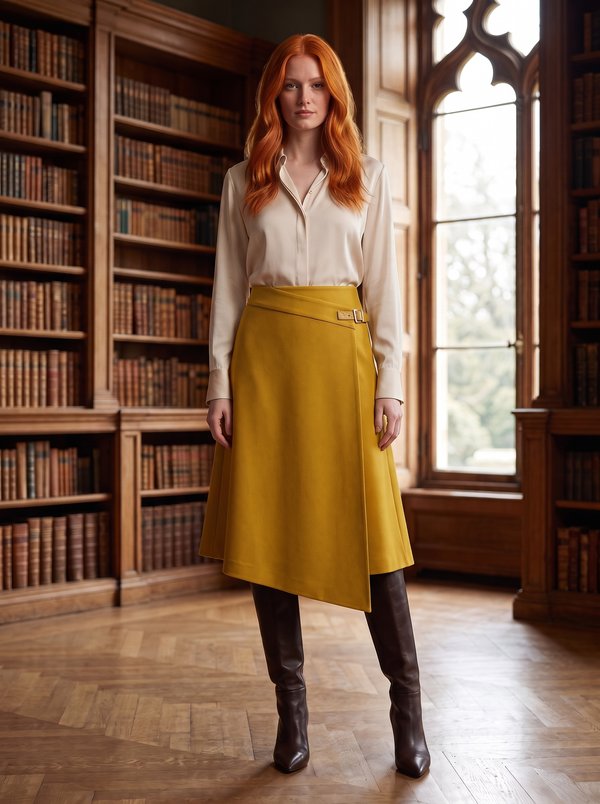
#4755
A-Line Asymmetrical Mock Wrap Skirt with Buckle
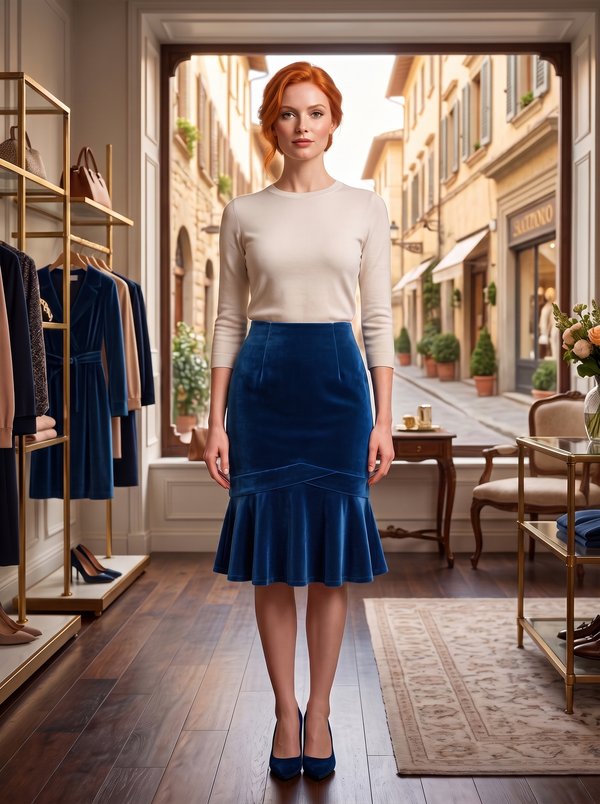
#4649
Fitted Crossover Front Flounce Skirt
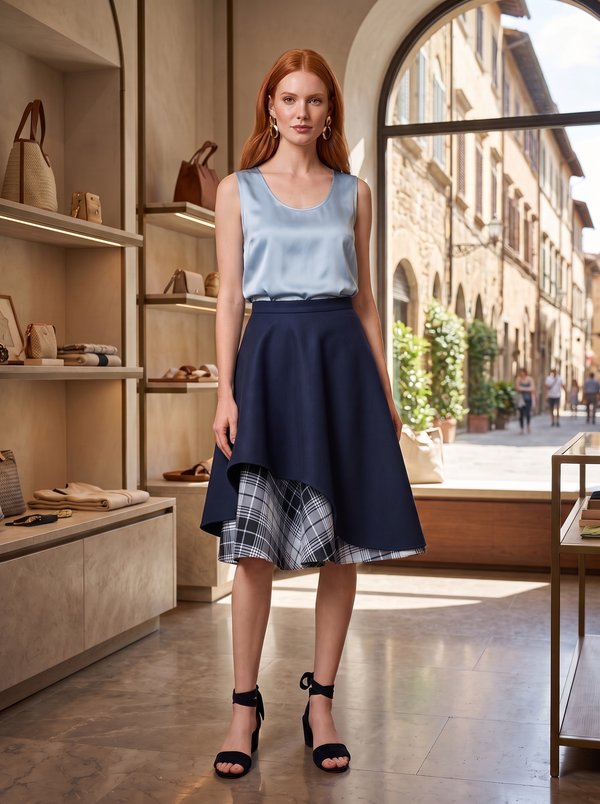
#4648
Flared Asymmetrical Layered Skirt with Side Zip
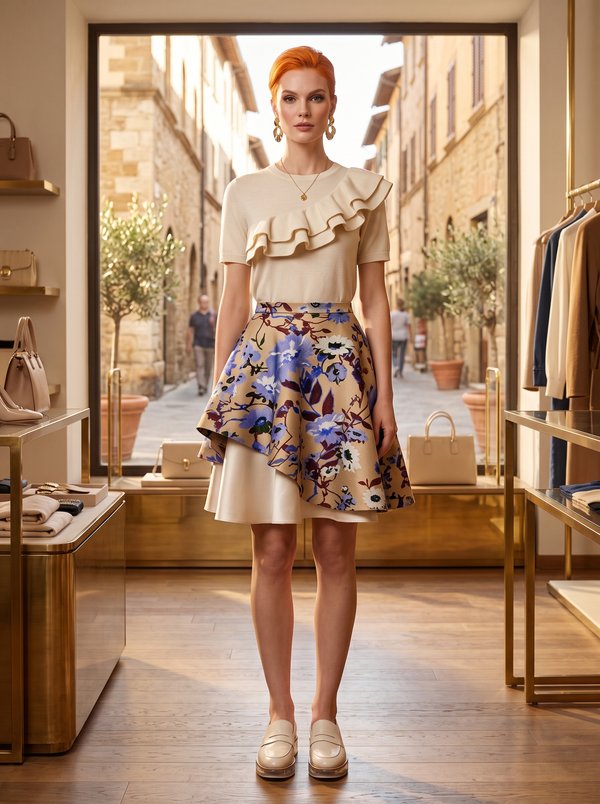
#4645
Draped Asymmetric Layered Skirt with Side Zip

Minerva Support
Online