Professional made-to-measure digital sewing patterns — PDF · PLT · DXF AAMA

Minervainervabeta
#4476
#4478

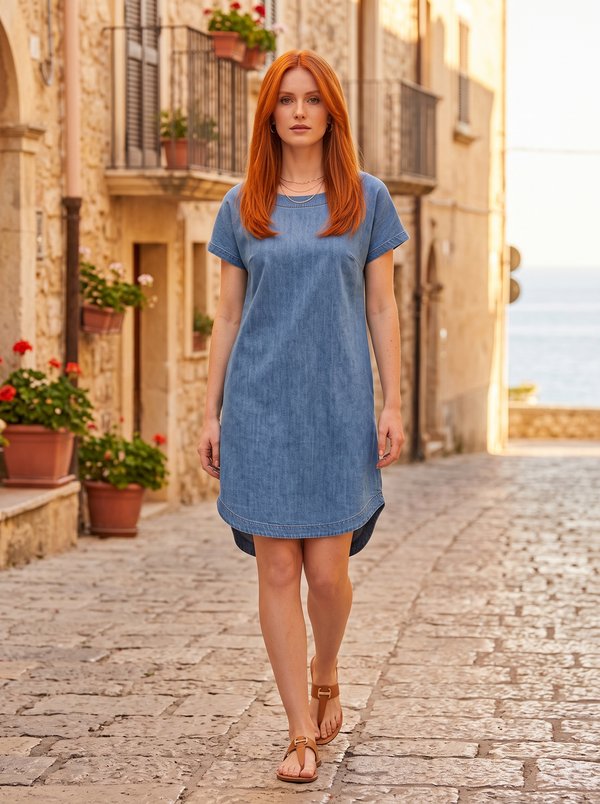
Tunic Dress with Curved Side Panels

Pattern #4477

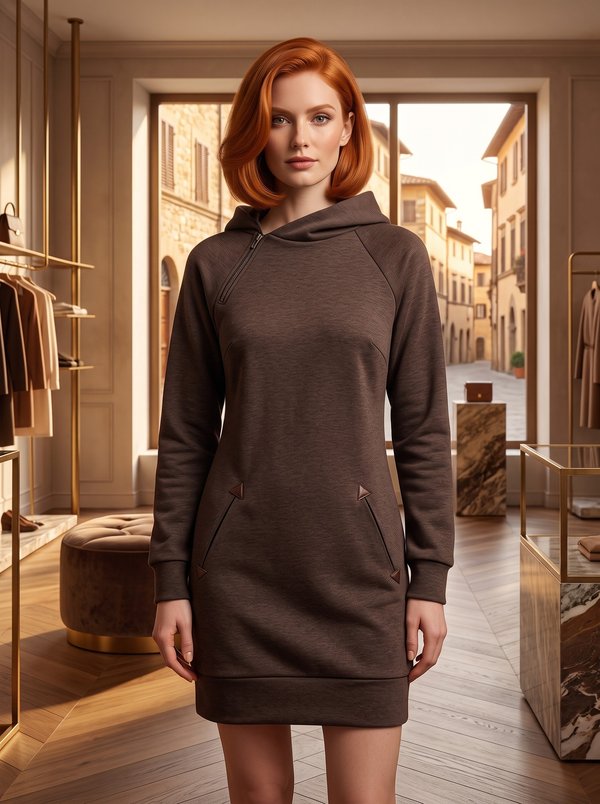
A women's tunic dress for knit fabric, ending at mid-thigh, with curved seams that separate the centre front and back from the side panels. Short sleeves are cut in one with the front and back, and in-seam pockets sit in the lower front curved seams. Drafted to your own measurements. Recommended fabric: soft knit fabric with medium stretch.

Tech. Description

Tunic Dress with Curved Side Panels

A women's tunic dress for knit fabric, ending at mid-thigh, with curved seams that separate the centre front and back from the side panels. Short sleeves are cut in one with the front and back, and in-seam pockets sit in the lower front curved seams.

When To Wear

  • With leggings or slim trousers for everyday wear.
  • On its own as a short dress in summer.
  • For travel: the knit fabric and pull-on cut need no fastenings.

Key Design Features

Silhouette: Straight, with curved seams running from the shoulder area down to the hips on the front and back.

Length: Mid-thigh.

Neckline: Round, finished with a folded self-fabric bias binding topstitched along the fold.

Sleeves: Short sleeves cut in one with the centre front and back pieces; the side panels' armhole edges are finished with the same binding.

Front: Centre front cut on the fold; pulls on over the head with no fastening.

Pockets: In-seam pockets at the lower part of the front curved seams, with the pocket lining sewn in along the opening and caught into the side panel seam.

Back: Centre back seam and curved seams to the side panels.

Finishing: Overlocked seams; sleeve hems and the tunic hem turned up and topstitched.

Level Of Difficulty

Intermediate. Curved seams tapered at a mark, cut-on sleeves, in-seam pockets and bias binding on knit fabric.

Fabric Recommendations

Soft knit fabric with medium stretch.

Additional Supplies

  • None besides fabric and thread.

Cutter's Must

  • 1. Center Back – 2 pieces
  • 2. Side Part – 2 pieces
  • 3. Center Front – 1 piece on fold
  • 4. Pocket Lining – 2 pieces

Sewing Instructions

  1. Clip the seam allowance of the Center Front next to the pocket opening. Place the Pocket Lining on the Center Front, right sides together, and stitch along the pocket opening. Turn the Pocket Lining to the wrong side and press. Match and baste the Pocket Lining to the Center Front along the side and bottom edges. From here on treat them as one piece.
  2. Stitch the center back seam of the Center Back pieces. Overlock the seam allowance and press it open.
  3. Stitch the left shoulder seam. Overlock the seam allowance and press it towards the back. Cut a bias strip 4 cm wide and as long as the neckline plus 6 cm. Fold the bias binding in half lengthwise, right side out, and press. Place the binding on the right side of the neckline, raw edges together, leaving the ends free, and stitch. Fold the binding to the wrong side, clip the seam allowances and topstitch along the fold onto the garment. Press the seam. Stitch the right shoulder seam. Press the seam allowance towards the back and overlock.
  4. Cut a bias strip 4 cm wide and as long as the armhole edge of the Side Part plus 6 cm. Fold the bias binding in half lengthwise, right side out, and press. Place the binding on the right side of the armhole edge, raw edges together, leaving the ends free, and stitch. Fold the binding to the wrong side, clip the seam allowances and topstitch along the fold onto the Side Part.
  5. Clip the dart on the Center Back 2 cm between the dart lines. Overlock the lower edge of the sleeve, turn it under and topstitch. Stitch the curved seam of the back: fold the back sleeve to the right side, matching the dart sides; match the curved edges of the Center Back and Side Part and stitch, gradually tapering the stitching to nothing after the cross mark; press and overlock the seam allowances. Work the curved seam of the front in the same way, catching the Pocket Lining into the seam with the Side Part at the lower part.
  6. Overlock the bottom edge of the tunic, press it to the wrong side and topstitch.

Features

Order Pattern

Standard Sizes

Individual Measurements

Please double-check the file format and paper size. Your pattern is drafted in exactly the format you select; a different format or paper size later is a new order.

Similar patterns

View all
Support

Minerva Support

Online
Support
Hi! I'm Minerva's AI assistant. What can I help you with?