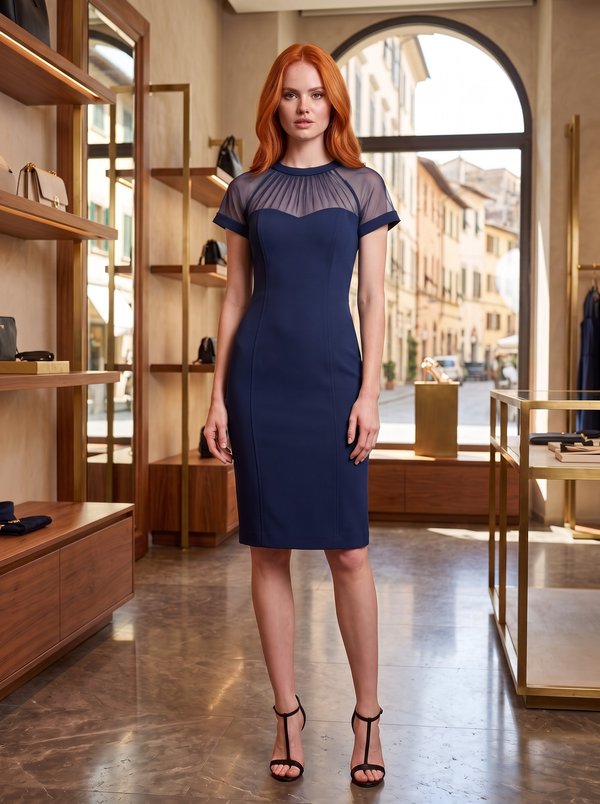
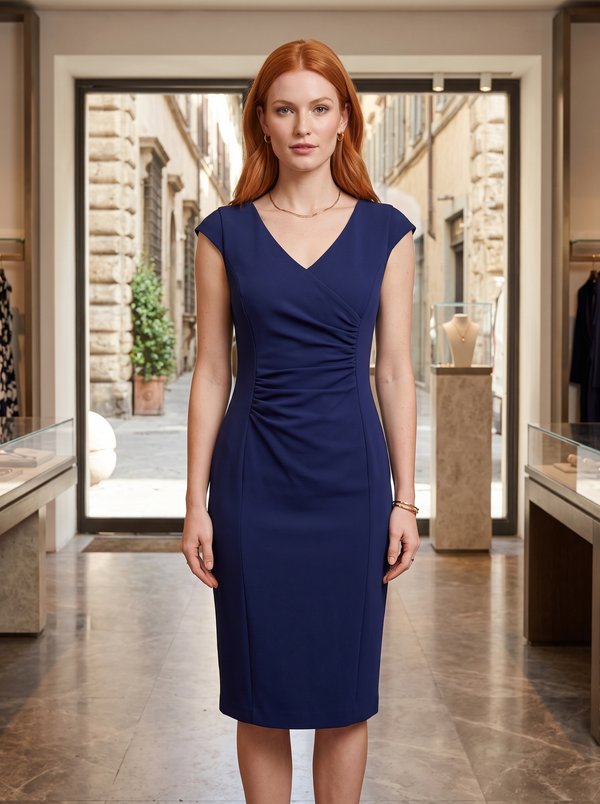
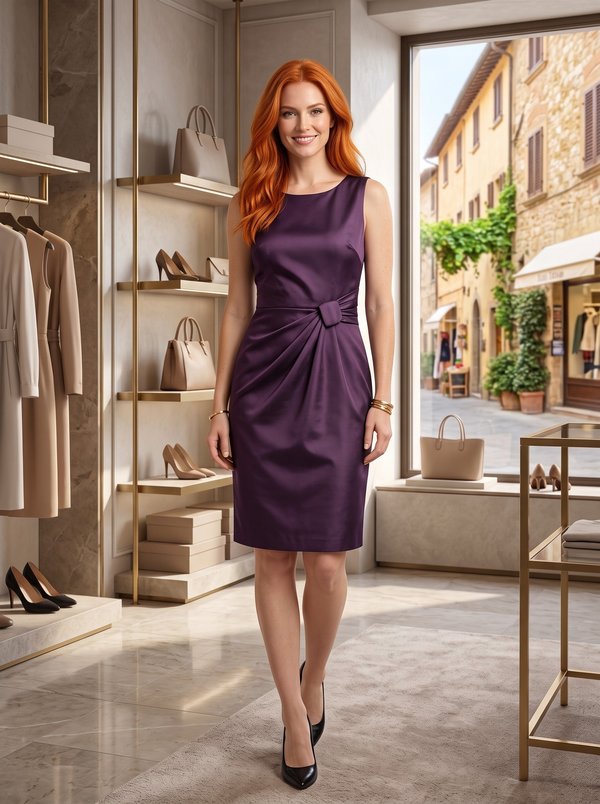
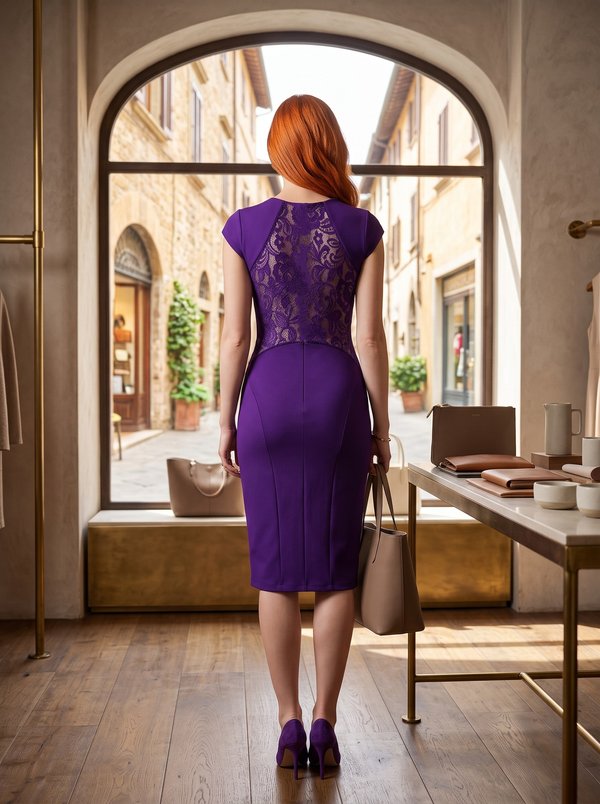
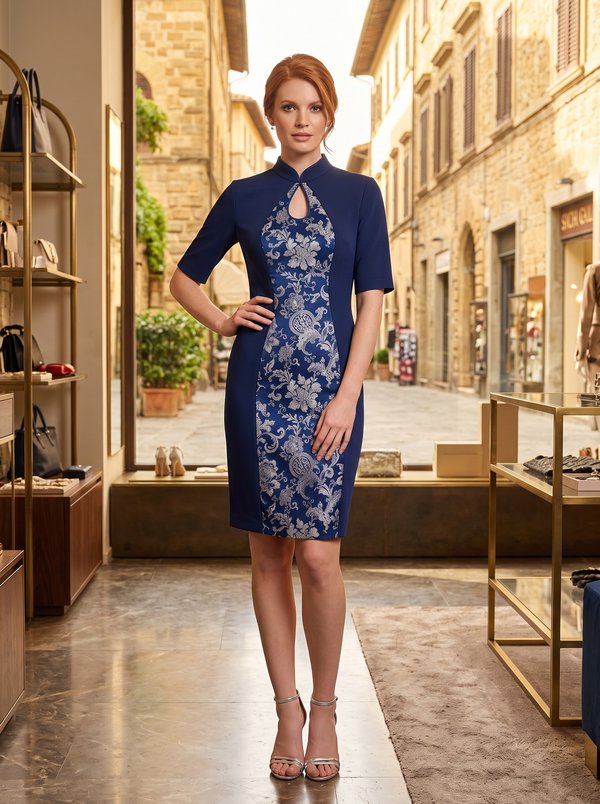
Sheath Dress with Lace Panel
A knee-length women's sheath dress with a centre front panel overlaid with lace, a double-layer flounce set into the left front princess seam, and short sleeves pleated at the top and gathered at the hem with elastic thread. Centre back zipper and vent.
When To Wear
- Cocktail parties, dinners, receptions and family celebrations.
- Office events and business functions, in spring and summer or with a jacket in cooler months.
Key Design Features
Silhouette: Close-fitting sheath shaped by princess seams at the front and back.
Length: Knee length.
Neckline: Round neckline finished with a fused facing; a narrow strap is caught in the neckline seam on the left front.
Sleeves: Short sleeves joined to the front and back between marks, extending up to the neckline; pleats at the upper edge and elastic thread stitched along the turned-up hem. The underarm section of the armhole is finished with 4 cm bias binding.
Front: Centre front cut on the fold from both main fabric and lace, the two layers handled as one. A flounce of two layers, stitched together, is caught in the left princess seam; its free end is folded into a loose pleat and held under the strap topstitched to the front.
Back: Centre back and side back pieces joined by princess seams; centre back seam with a zipper at the top and a lapped vent at the hem, interfaced and topstitched across the top.
Finishing: Seam allowances overlocked; hem turned up and topstitched.
Level Of Difficulty
Intermediate. Layering lace over a base fabric, a lapped back vent, a flounce inserted into a princess seam, and partial bias binding of the armholes.
Fabric Recommendations
Silk fabrics from natural or blended fibres for the dress; lace fabric for the centre front overlay.
Additional Supplies
- Lace fabric
- Zipper
- Elastic thread
- Fusible interfacing (neckline facings, vent area)
Cutter's Must
From main fabric:
- Center Back – 2 pieces
- Side Back – 2 pieces
- Center Front – 1 piece on fold
- Side Front – 2 pieces
- Sleeve – 2 pieces
- Flounce – 2 pieces
- Back Neckline Facing – 2 pieces
- Front Neckline Facing – 1 piece
- Strap – 1 piece
From lace fabric:
- Center Front – 1 piece on fold
- From fusible interfacing: Back Neckline Facing, Front Neckline Facing, vent area of the Center Back pieces.
- Bias strips for the armholes: 4 cm wide, length of the unfinished armhole section + 6 cm – 2 pieces.
Sewing Instructions
- Fuse interfacing to the Back Neckline Facing and Front Neckline Facing.
- Place the two Flounce pieces right sides together and stitch the outer edge and inner edge from the top edge to the notch. Clip seam allowances near the notch and on curves, turn the flounce right side out, and press. Overlock the top edge of the flounce.
- Fold the Strap in half lengthwise, right sides together, and stitch. Turn right side out, press, centering the seam.
- Stitch the back princess seams joining the Center Back and Side Back, press seam allowances towards the center and overlock.
- On both Center Back pieces, fuse interfacing to the vent area on the wrong side. On the right side, mark the center seam line (vent fold line). Overlock the center edge of the back separately on each piece, overlocking the vent simultaneously. Stitch the center back seam from the zipper mark to the top of the vent. Clip the corner of the vent allowance on the right piece. Press the center back seam allowances open and press the vent. Press the right side of the vent 1 cm to the wrong side and topstitch. Press the vent allowances towards the left side and topstitch across the top of the vent. Insert the zipper.
- Place the lace Center Front on the main-fabric Center Front and treat them as one piece from now on.
- Stitch the front princess seams joining the Center Front and Side Front, catching the Flounce in the left seam. Overlock seam allowances and press towards the center.
- Overlock the lower edge of the sleeve, press to the wrong side and topstitch. Stitch along the lower edge with elastic thread. Fold and secure the pleats along the upper edge.
- Stitch the sleeves to the back and front armholes between the marks, aligning the notches. Clip seam allowances at the notch and overlock.
- Stitch the shoulder seams of the Back Neckline Facing and Front Neckline Facing, press seam allowances open. Overlock the outer edge. Place the facing right sides together with the garment and stitch the neckline, catching one end of the Strap in the seam. Clip seam allowances on curves, turn the facing to the wrong side, and press. Attach the center edges of the facing to the zipper tape.
- Turn under the free end of the Strap and topstitch it to the front. Fold the free end of the Flounce into a loose pleat and secure it under the Strap.
- Stitch the side seams, press seam allowances towards the back and overlock.
- Take the bias strips (4 cm wide, unfinished armhole length + 6 cm). Fold each in half lengthwise, wrong sides together, and press. Place it on the unfinished armhole edge on the right side, letting the ends extend, and stitch. Fold the binding to the wrong side, clip the seams, and topstitch along the fold onto the main piece. Press the seam.
- Overlock the lower edge of the dress, press to the wrong side and topstitch.