Professional made-to-measure digital sewing patterns — PDF · PLT · DXF AAMA

Minervainervabeta
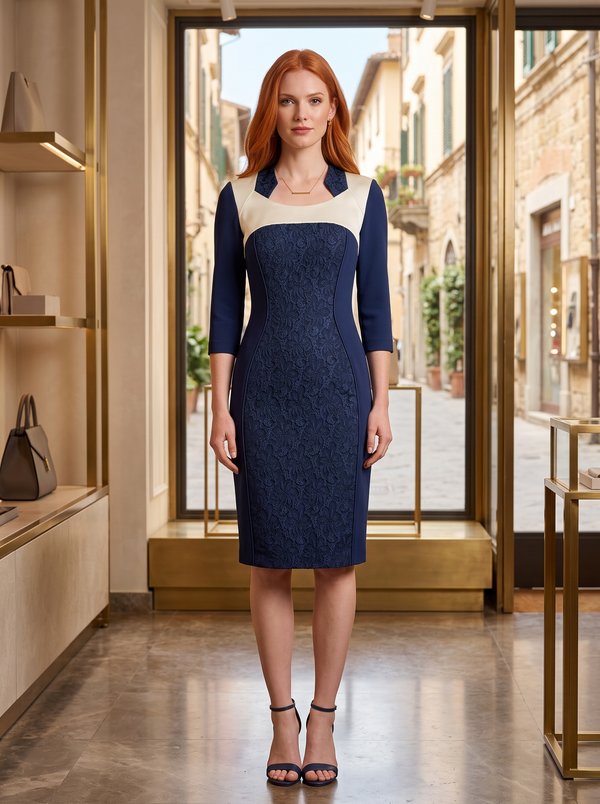
#4313
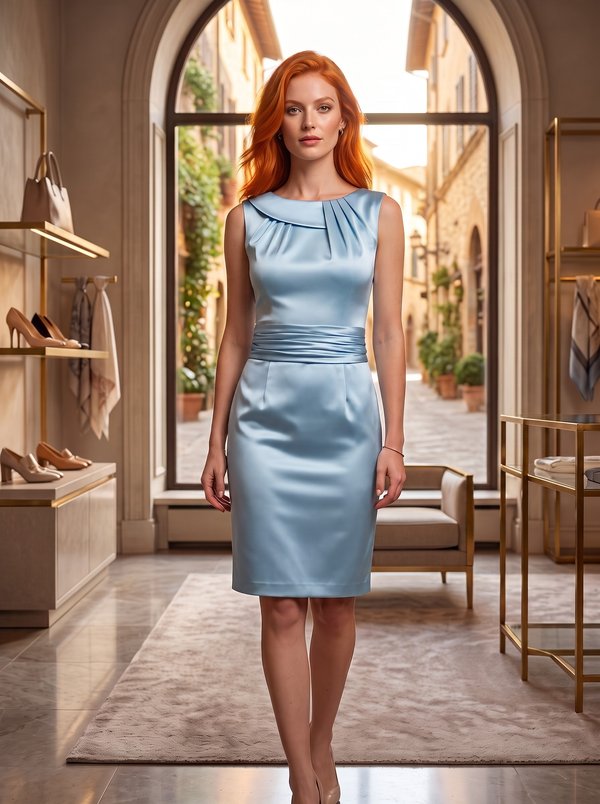
#4315

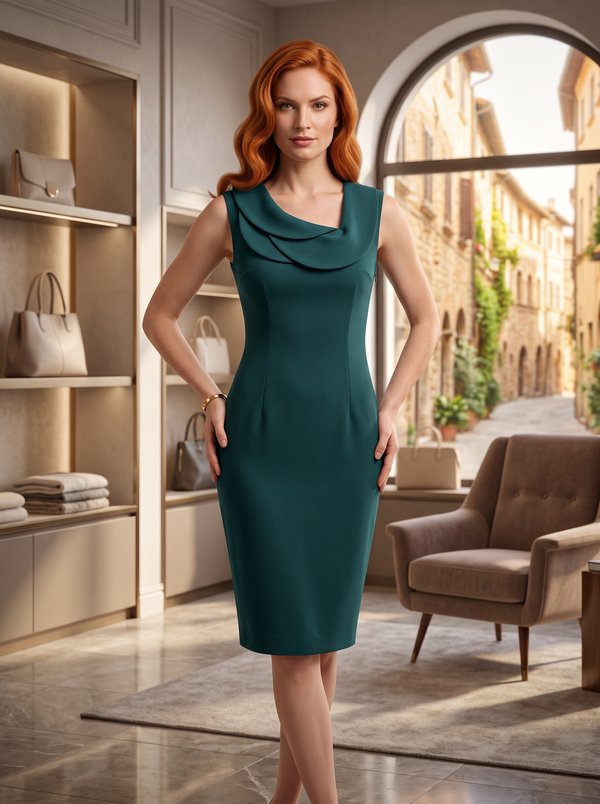
Sleeveless Ruffle Sheath Dress

Pattern #4314

A sleeveless, knee-length women's sheath dress with an asymmetric front: one off-centre seam runs from the left shoulder to the hem, a flounce is set into it and pleats on the right front are folded towards it. Centre back invisible zipper and a lapped vent at the hem. Drafted to your own measurements. Recommended fabric: double-sided dress fabrics from natural or blended fibres.

Tech. Description

Sleeveless Ruffle Sheath Dress

A sleeveless, knee-length women's sheath dress with an asymmetric front: one off-centre seam runs from the left shoulder to the hem, a flounce is set into it and pleats on the right front are folded towards it. Centre back invisible zipper and a lapped vent at the hem.

When To Wear

  • To the office and to daytime events, with a jacket or cardigan over it in cooler weather.
  • On its own in spring and summer, with low-heeled shoes or sandals.

Key Design Features

Silhouette: Fitted sheath, shaped by an off-centre seam on the front and two princess seams on the back.

Length: About knee length.

Neckline: Round neckline finished with a combined neck and armhole facing.

Sleeves: Sleeveless; armholes finished with the same facing.

Front: Cut as a left front and a right front joined by one seam from the left shoulder to the hem. Pleats on the right front are folded along this seam, with their depths turned downwards. One flounce set into the left princess seam, running from the front over the shoulder into the back. Its outer edge is finished with a narrow rolled hem and has no seam allowance.

Back: Centre back seam with an invisible zipper from the neckline to the notch; princess seams on both sides; a lapped vent at the hem with a 6 cm vent allowance.

Finishing: Hem allowance 3 cm, turned up and blind-stitched; facing tacked to the side seams and slip-stitched to the zipper tape.

Level Of Difficulty

Intermediate. A lapped vent combined with an invisible zipper, pleats set into a seam, a flounce inserted between two pieces, and an all-in-one neck and armhole facing sewn in two steps.

Fabric Recommendations

Double-sided dress fabrics from natural or blended fibres. Both sides of the flounce show, so the reverse of the fabric must look as good as the face.

Additional Supplies

  • Invisible zipper
  • Fusible interfacing (back and front facings, vent area)

Cutter's Must

From main fabric:

  • Left Front – 1 piece
  • Right Front – 1 piece
  • Center Back – 2 pieces
  • Side Back – 2 pieces
  • Back Facing – 2 pieces
  • Front Facing – 1 piece
  • Flounce – 1 piece

From fusible interfacing:

  • Back Facing – 2 pieces
  • Front Facing – 1 piece

Sewing Instructions

  1. Fuse interfacing to the Back Facing and Front Facing.
  2. On the left Center Back, trim 5 cm off along the vertical edge of the vent extension. Fuse interfacing to the vent area on the wrong side of both Center Back pieces. On the right side, mark the center seam line (the vent fold line). On the left piece, press the vent along the fold line; on the right piece, press only the vent allowance (6 cm) to the wrong side. Align the pieces along the center seam and baste them together at the upper edge of the vent. Serge the center back edges separately. Serge the vent allowances. Stitch the center back seam from the zipper notch to the vent corner. Clip into the corner of the vent allowance on the right piece. Press the center seam allowances open, press the vent allowances and secure them with machine stitching. Insert the invisible zipper from the upper edge down to the notch.
  3. Finish the outer edge of the Flounce with a narrow rolled hem on the serger.
  4. On the Right Front, fold and secure the pleats along the princess seam edge (pleat depths directed downwards).
  5. Stitch the left shoulder seam separately for the center and side parts of the back and front. Press the seam allowances open.
  6. Stitch the left princess seam of the back and front in one continuous seam, inserting the Flounce between the pieces. Press the seam allowances towards the center and serge.
  7. Stitch the right princess seam of the back, press the seam allowances towards the center and serge. Stitch the right shoulder seam and press the seam allowances open. Stitch the side seams, press the seam allowances towards the back and serge.
  8. Stitch the shoulder and side seams of the facings. Press the seam allowances open. Serge the center back and outer edges of the facing. Place the dress and the facing right sides together and stitch the neckline. Clip the seam allowances at the curves, turn the facing to the inside, roll the seam and press. Stitch each armhole in two steps: first the back, then the front. Clip the seam allowances at the curves, turn and press. Tack the facing to the side seam allowances of the dress. Slip-stitch the facing to the zipper tape.
  9. Serge the hem edge. Turn it to the wrong side, press and hem with blind stitches.

Features

Order Pattern

Standard Sizes

Individual Measurements

Please double-check the file format and paper size. Your pattern is drafted in exactly the format you select; a different format or paper size later is a new order.

Similar patterns

View all
Support

Minerva Support

Online
Support
Hi! I'm Minerva's AI assistant. What can I help you with?