Professional made-to-measure digital sewing patterns — PDF · PLT · DXF AAMA
A women's sleeveless fitted blouse with princess seams front and back, a flounce set into each seam and running over the shoulder, and a round neckline bound with bias binding that continues into ties at a front keyhole slit. Drafted to your own measurements. Recommended fabric: thin, well-draping double-sided blouse fabric from natural or blended fibres: silk, viscose, blends.
A women's sleeveless fitted blouse with princess seams front and back, a flounce set into each seam and running over the shoulder, and a round neckline bound with bias binding that continues into ties at a front keyhole slit.
Silhouette: Fitted through princess seams on the front and back; hip length.
Neckline: Round, bound with self-fabric bias binding that extends into ties; a bound slit at the centre front.
Sleeves: Sleeveless. The flounce lies over the shoulder like a cap. Armholes are finished with a folded bias strip turned to the inside and topstitched.
Front: Centre front and two side fronts; shoulder seams are sewn separately on the centre and side parts.
Closure: Concealed zipper in the left side seam.
Back: Centre back seam and two side backs, with the flounce continuing from the front into the back princess seam.
Finishing: Outer edge of the flounces bound with 4 cm bias binding or finished with a narrow rolled hem. Hem turned up 1 cm twice and topstitched.
Intermediate. Flounces set into princess seams, bias-bound edges and ties on fine drapey fabric, and a side-seam zipper.
Thin, well-draping double-sided blouse fabric from natural or blended fibres: silk, viscose, blends. Both sides of the flounces show, so the fabric should look good on both sides.
If the patterns have a double contour, they include seam allowances. If the contour is single, the patterns do not include seam allowances. Seam allowances: Hem allowance – 2.0 cm, allowance for the outer edge of the flounce, for the neckline edges of the back and front – 0 cm, other seams – 1 cm. Attention! First, print out the paper patterns and lay them out on the fabric width (fabric width can be from 90 cm to 150 cm) to determine how much material you will need (do not forget to account for paired and symmetrical pieces). When stitching pieces, pay attention to the notches - they must match!
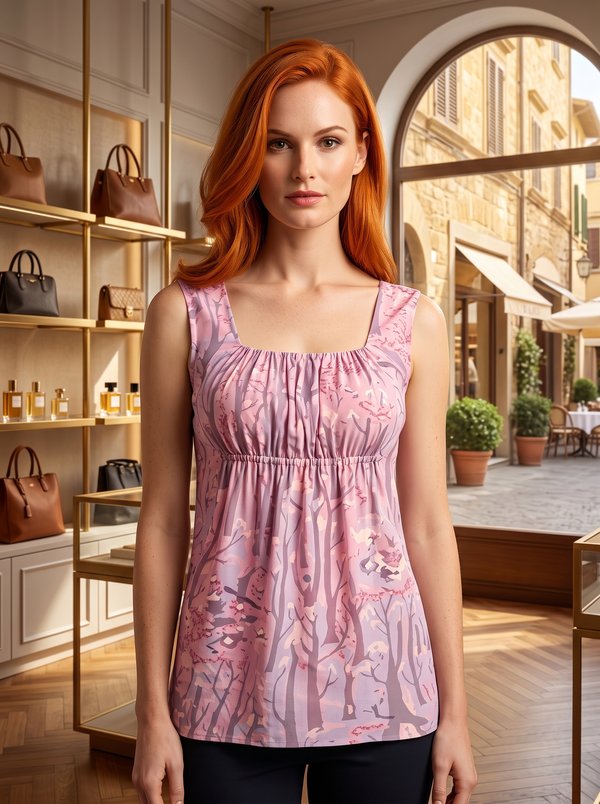
#4260
Sleeveless Gathered Front Neckline Blouse
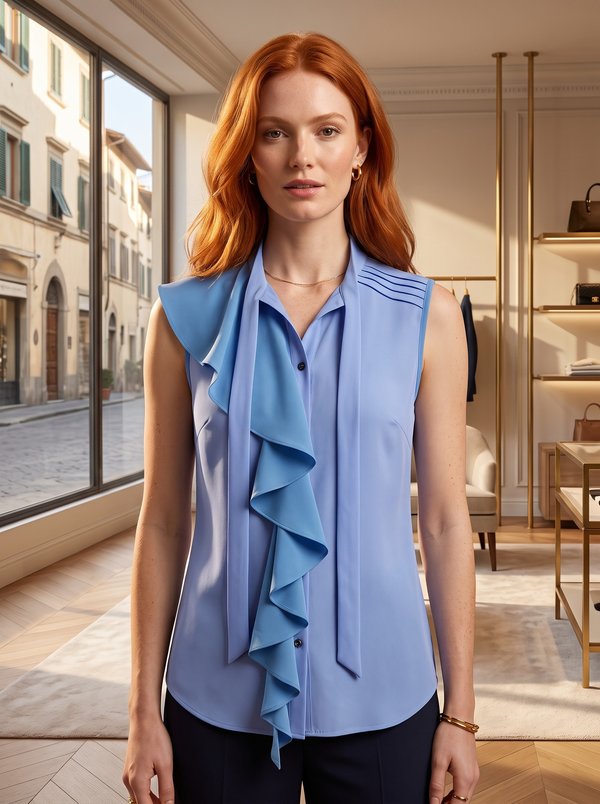
#4267
Sleeveless Front Ruffle Blouse
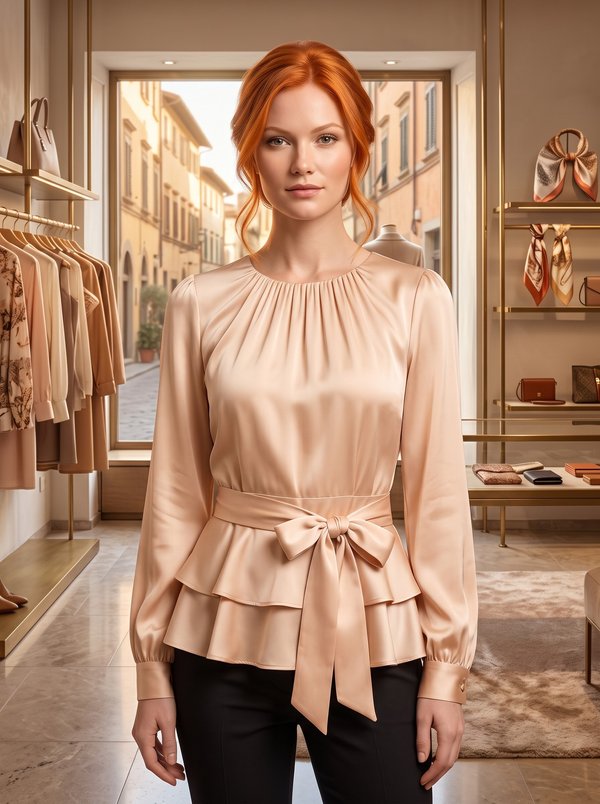
#4253
Blouse with Gathered Neck, Double Peplum & Waist Tie
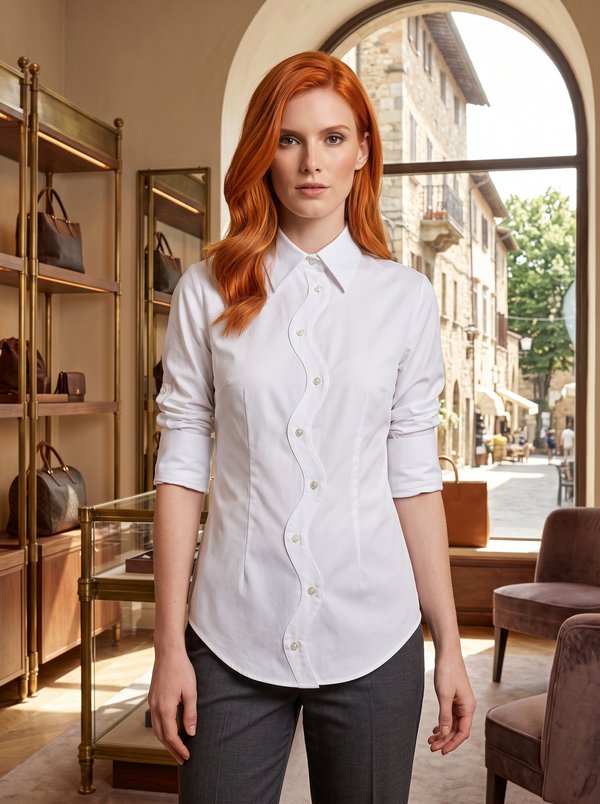
#4249
Collared Shirt with Shaped Placket
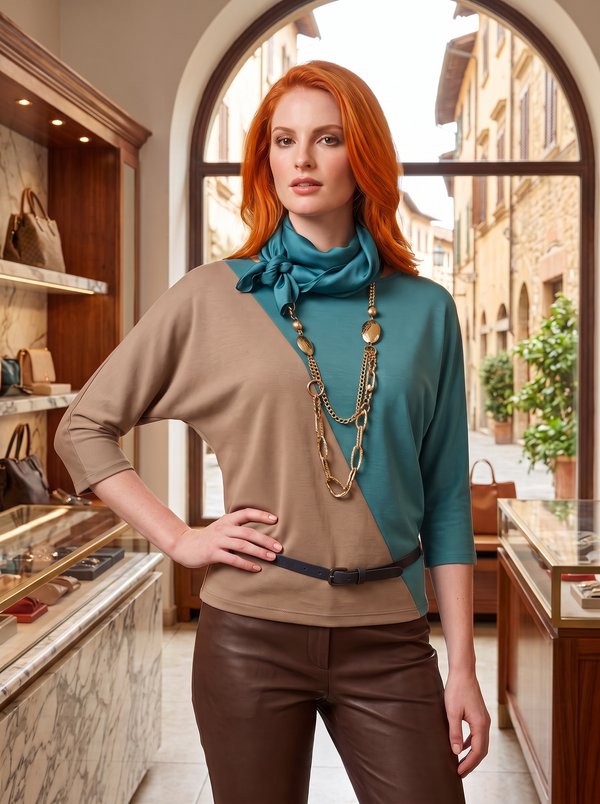
#4246
Color Block Batwing Sleeve Top
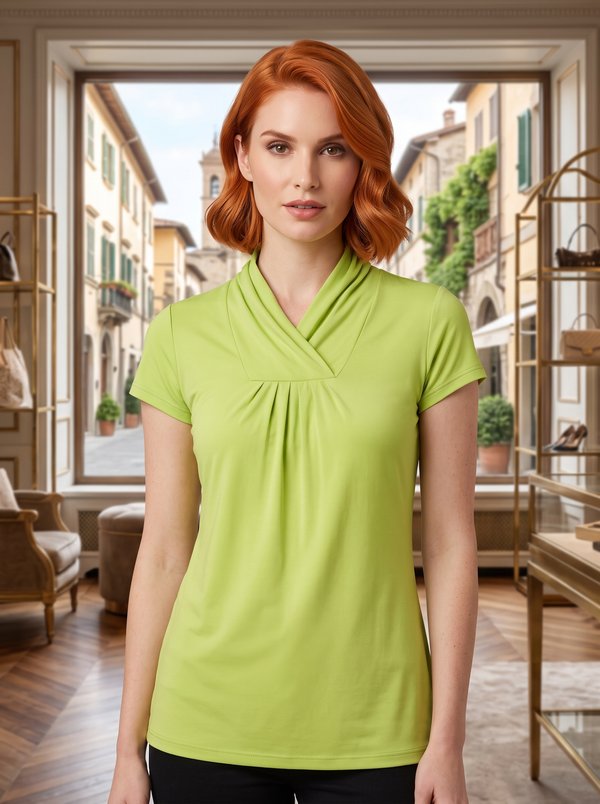
#4245
Crossover Neck Jersey Top
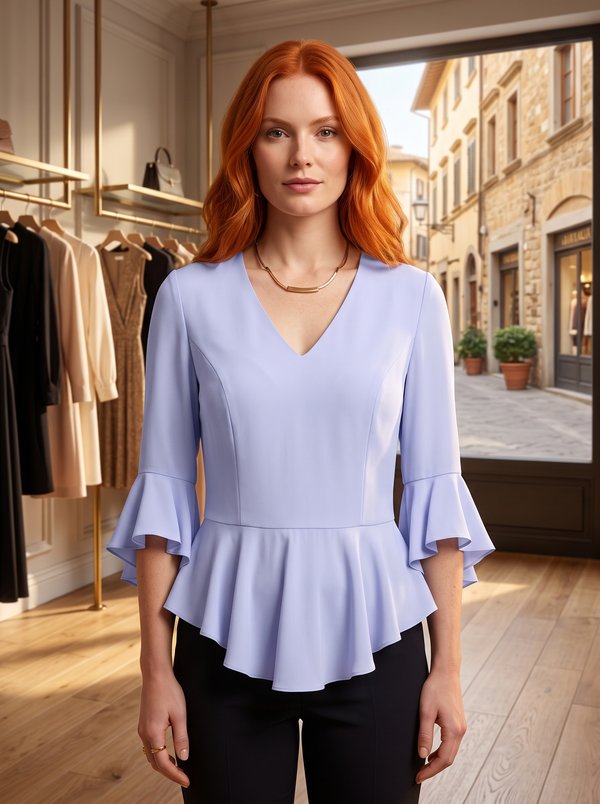
#4239
V-Neck Blouse with Flounce Sleeves & Peplum
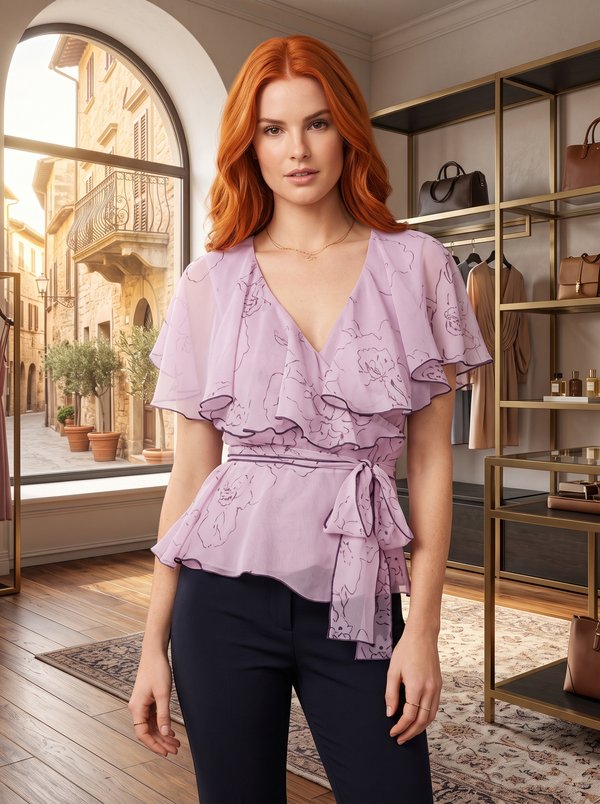
#4238
Chiffon Blouse with Flounce and Belt

Minerva Support
Online