Professional made-to-measure digital sewing patterns — PDF · PLT · DXF AAMA
A knee-length women's dress in knit fabric with a raised waist seam, three-quarter set-in sleeves and an asymmetric bodice: the upper front is gathered into a curved seam on one side. Two satin ribbons, one in the curved seam and one in the left side seam, tie in a bow at the waist. Drafted to your own measurements. Recommended fabric: for knit fabric only: well-draping jersey with medium stretch, of natural or blended fibres.
A knee-length women's dress in knit fabric with a raised waist seam, three-quarter set-in sleeves and an asymmetric bodice: the upper front is gathered into a curved seam on one side. Two satin ribbons, one in the curved seam and one in the left side seam, tie in a bow at the waist.
Silhouette: Close-fitting, with a waist seam set high under the bust and a straight skirt.
Length: To the knee.
Neckline: Round neckline, overlocked, turned to the wrong side and stitched.
Sleeves: Three-quarter length, set in with an eased cap; hems turned and stitched.
Front: Asymmetric upper front, cut as one upper front piece and one side front piece; the upper front is gathered along the curved seam from the arrow mark down to the waist seam.
Back: Upper back with a centre back seam, lower back cut in one piece.
Waist: Satin ribbon ties, 2 cm wide, sewn into the curved front seam and the left side seam.
Finishing: Hems overlocked, turned and stitched; twin needle or coverstitch keeps the hems elastic.
Beginner. No closures or facings; the work is gathering a curved seam and sewing knit fabric with stretch stitches.
For knit fabric only: well-draping jersey with medium stretch, of natural or blended fibres.
If the patterns have a double contour, they include seam allowances. If the contour is single, the patterns do not include seam allowances. Seam allowances: Hem and sleeve hem allowance – 1.5 cm, back and front neckline allowance – 1.5 cm, other seams 0.7 cm. Attention! First, print out the paper patterns and lay them out on the fabric width (fabric width can be from 90 cm to 150 cm) to determine how much material you will need. When stitching pieces, pay attention to the notches - they must match! Inscriptions on the patterns are on the right side.
Tip: Knit fabric pieces are stitched with a special elastic or narrow zigzag stitch. The hem allowance is stitched with a twin needle or on a coverstitch machine to maintain elasticity. You can also stitch pieces directly on a 3- or 4-thread overlocker.

#4043
Fitted Dress with Paneled Skirt and Sleeves
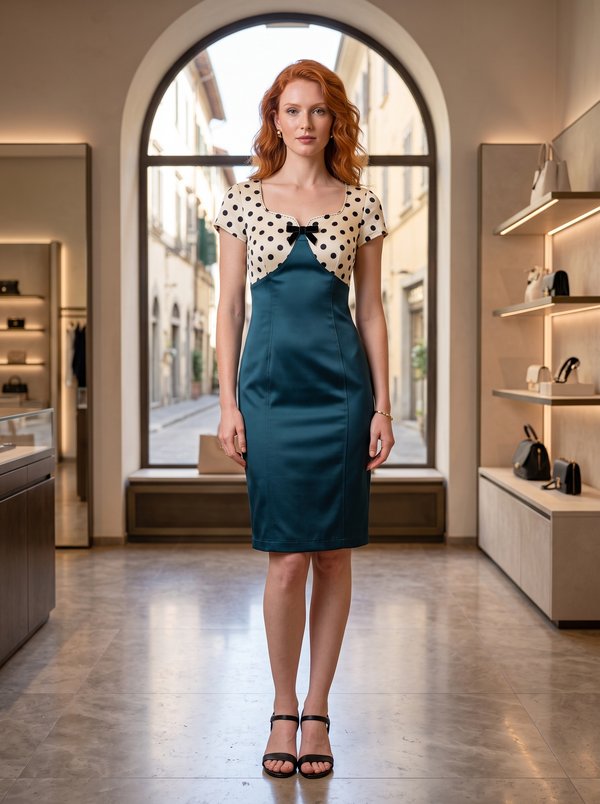
#4036
Fitted Two-Tone Square Neck Dress
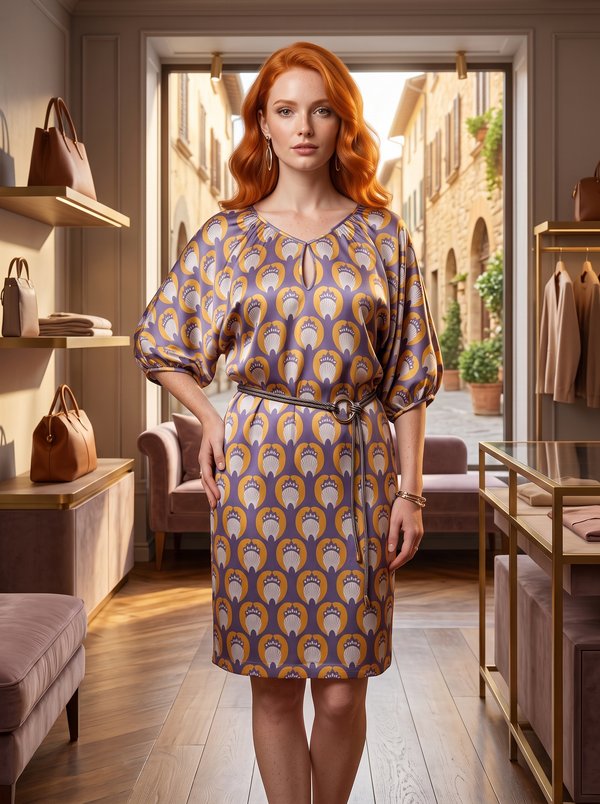
#4034
Gathered Dolman Sleeve Keyhole Neck Dress

#4046
Draped Cowl Neck Pencil Dress
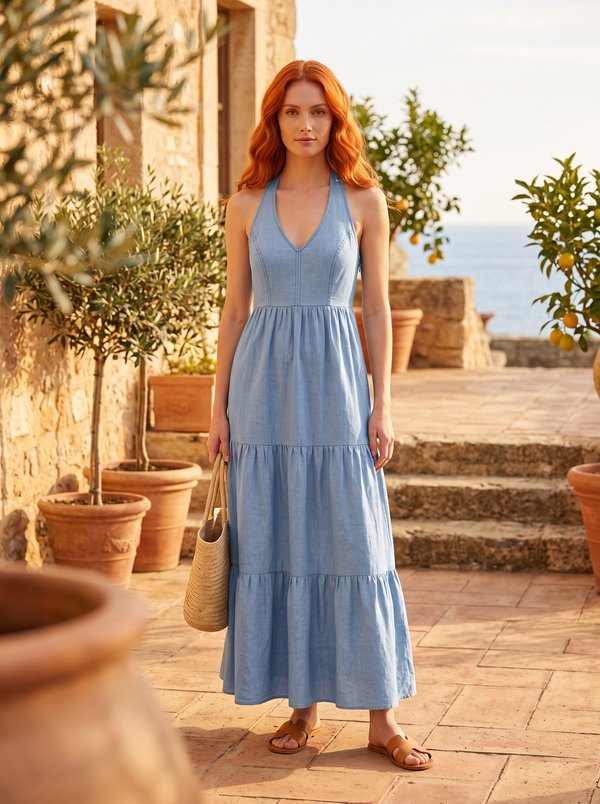
#4048
Princess Seam Tiered Sundress
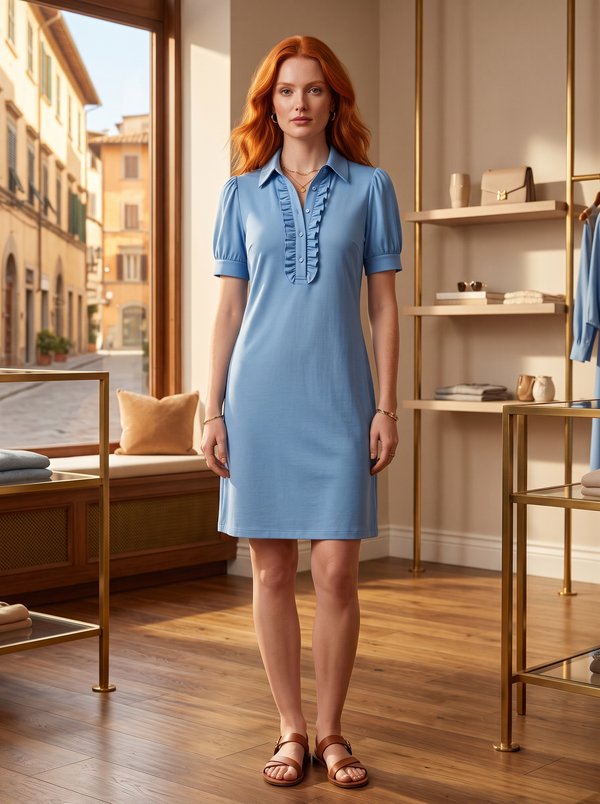
#4031
Collared Ruffle Placket Puffed Sleeve Dress
#4030
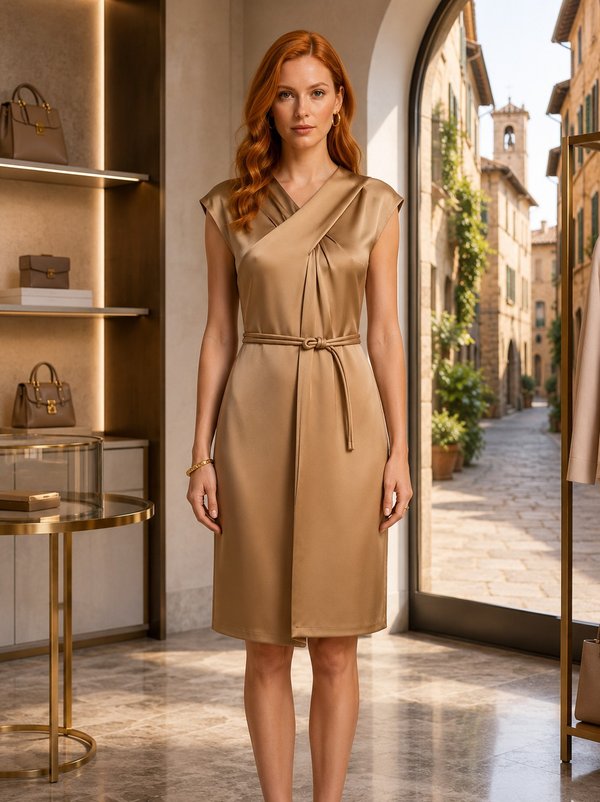
Asymmetric Crossover Pleated Belted Dress
#4029
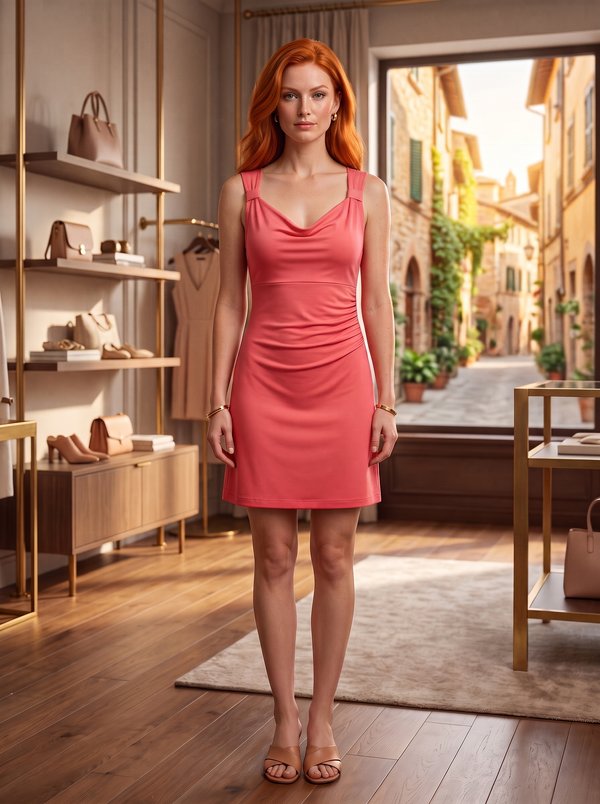
Cowl Neck Ruched Dress

Minerva Support
Online