Professional made-to-measure digital sewing patterns — PDF · PLT · DXF AAMA
A hip-length women's blouse without set-in sleeves: the cap sleeves are cut in one with the front and back. The front neckline is gathered into a narrow neckline band, and the back has a centre seam with a neck slit closed by one button and a rouleau loop. Drafted to your own measurements. Recommended fabric: linen fabrics made from natural or blended fibres.
A hip-length women's blouse without set-in sleeves: the cap sleeves are cut in one with the front and back. The front neckline is gathered into a narrow neckline band, and the back has a centre seam with a neck slit closed by one button and a rouleau loop.
Silhouette: Straight, loose body.
Length: Hip length, straight hem.
Neckline: Round neckline with a narrow band made of the outer facing pieces; the front is gathered between marks along the neckline before the band is attached. An inner facing finishes the neckline and the slit from the inside.
Sleeves: Cap sleeves cut in one with the bodice; the armholes are finished with a 4 cm bias strip folded in half and topstitched along the fold.
Front: One piece cut on the fold, no darts.
Back: Two pieces with a centre back seam, open from the neck down to the slit mark; the slit is topstitched 0.2 cm from the edge.
Closure: One button on the back facing and a bias rouleau loop set into the slit edge.
Finishing: Shoulder and side seams pressed toward the back and overlocked; 2 cm hem, overlocked, turned and topstitched.
Beginner. Few pieces and straight seams; the more careful steps are the front gathers, the two-layer neckline facing, the bias-bound armholes and the rouleau loop.
Linen fabrics made from natural or blended fibres.
From Main Fabric:
Back – 2 pieces
Front – 1 piece on fold
Back Neckline Facing – 4 pieces
Front Neckline Facing – 2 pieces
From Fusible Interfacing:
Back Neckline Facing – 2 pieces
Front Neckline Facing – 1 piece
Before cutting your fabric, print and lay out the paper patterns according to your fabric width (90–150 cm) to determine required yardage.
Remember to account for paired and symmetrical pieces.
When sewing, pay close attention to all notches — they must match precisely to ensure correct construction and fit.
Apply fusible interfacing to the required pieces.
Overlock the center back edges separately.
Stitch the center back seam from the slit marking to the hem.
Press the seam allowances open.
Topstitch along the slit at 0.2 cm from the edge.
Sew a gathering stitch along the neckline of the Front between the notches and gather.
Attach the Front Neckline Facing to the Front.
Press the seam allowances toward the facing.
Attach the Back Neckline Facing to the Back neckline.
Clip seam allowances and press toward the facing.
Stitch the shoulder seams.
Press the seam allowances toward the Back and overlock.
Cut a bias strip 4 cm wide and with a length equal to the armhole length + 5 cm (if not using ready-made).
Fold the bias strip lengthwise, right side out, and press.
Place the bias strip onto the armhole from the right side and stitch.
Clip seam allowances.
Turn the bias strip to the wrong side and topstitch along the fold onto the garment.
Press the seam.
Stitch the side seams.
Press the seam allowances toward the Back and overlock.
Cut a bias strip 2.5 cm wide and 10 cm long for the loop.
Fold the strip lengthwise, right sides together, and stitch at 0.3 cm from the fold.
Trim seam allowances close to the stitching, turn right side out and shape the cord.
Adjust the loop length.
Stitch the shoulder seams of the Back Neckline Facing and Front Neckline Facing.
Press the seam allowances open.
Overlock the outer edge.
Place the inner facing onto the Front, stitch the neckline and the center back edges, inserting the loop.
Clip seam allowances, turn the facing to the wrong side, and press.
Topstitch the inner facing into the seam of attachment of the outer facing.
Overlock the lower edge of the garment, press to the wrong side, and topstitch.
Sew a button onto the Back Neckline Facing.

#2851
Shirt Collar Long Sleeve Sculpted Blouse

#2855
Collared Puffed Sleeve Blouse

#2856
Long Sleeve Square Yoke Button Blouse

#2848
Asymmetrical Wrap Front Short Sleeve Top
#2847
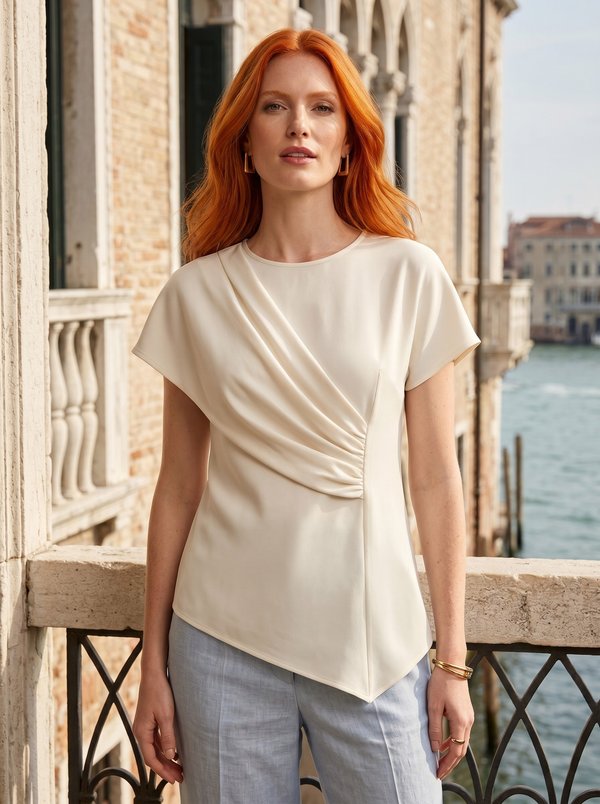
Draped Front Asymmetrical Hem Blouse

#2845
Puffed Sleeve Blouse with Looped Front Tie

#2844
Gathered Waist Shirt with Pointed Hem
#2842
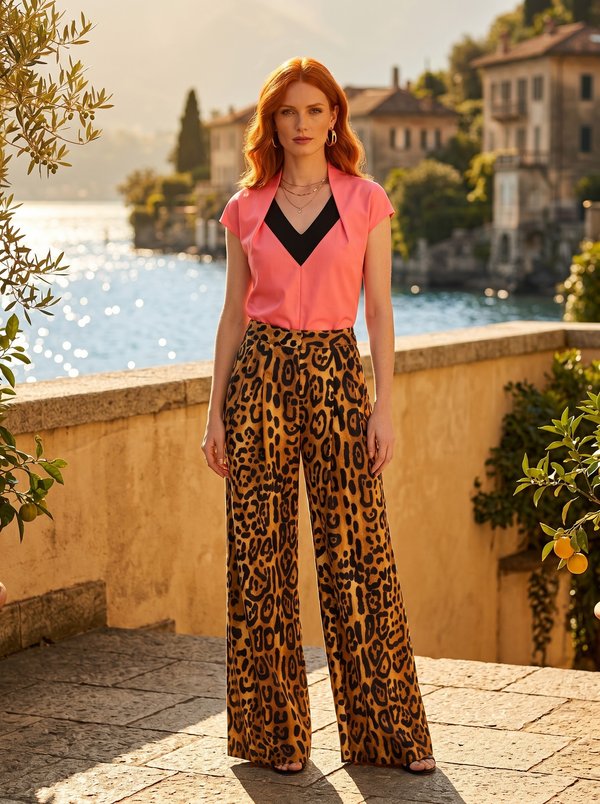
Two-Tone V-Neck Cap Sleeve Blouse

Minerva Support
Online