Professional made-to-measure digital sewing patterns — PDF · PLT · DXF AAMA
A women's hip-length blouse with a round neckline, a centre back concealed zipper and short gathered sleeves cut double, whose upper seam opens below a mark into shaped edges trimmed with three decorative buttons on each sleeve. Drafted to your own measurements. Recommended fabric: blouse fabrics from natural or blended fibres.
A women's hip-length blouse with a round neckline, a centre back concealed zipper and short gathered sleeves cut double, whose upper seam opens below a mark into shaped edges trimmed with three decorative buttons on each sleeve.
Silhouette: Semi-fitted, shaped by bust darts on the front and darts on the back; straight hem at hip level.
Neckline: Round, finished with front and back neckline facings.
Sleeves: Short set-in sleeves gathered at the cap. Each sleeve has an outer and an inner layer, both cut in a front and a back part. The upper seam is stitched only down to a mark, below which the two layers are joined along the shaped lower edge, so the sleeve opens in two rounded flaps.
Front: One piece cut on the fold, with darts pressed upwards.
Back: Two pieces with a centre back seam and darts; concealed zipper in the upper part of the seam.
Finishing: Seams pressed towards the back and overlocked; 2 cm hem turned up and topstitched; buttons sewn on the sleeves as decoration.
Intermediate. A concealed zipper, a faced neckline, and double-layer sleeves with a shaped edge that must be stitched, clipped and turned before the cap is gathered.
Blouse fabrics from natural or blended fibres.
If the patterns have a double contour, they include seam allowances. If the contour is single, the patterns do not include seam allowances. Seam allowances: all seams 1 cm. Hem allowance for the bottom edge of the garment – 2 cm. Attention! First of all, print out the paper patterns and lay them out on the fabric width (fabric width can be from 90cm to 150cm) to determine how much material you will need (do not forget to account for paired and symmetrical pieces). When stitching pieces, pay attention to the notches - they must match!
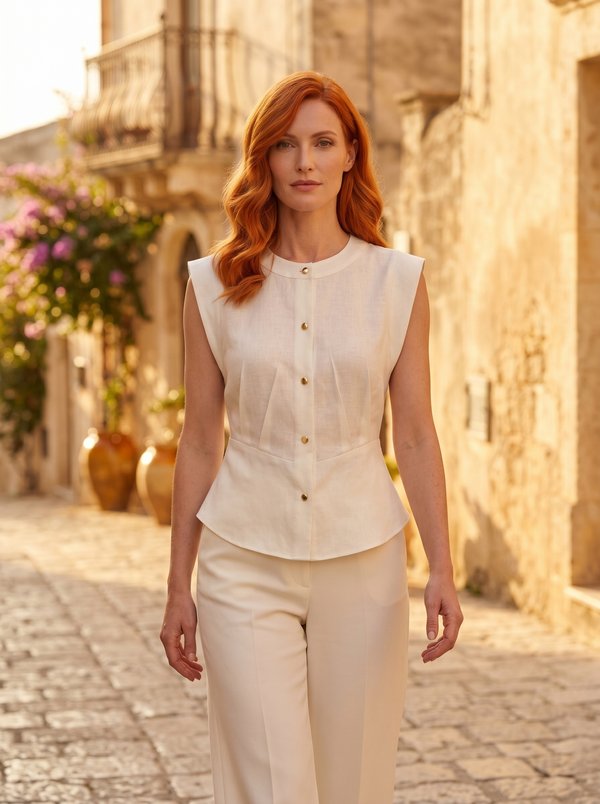
#2834
Blouse with Curved Waist Yoke
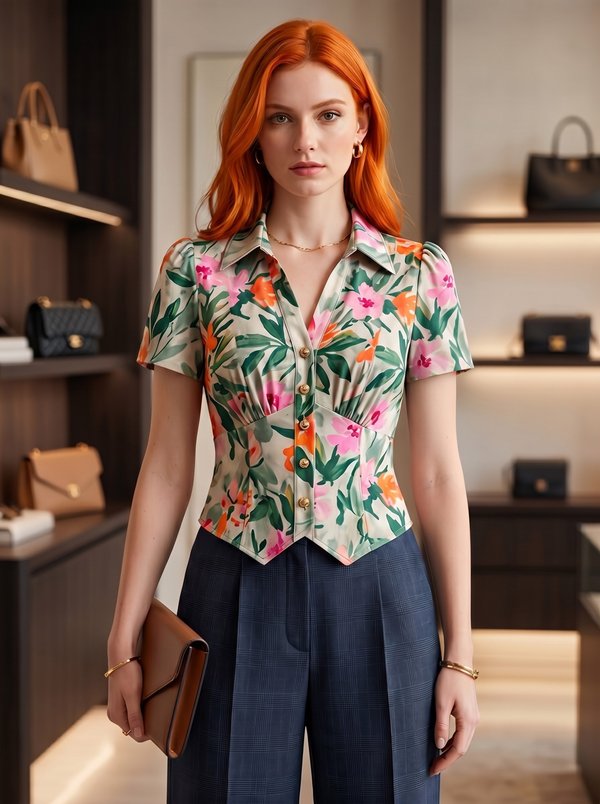
#2833
Collared Blouse with Puff Sleeves and Shaped Hem

#2838
Asymmetrical Color Blocked Cutout Blouse

#2831
Sleeveless Collared Blouse with Gathered Hem

#2829
Sleeveless Draped V-Neck Asymmetric Blouse
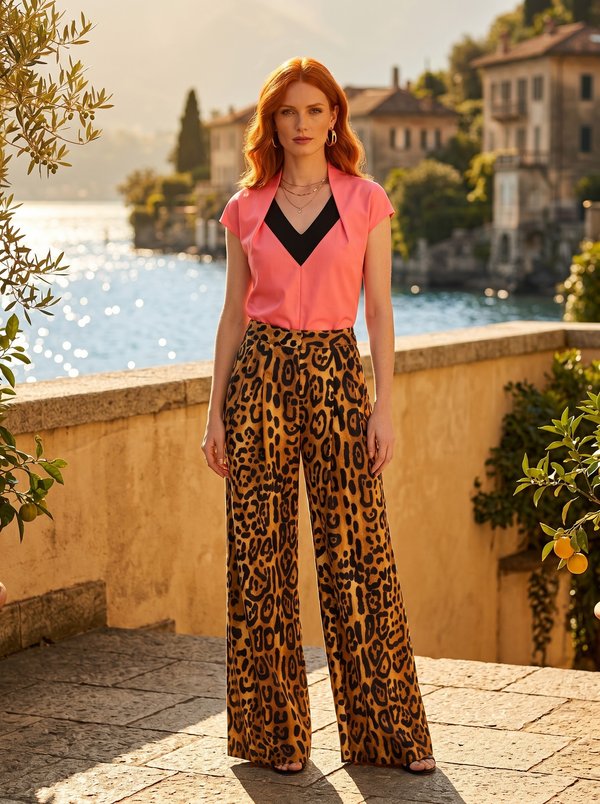
#2842
Two-Tone V-Neck Cap Sleeve Blouse
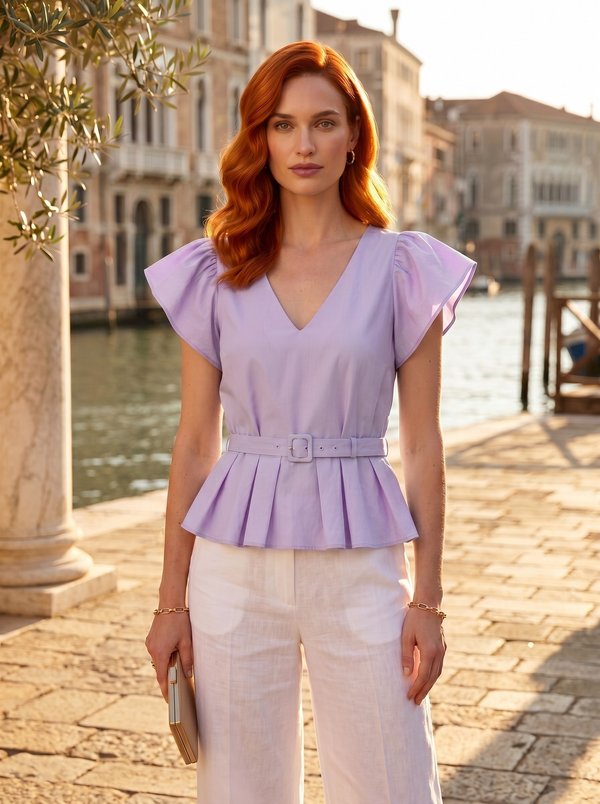
#2827
Belted V-Neck Blouse with Gathered Sleeves

#2844
Gathered Waist Shirt with Pointed Hem

Minerva Support
Online