Professional made-to-measure digital sewing patterns — PDF · PLT · DXF AAMA
A hip-length women's coat with dropped shoulders, a funnel neck, an edge-to-edge front with no buttons, and fronts divided by a curved seam that holds an in-seam pocket. Fully lined. Drafted to your own measurements. Recommended fabric: coat fabrics from synthetic or natural fibres.
A hip-length women's coat with dropped shoulders, a funnel neck, an edge-to-edge front with no buttons, and fronts divided by a curved seam that holds an in-seam pocket. Fully lined.
Silhouette: Boxy and straight, with dropped shoulders.
Length: To the hip.
Collar: Funnel neck cut in one with the fronts and back, faced with the front facings and a back neckline facing.
Front: Each front is cut in an upper and a lower part. The edges meet at centre front with no fastening; hooks can be added to keep the front closed.
Pockets: In-seam pockets in the curved seam between the upper and lower fronts, with pocket linings attached to both parts and a cut-on, interfaced pocket allowance.
Sleeves: Long, one-piece sleeves set into the dropped armhole; side and sleeve seams are sewn in one pass.
Back: One piece cut on the fold.
Lining: Full lining for body and sleeves, cut without the back neckline facing and bagged to the hem and sleeve hems; the turning opening is left in the left sleeve seam.
Finishing: Front edges, neckline and the lower edge of the facings are stitched together with the facings; 3 cm hem allowance on body and sleeves.
Intermediate. In-seam pockets set in a shaped panel seam, a facing that runs around the front edges and funnel neck, and a bagged full lining.
Coat fabrics from synthetic or natural fibres.
If the patterns have a double contour, seam allowances are included. If the contour is single, seam allowances are not included. Seam allowances: All seams 1 cm. Hem allowance for the garment and sleeve – 3 cm. Attention! First, print out the paper patterns and lay them out on the fabric width (fabric width can be from 90 cm to 150 cm) to determine how much material you will need (don't forget to account for paired and symmetrical pieces).
Lining back pieces are cut subtracting the back neckline facing.
When stitching pieces, pay attention to the notches - they must match!

#2801
Stand Collar Buckle Asymmetrical Jacket
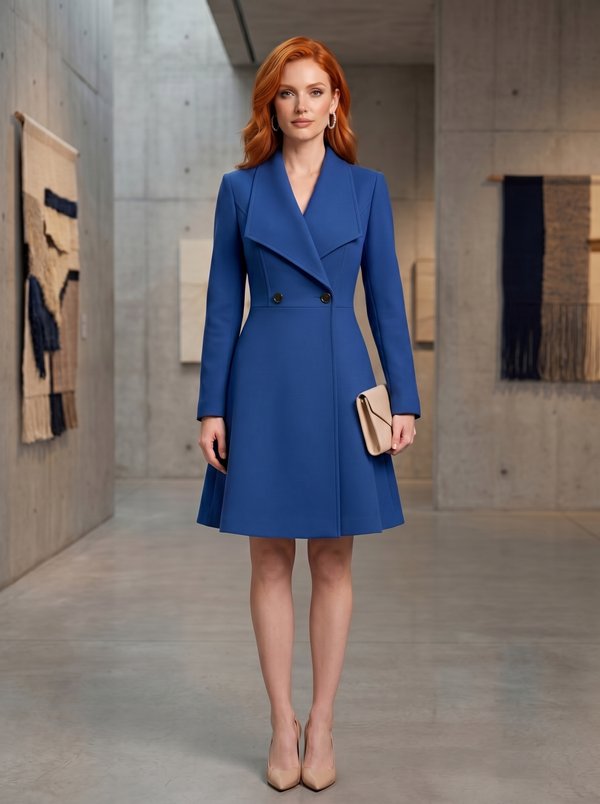
#2667
Wide Lapel Double-Breasted Flared Coat Dress

#2656
Summer Coat
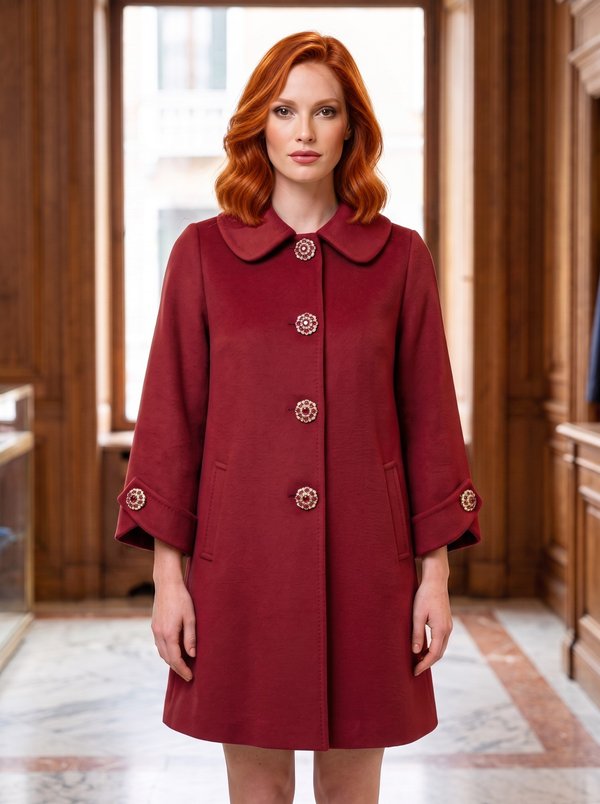
#2618
Peter Pan Collar A-Line Cuffed Coat

#2901
Tailored Coat with Wide Collar

#2615
Asymmetrical Stand Collar Patch Pocket Coat
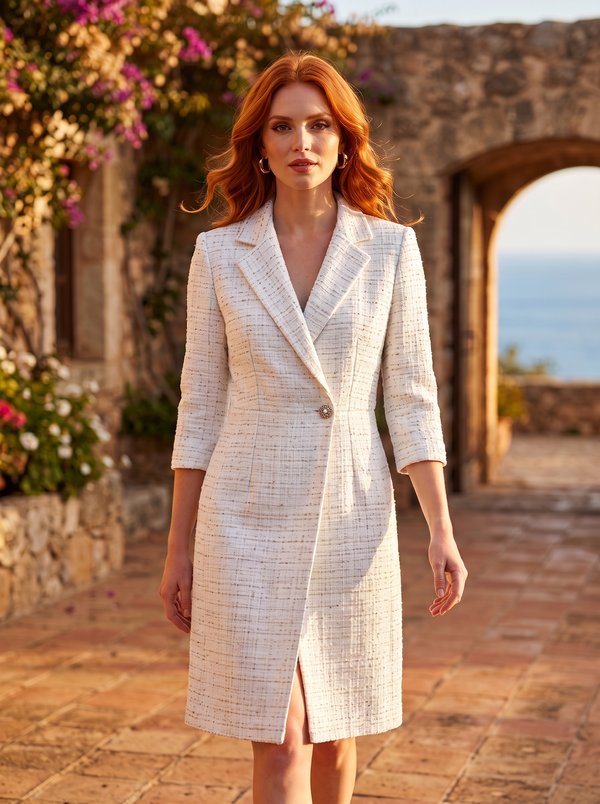
#2570
Notched Lapel Wrap Front Coat Dress
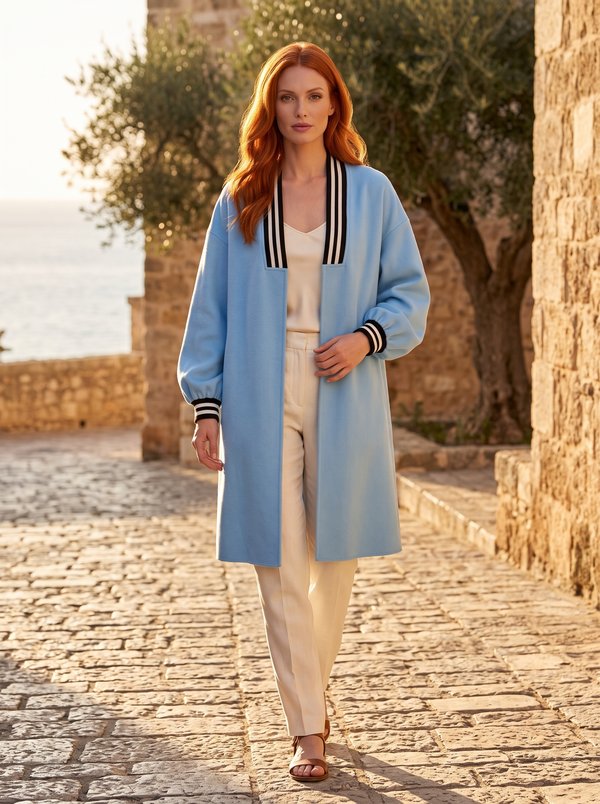
#2567
Long Cardigan with Folded Front Band and Voluminous Sleeves

Minerva Support
Online