Professional made-to-measure digital sewing patterns — PDF · PLT · DXF AAMA
A women's collarless jacket cut to the waist, with a round neckline, a wide self-fabric band along the neckline and front edges, buttoned flaps on the chest and two-piece sleeves with vents. Decorative braid is set into the band seams, the flap edges and the sleeve vents. Fully lined. Drafted to your own measurements. Recommended fabric: lightweight suiting fabrics of natural or blended fibres.
A women's collarless jacket cut to the waist, with a round neckline, a wide self-fabric band along the neckline and front edges, buttoned flaps on the chest and two-piece sleeves with vents. Decorative braid is set into the band seams, the flap edges and the sleeve vents. Fully lined.
Silhouette: Fitted, shaped by front darts and by shoulder and waist darts on the back.
Length: Cropped, ending at the waist.
Neckline: Round, collarless; finished with a double band made of the centre front pieces and the back neckline facing, with braid caught between the layers and in the seam joining the band to the jacket.
Front: Centre front button closure, buttonholes on the right front.
Pockets: Two chest pocket flaps, edged with braid, each with a buttonhole and buttoned to the front; the flaps are stitched on, folded down and topstitched.
Sleeves: Two-piece set-in sleeves with eased caps, shoulder pads and sleeve heads; vents in the elbow seam with braid and buttons.
Back: Centre back seam, shoulder and waist darts.
Finishing: Hem allowances of the jacket and sleeves interfaced, 3 cm hem allowance; seams pressed open.
Lining: Full lining cut from the back, front and both sleeve pieces, attached at the jacket and sleeve hems.
Advanced. Braid set into curved and cornered seams, a double band joined in two stages, two-piece sleeves with vents, a full lining and shoulder pads.
Lightweight suiting fabrics of natural or blended fibres.
From Main Fabric:
From Lining Fabric:
For cutting lining, use following main patterns:
From Fusible Interfacing:
For cutting interfacing, use the following main patterns:
Before cutting your fabric:
Apply fusible interfacing to the corresponding pattern pieces and to the hem allowances of the garment and sleeves.
Stitch the shoulder and waist darts on the Back, press the dart intake toward the center.
Stitch the center back seam, press the seam allowances open.
Stitch the darts on the Front, trim the dart intake to 1 cm, and press toward the center.
Place the Pocket Flap pieces in pairs, right sides together, and stitch along the outer contour, inserting decorative trim.
Trim seam allowances at the curves, turn right side out, and press.
Work a buttonhole on the flap, overlock the upper edge.
Attach the flap to the Front along the marked line (outer edge directed toward the shoulder).
Fold the flap downward and topstitch along the seam.
Stitch the shoulder and side seams, press the seam allowances open.
Stitch and press open the elbow seam of the sleeve (Upper Sleeve to Lower Sleeve), including the vent corners, inserting decorative trim.
Press the elbow seam open, make a notch, and press the sleeve vent.
Make a diagonal reinforcing stitch along the sleeve vent.
Press the sleeve hem allowance.
Stitch and press open the front seam of the sleeve.
Set the sleeves into the armholes, easing the sleeve cap.
Insert shoulder pads and sew sleeve heads.
On the lining pieces, stitch the seams and set in the sleeves.
Press the hem of the jacket and sleeves to the wrong side, attach the lining to the hem of the jacket and sleeve hems.
Straighten the lining, secure it to the garment along the open edges, and treat as one piece.
Stitch and press open the shoulder seams of the Back Neckline Facing and Center Front.
Place the Center Front and facing pieces right sides together, insert decorative trim between them, and stitch along the front edge, neckline, and lower corner.
Trim seam allowances at the corners and clip at the curves.
Turn right side out, shape the seams, and press.
Attach the outer Center Front and Back Neckline Facing to the garment, inserting decorative trim into the seam.
Press the seam allowances toward the Center Front.
Turn the seam allowance of the inner Center Front and facing to the wrong side and topstitch in the seam of the outer part attachment.
Work buttonholes on the right Front, sew buttons on the left Front.
Sew buttons on the sleeve vents and on the Front under the flaps.

#2733
Bomber Jacket with Zippered Pockets and Chest Flaps

#2716
Wrap Pleated Blazer Dress

#2748
Asymmetrical Zipper Peplum Moto Jacket
#2752
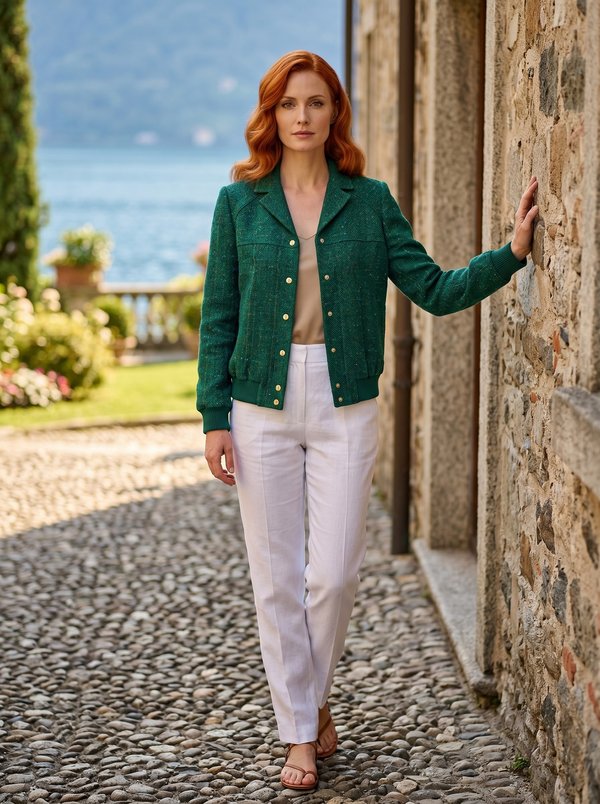
Lapel Collar Bomber Jacket

#2754
Long Sleeve Cropped Jacket with Neckline Pleats

#2689
Classic Button-Front Denim Jacket

#2682
Collared Asymmetrical Button Front Blazer

#2774
Blazer Dress Asymmetric Pleated Hem

Minerva Support
Online