Professional made-to-measure digital sewing patterns — PDF · PLT · DXF AAMA
A women's sleeveless straight-cut top with a centre front panel in eyelet fabric, joined to the side fronts by 3.5 cm lace trim, and a neckline and armholes finished with bias binding. Drafted to your own measurements. Recommended fabric: cotton blouse fabrics of natural or blended fibres for the back and side fronts; eyelet (broderie anglaise) fabric for the centre front panel; lace trim exactly 3.5 cm wide.
A women's sleeveless straight-cut top with a centre front panel in eyelet fabric, joined to the side fronts by 3.5 cm lace trim, and a neckline and armholes finished with bias binding.
Silhouette: Straight, sleeveless, pull-on top with no fastening.
Neckline: Round neckline finished with a folded bias strip 4 cm wide, turned to the inside and topstitched along the fold.
Front: Three panels. The centre front is cut on the fold from eyelet fabric; the two side fronts are cut from the main fabric. Lace trim 3.5 cm wide runs from shoulder to hem between them, with each panel topstitched onto one long edge of the trim along the marked panel seam line. A paper template is included for cutting the trim to length.
Back: One piece cut on the fold, with no seams.
Finishing: Armholes bound with a folded bias strip 4 cm wide, ready-made or self-cut; shoulder and side seams pressed towards the back and overlocked; hem turned up and topstitched.
Beginner. Straight topstitching of the lace between the front panels, bias binding at the neckline and armholes, and simple shoulder, side and hem seams.
Cotton blouse fabrics of natural or blended fibres for the back and side fronts; eyelet (broderie anglaise) fabric for the centre front panel; lace trim exactly 3.5 cm wide.
If the patterns have a double contour, then the patterns include seam allowances. If the contour is single, then the patterns do not include seam allowances. Seam allowances: hem allowance – 2 cm. Other allowances - 1.0 cm. Attention! First of all, print out the paper patterns and lay them out on the fabric width (fabric width can be from 90 cm to 150 cm) to determine how much material you will need.
When stitching pieces, pay attention to the notches - they must match!
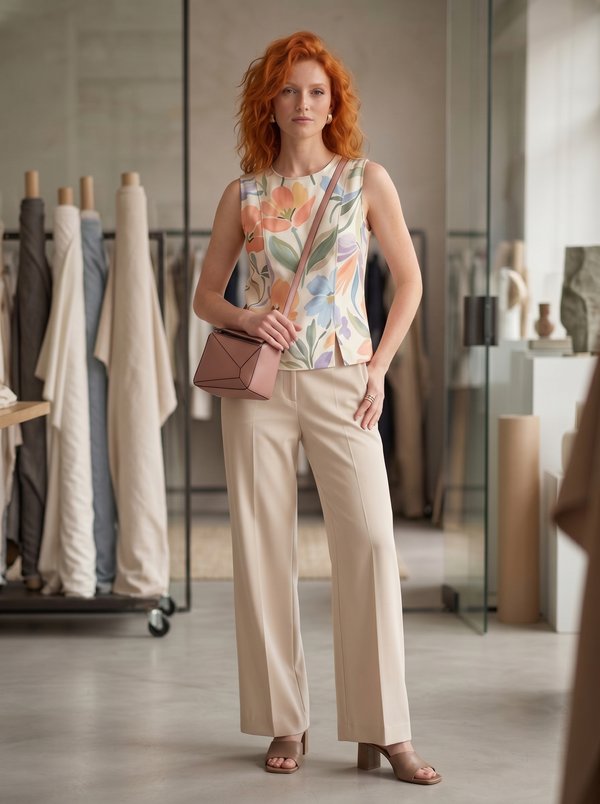
#2696
Princess Seam Blouse with Front Slits
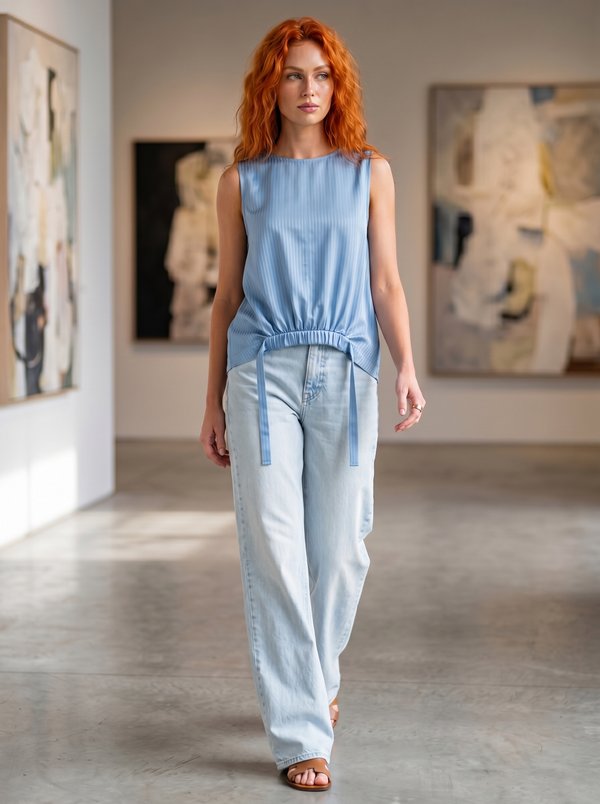
#2705
Blouson with Decorative Front Panel
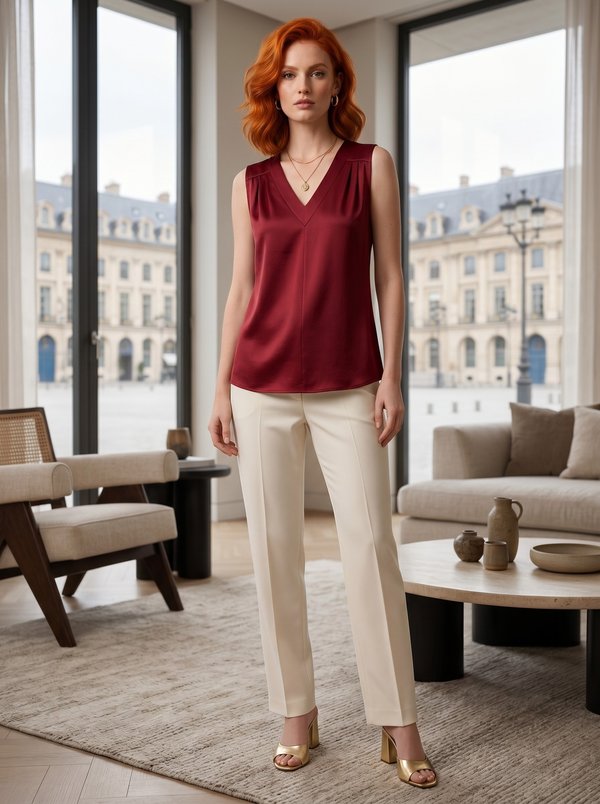
#2718
Sleeveless V-Neck Gathered Blouse
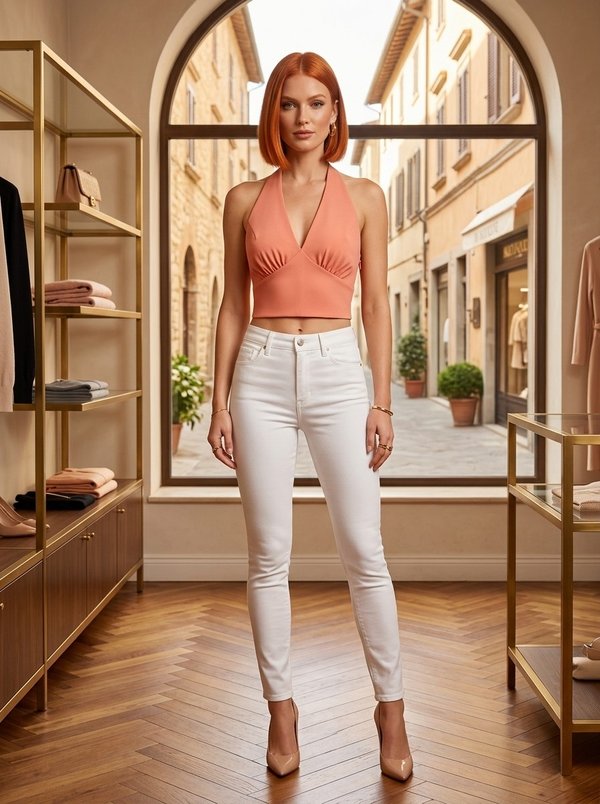
#2721
Halter V-Neck Crop Top

#2677
Short Sleeve Knit Top with Shaped Yoke
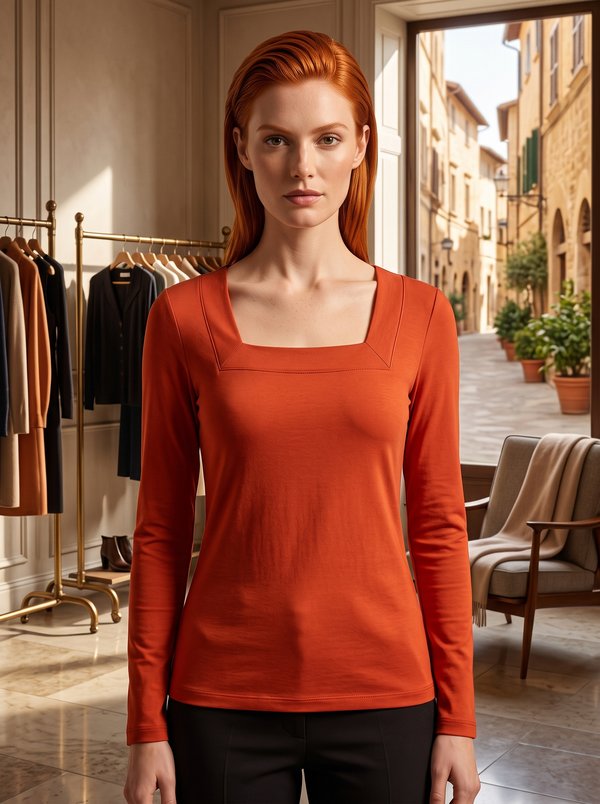
#2740
Square Neck Long Sleeve Knit Top
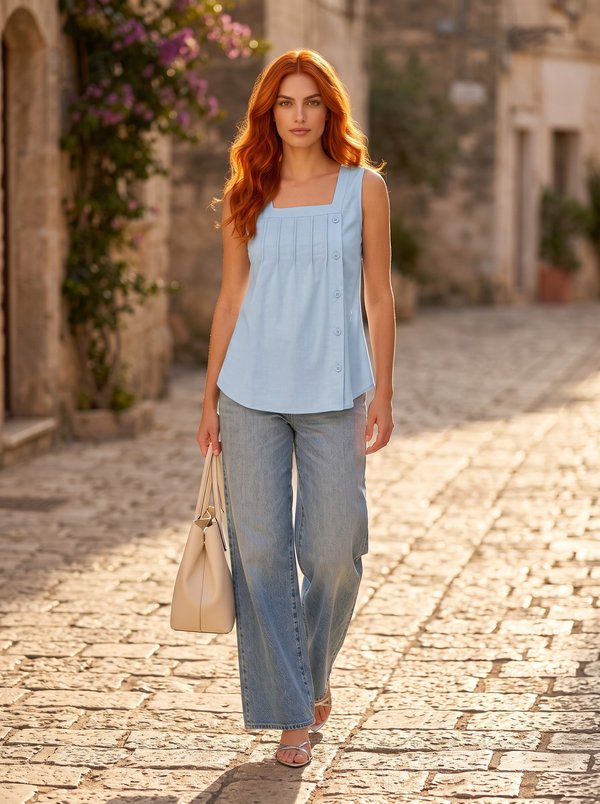
#2814
Square Neck Pintuck Button Top
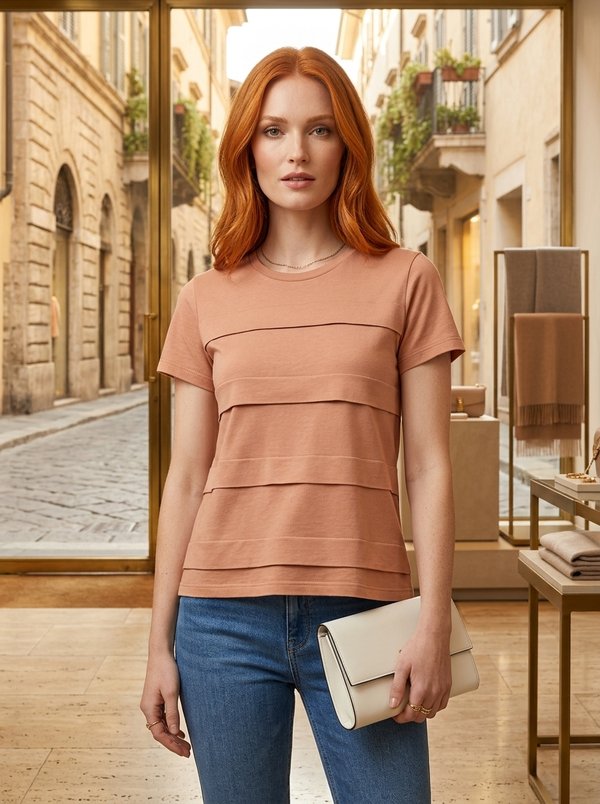
#2822
Crew Neck Layered Short Sleeve T-Shirt

Minerva Support
Online