Professional made-to-measure digital sewing patterns — PDF · PLT · DXF AAMA
A women's long-sleeved blouse with a V-neck, a stand collar cut in one with the fronts, pressed pleats at the front shoulder seams and a faced button front. Drafted to your own measurements. Recommended fabric: blouse fabrics of natural or blended fibres.
A women's long-sleeved blouse with a V-neck, a stand collar cut in one with the fronts, pressed pleats at the front shoulder seams and a faced button front.
Silhouette: Straight, loose-fitting blouse ending at the hip.
Collar: Stand collar cut in one with the fronts, joined by a centre back seam and set into the back neckline; it runs down into the V-neck at the front.
Front: Pleats laid at the shoulder edge of each front, folded away from the centre; front edges finished with facings that continue into the stand.
Closure: Buttons and buttonholes on the front, with no separate placket; buttonholes on the right front.
Sleeves: Long set-in sleeves gathered into buttoned cuffs, with a slit in the sleeve seam above the cuff topstitched 0.1 cm from the fold.
Back: One piece cut on the fold, with a back neckline facing.
Finishing: Double-turned hem, pressed under 1 cm and then 1.5 cm and topstitched.
Intermediate. Shoulder pleats, a cut-on stand collar with corner clipping and front facings, a sleeve slit, cuffs stitched in the ditch and buttonholes.
Blouse fabrics of natural or blended fibres.
From Main Fabric:
From Fusible Interfacing:
Before cutting your fabric, print and lay out the paper patterns according to your fabric width (90–150 cm) to determine required yardage.
Remember to account for paired and symmetrical pieces.
When sewing, pay close attention to all notches — they must match precisely to ensure correct construction and fit.
Accurate pressing of the shoulder pleats and cuffs is essential for achieving the intended silhouette and professional finish.
Fuse interfacing to the Cuffs, Center Front Facings and Back Neckline Facing.
Fold and tack the pleats on the shoulder edges of the Fronts (pleats folded away from the center).
Stitch the shoulder seams, press the seam allowances toward the Back, and overlock.
Stitch the center back seam of the stand collar (cut in one with the Fronts), press the seam allowances open.
Stitch the stand into the back neckline, clipping at the corners, and press the seam allowances toward the stand.
Stitch the center back seam of the stand on the Center Front Facings, press the seam allowances open.
Stitch the shoulder seams of the Back Neckline Facing and Center Front Facing, press the seam allowances open.
Overlock the outer edge of the facings.
Stitch the facing stand into the neckline of the Back Neckline Facing, press the seam allowances upward.
Place the facings and the garment right sides together and stitch along the front edges and the stand.
Clip the seam allowances at the curves, turn the Center Front Facings and Back Neckline Facing to the wrong side and press.
Tack the stand attachment seams of the garment and facing together.
Secure the shoulder seams of the facings to the shoulder seams of the garment.
Stitch the side seams, press the seam allowances toward the Back, and overlock.
Overlock the sleeve seam edges separately.
Stitch the sleeve seam from the armhole to the slit marking, press the seam allowances open.
Turn the slit allowances to the wrong side and topstitch 0.1 cm from the fold.
Sew a long stitch with loosened upper thread along the lower edge of the sleeve and gather.
Set the sleeves into the armholes, press the seam allowances and overlock.
Fold the Cuff pieces lengthwise at the center, right sides together, and stitch the side edges.
Begin and end stitching exactly at the marked cuff attachment line.
Turn right side out and press.
Stitch the outer side of the cuff to the sleeve, turn under the seam allowance of the inner side and topstitch it in the ditch of the cuff attachment seam.
Press the lower edge of the garment to the wrong side by 1 cm, then by 1.5 cm, and topstitch.
Work buttonholes on the right Front, sew buttons onto the left Front.
Work buttonholes and sew buttons on the cuffs.

#2666
Button-Down Blouse with Gathered Long Sleeves

#2660
Colorblock Blouse with Dolman Sleeves

#2654
Pleated V-Neck Blouse

#2678
Short Sleeve Wrap Blouse with Side Tie
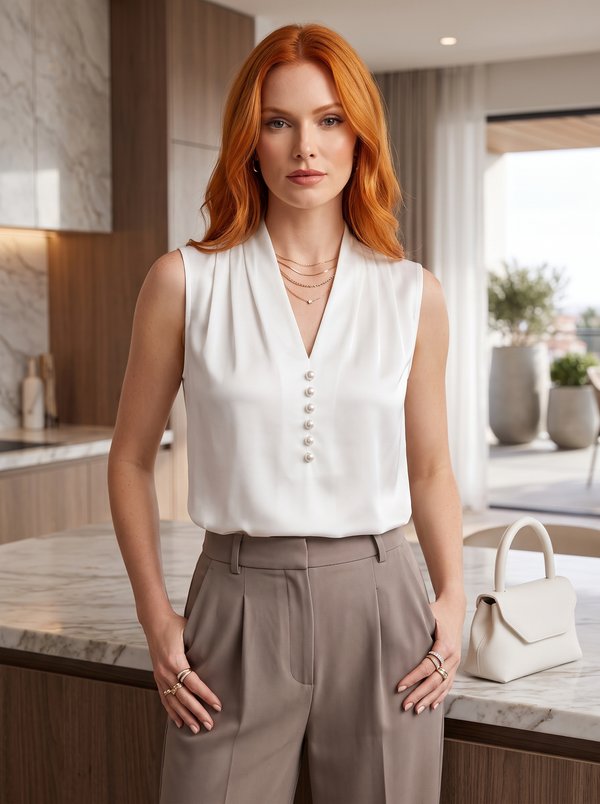
#2648
Pleated Sleeveless V-Neck Blouse

#2647
Western Yoke Gathered Blouse
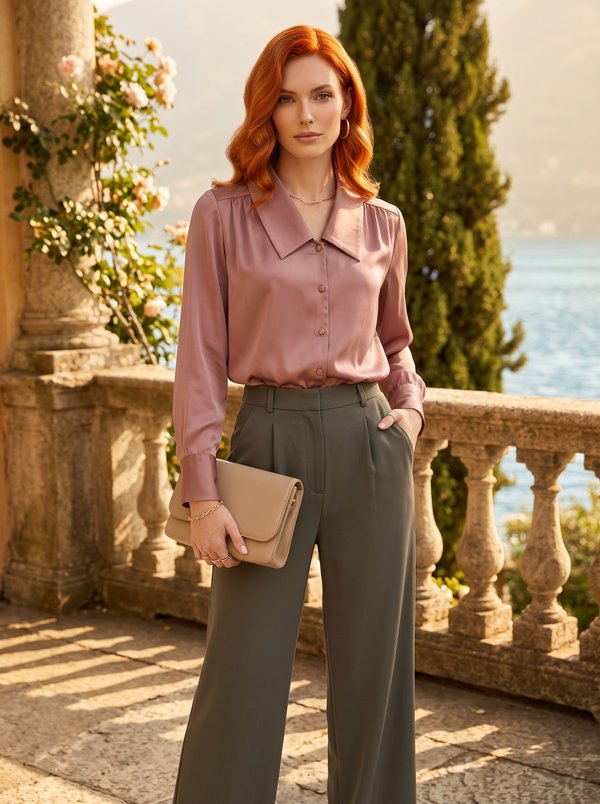
#2645
Pleated Front Blouse with Pointed Collar

#2683
Pussy Bow Bishop Sleeve Blouse

Minerva Support
Online