Professional made-to-measure digital sewing patterns — PDF · PLT · DXF AAMA
A women's hip-length blouse with a crossover V-neck front, a ruched lower section on the front and the back, and long puff sleeves gathered into elastic at the wrist. It closes with a concealed zip at the centre back. Drafted to your own measurements. Recommended fabric: blouse fabrics with elastane, of natural or blended fibres, or knit fabric with high stretch, of natural or blended fibres.
A women's hip-length blouse with a crossover V-neck front, a ruched lower section on the front and the back, and long puff sleeves gathered into elastic at the wrist. It closes with a concealed zip at the centre back.
Silhouette: Fitted bodice shaped with darts; the lower part is drawn in by gathering.
Length: To the hip.
Neckline: V-neck formed by two upper fronts, the right overlapping the left and stitched together at the centre line. The neckline edge is turned and topstitched, or bound with bias tape.
Front: Upper fronts with darts, joined to a lower front cut on the fold; the seam is pressed upwards.
Sleeves: Set-in, gathered at the cap; the hem is turned twice to form a casing for elastic.
Waist: Lower front and back ruched with elastic thread along marked lines, and along the side seams and centre back seam.
Back: Upper back with darts and a centre back seam; the lower back is gathered along the centre back edges.
Closure: Concealed zip in the centre back seam.
Finishing: Hem overlocked, turned and topstitched.
Intermediate. Shirring with elastic thread, a concealed zip, an elastic casing at the sleeve hem and a gathered sleeve cap, on stretch fabric.
Blouse fabrics with elastane, of natural or blended fibres, or knit fabric with high stretch, of natural or blended fibres.
If the patterns have a double contour, seam allowances are included. If the contour is single, the patterns are without seam allowances. Seam allowances: all seams 1 cm; hem allowance for garment bottom - 2.5 cm, sleeve hem – 3 cm. Attention! First, print out the paper patterns and lay them out on the fabric width (fabric width can be from 90cm to 150cm) to determine how much material you will need (do not forget to account for paired and symmetrical pieces). When stitching pieces, pay attention to the notches - they must match!
Tip: Knit fabric pieces are stitched with a special elastic or narrow zigzag stitch. When serging, trim seam allowances to 0.8 cm. The hem allowance is topstitched with a twin needle or on a coverstitch machine to maintain elasticity. You can also stitch pieces directly on a 3- or 4-thread overlock machine. Fabric pieces with elastane content are stitched with a special “knit stitch” to prevent thread breakage.

#2614
Flutter Sleeve V-Yoke Blouse

#2611
Relaxed Asymmetric Collar Dolman Blouse
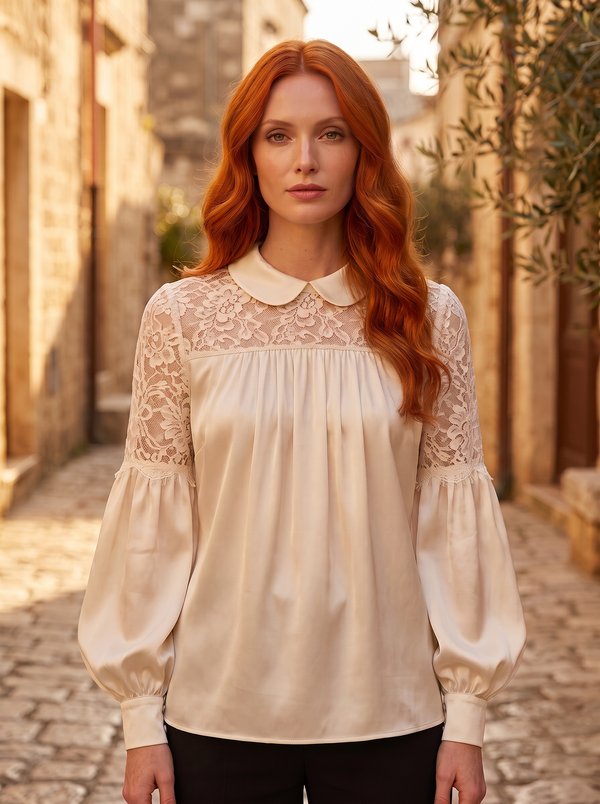
#2610
Rounded Collar Lace Yoke Balloon Sleeve Blouse

#2617
Pleated Blouse with Chiffon Inserts

#2608
Short Sleeve V-neck Gathered Blouse

#2606
Relaxed Pullover V-Neck Cuffed Blouse

#2621
Pleated Blouse Ruffled Collar and Cuffs
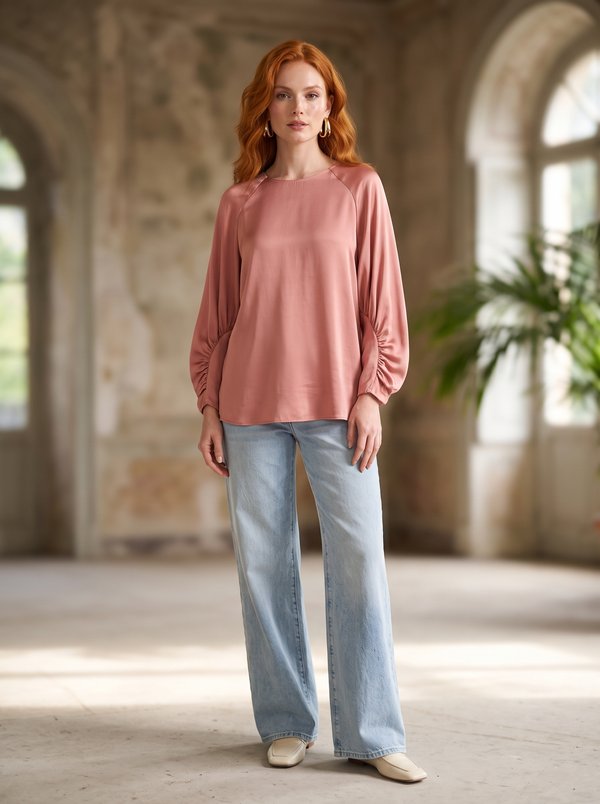
#2622
Raglan Sleeve Gathered Blouse

Minerva Support
Online