Professional made-to-measure digital sewing patterns — PDF · PLT · DXF AAMA
A women's fully lined, sleeveless hip-length vest with a wrap front, a wide collar that continues round the back neck as a halter, and an open upper back. Princess seams front and back; a belt tab from the right front fastens through a buckle at the left side. Drafted to your own measurements. Recommended fabric: suiting fabric of natural or blended fibres.
A women's fully lined, sleeveless hip-length vest with a wrap front, a wide collar that continues round the back neck as a halter, and an open upper back. Princess seams front and back; a belt tab from the right front fastens through a buckle at the left side.
Silhouette: Fitted through the princess seams, slightly flared towards the hem.
Length: Hip length.
Collar: Wide collar cut in one with the interfaced front facings, forming a deep V on the front and passing round the back of the neck; the two collar ends are joined at the centre back.
Front: Wrap front with princess seams from the armhole. The right front closes inside with one button and a buttonhole on the facing; a belt tab caught into the right front edge passes through a buckle on a short strap set into the left side seam.
Back: Open above the waist, framed by the halter collar; the lower back has princess seams and a centre back seam.
Sleeves: Sleeveless, with deeply cut armholes faced together with the front edges and the upper edge of the back.
Lining: Full lining, cut from the main pattern pieces less the facing width, bagged out through an opening in the left side seam.
Intermediate. Princess seams, a collar cut in one with the facings and joined at the centre back, a belt tab and buckle strap, and a fully bagged-out lining.
Suiting fabric of natural or blended fibres.
If the patterns have a double contour, seam allowances are included. If the contour is single, the patterns do not include seam allowances. Seam allowances: all seams – 1 cm, hem allowance – 2 cm. Attention! First, print out the paper patterns and lay them out on the fabric width (fabric width can be from 90 cm to 150 cm) to determine how much material you will need (do not forget to account for paired and symmetrical pieces).
Attention: Front and back lining pieces are cut from the main fabric patterns minus the width of the Center Front Facing.
When stitching pieces, pay attention to the notches - they must match!

#2491
Belted Vest with Patch Pockets

#2451
Stand Collar Button-Front Vest with Piping
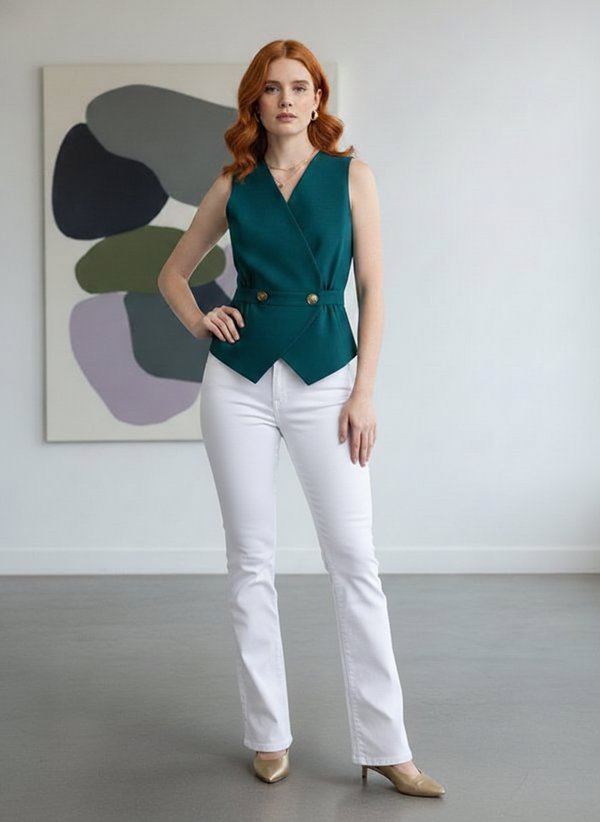
#2592
V-Neck Wrap Vest Asymmetrical Hem
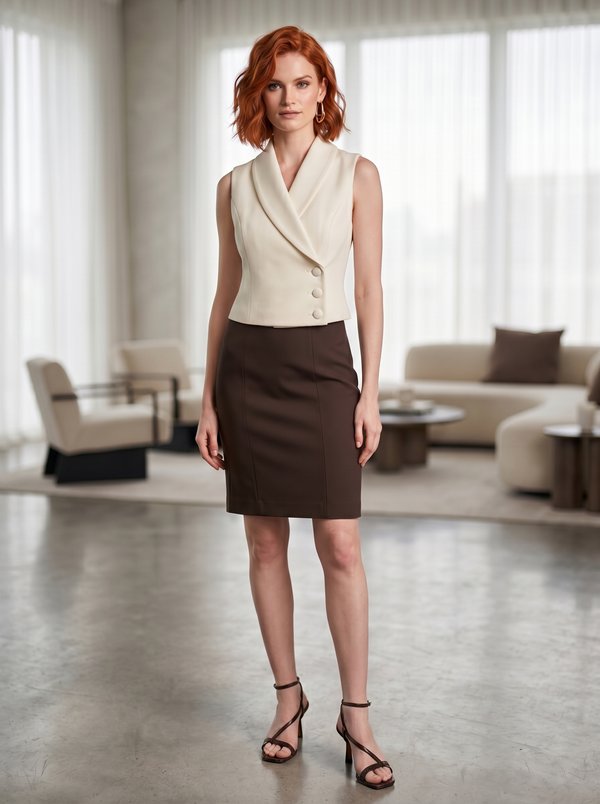
#2445
Asymmetric Shawl Collar Vest

#2596
Tailored Lapel Vest Two Buttons

#2420
Sleeveless Asymmetrical Wrap Vest

#2396
Tailored V-Neck Button Front Vest

#2669
Collared Button-Up Vest with Patch Pockets

Minerva Support
Online