Professional made-to-measure digital sewing patterns — PDF · PLT · DXF AAMA
A women's midi dress in knit fabric with long set-in sleeves, crossed upper fronts forming a V-neckline, a diagonal seam that divides the main and contrast fabrics, and a pleated free-hanging panel on the lower front. Drafted to your own measurements. Recommended fabric: low-stretch knit fabric in natural or blended fibres, in two contrasting or related colours.
A women's midi dress in knit fabric with long set-in sleeves, crossed upper fronts forming a V-neckline, a diagonal seam that divides the main and contrast fabrics, and a pleated free-hanging panel on the lower front.
Silhouette: Fitted bodice with a dart on the front, flaring below the diagonal seam.
Length: Midi.
Neckline: V-neckline formed by the upper left and upper right fronts, which cross and are stitched together (not an opening wrap). Their neckline edges are interfaced, turned to the wrong side and topstitched; the back neckline is finished with an interfaced facing.
Sleeves: Long, set-in, one-piece, cut from the main fabric.
Front: The upper fronts in the main fabric are joined to the lower front in the contrast fabric along an angled seam. A separate panel with pleats at the top is laid over the lower front and caught in that seam and the side seam; its centre edge and hem are turned and topstitched, so it hangs free.
Back: Upper and lower backs, cut separately for the left and right sides, joined by a diagonal seam that follows the front; centre back seam.
Closure: Invisible zip in the centre back seam, with the neckline facing attached to the zip tape.
Finishing: Seams sewn with a stretch or narrow zigzag stitch or on a 3- or 4-thread overlocker; hems topstitched with a twin needle.
Intermediate. Matching an angled seam across two fabrics, a crossed bodice, a pleated overlay panel and an invisible zip in knit fabric.
Low-stretch knit fabric in natural or blended fibres, in two contrasting or related colours.
If the patterns have a double contour, they include seam allowances. If the contour is single, the patterns do not include seam allowances. Seam allowances: all seams 1 cm; hem allowance for the bottom of the dress and sleeve hem, center edge of the Fly Piece, neckline of the left and right upper fronts – 2.0 cm. Attention! First of all, print out the paper patterns and lay them out on the fabric width (fabric width can be from 90cm to 150cm) to determine how much material you will need (do not forget to consider paired and symmetrical details). Attention! All markings are on the right side of the pattern pieces!
Tip: Knit fabric pieces are stitched with a special elastic or narrow zigzag stitch. When serging, trim seam allowances to 0.8 cm. Hem allowance is topstitched with a twin needle to maintain elasticity. You can also stitch pieces directly on a 3- or 4-thread overlock. When stitching pieces, pay attention to the notches - they must match!

#2515
Sheath Dress with Asymmetrical Front Pleats

#2518
Knot Front Knit Dress

#2512
Dress with Decorative Lapels

#2522
Twisted Neck Long Sleeve Sheath Dress

#2509
Short Sleeve Shift Dress V-Seam

#2508
Fitted Dress Coat Notched Contrast Lapel
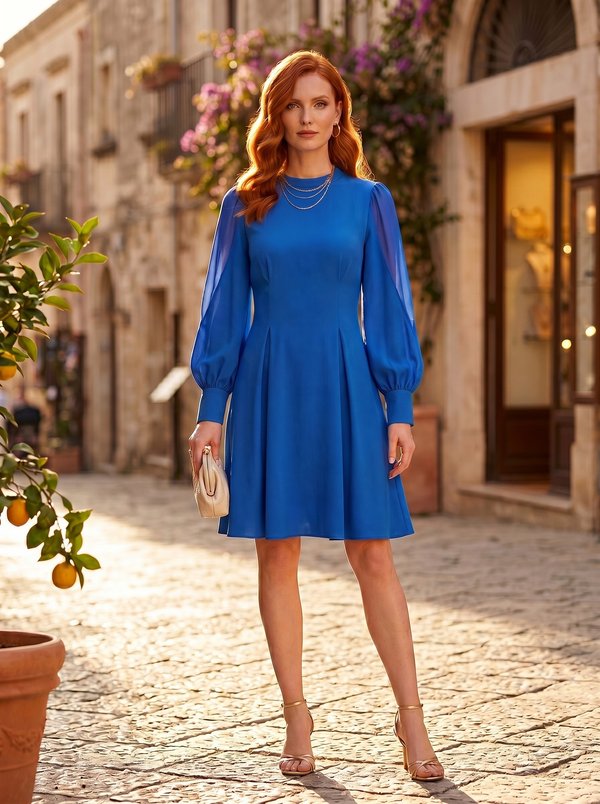
#2524
Fit and Flare Dress with Chiffon Sleeve Insets

#2526
A-line Boat Neck Dress with Shoulder Bow

Minerva Support
Online