Professional made-to-measure digital sewing patterns — PDF · PLT · DXF AAMA

Minervainervabeta
#2456
#2458

Button-Front Blouse with Bias Neckline

Pattern #2457

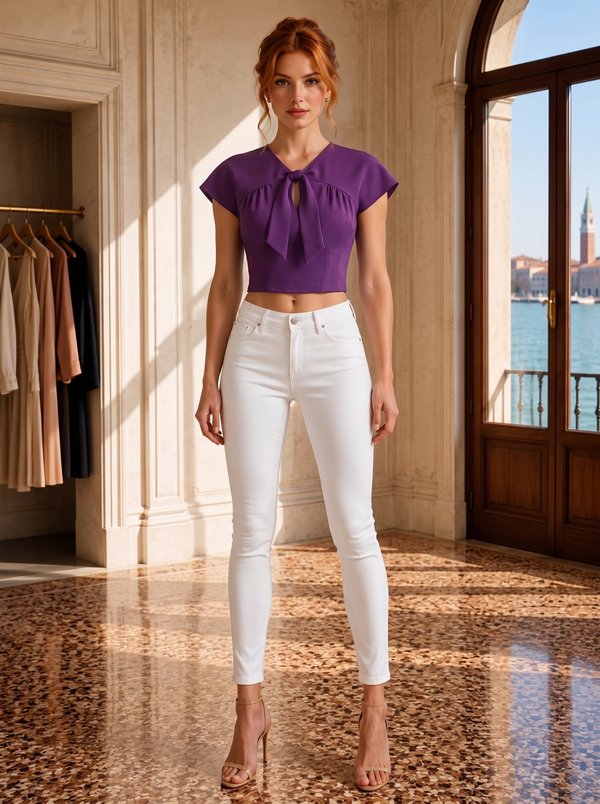
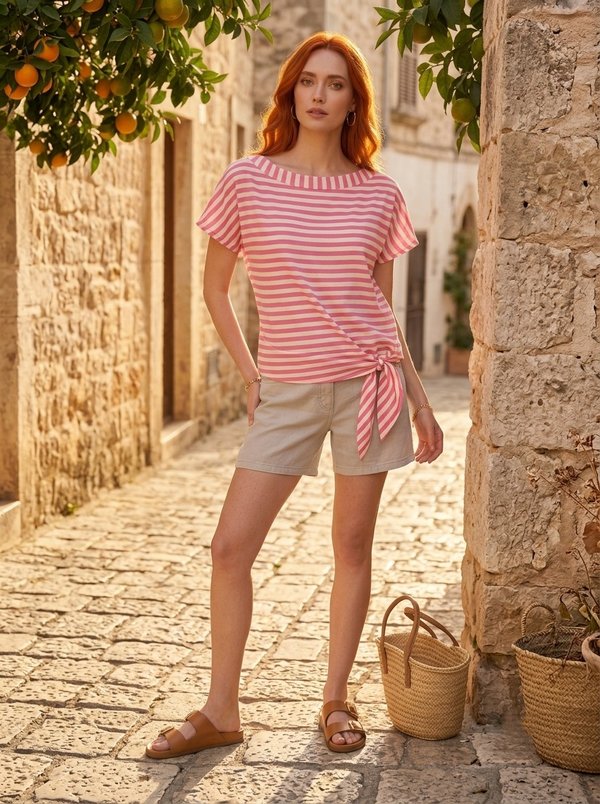
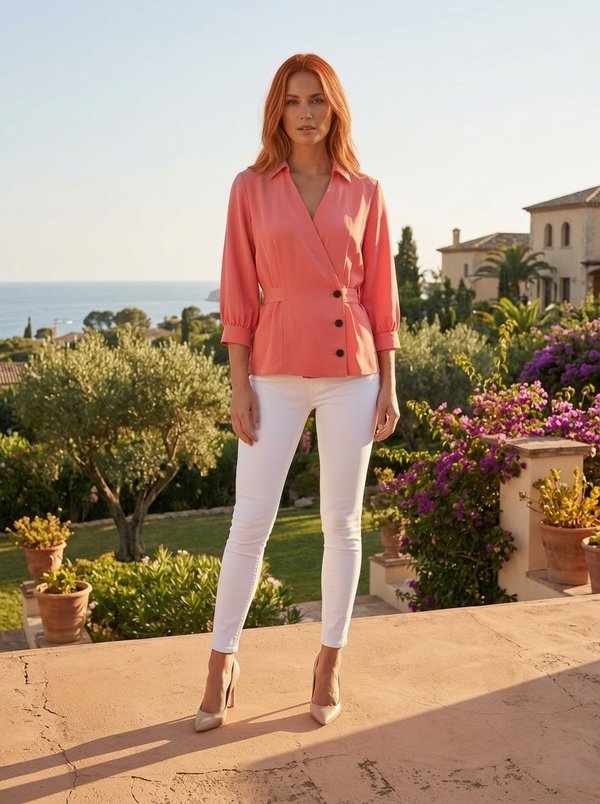
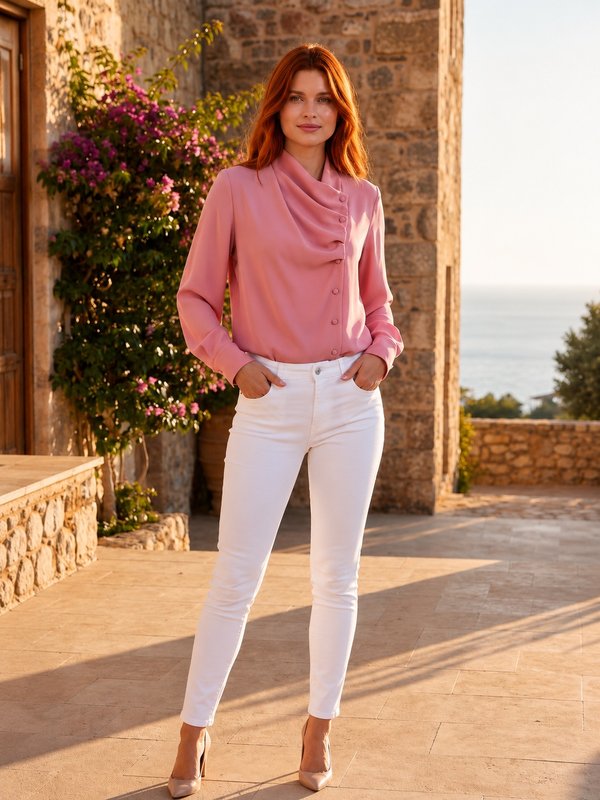
A short women's blouse with cut-on short sleeves, a V-neckline finished with bias binding and a five-button front on a cut-on placket. The lower front corners extend into ties that knot at centre front. Drafted to your own measurements. Recommended fabric: blouse fabrics of natural or blended fibres.

Tech. Description

Button-Front Blouse with Bias Neckline

A short women's blouse with cut-on short sleeves, a V-neckline finished with bias binding and a five-button front on a cut-on placket. The lower front corners extend into ties that knot at centre front.

When To Wear

  • In summer, with high-waisted trousers, shorts or skirts, so the knot sits at the waistband.
  • Over a slip dress or a camisole, worn open or half-buttoned.

Key Design Features

Silhouette: Loose and straight through the body, drawn in at the front by the knotted ties.

Length: Short; the back hem is straight, the front ends in two ties.

Neckline: V-neckline at the front, rounded at the back, finished with a 4 cm bias strip folded in half, turned to the inside and topstitched along the fold.

Sleeves: Short sleeves cut in one with the front and back, hems turned up and topstitched.

Front: Two front pieces with cut-on plackets, interfaced, turned and topstitched; five buttons with buttonholes. The front hem is turned and topstitched from the side seam to the placket.

Back: One piece cut on the fold, with a 2 cm hem allowance.

Finishing: Overlocked shoulder and side seams pressed towards the back.

Level Of Difficulty

Beginner. Three pieces, no set-in sleeves or collar; the bias-bound neckline and the corners of the cut-on placket need careful pressing.

Fabric Recommendations

Blouse fabrics of natural or blended fibres.

Additional Supplies

  • 5 buttons
  • Fusible interfacing (cut-on placket)
  • Bias binding 4 cm wide, ready-made or cut from the main fabric

Cutter's Must

  • From main fabric:
    • Back – 1 piece with fold
    • Front – 2 pieces

Sewing Instructions

When stitching pieces, pay attention to the notches - they must match!
  1. Fuse the integrated placket with fusible interfacing.
  2. Stitch shoulder seams. Overlock allowances and press towards the back.
  3. Cut (or use ready-made) bias binding 4 cm wide and a length equal to the neckline length + 4 cm. Fold the bias binding in half lengthwise, right side out, and press. Place the binding with the neckline edge right side together and stitch. Start and end the stitching at the line for topstitching the placket allowance. Fold the binding to the wrong side, clip allowances, and topstitch along the fold to the main piece. Press the seam.
  4. Overlock the bottom allowance of the front from the side seam to the line for topstitching the placket allowance. Fold the allowance inwards and topstitch from the side seam to the line for topstitching the placket allowance.
  5. Overlock the allowance of the integrated placket. Turn the integrated placket to the right side and stitch the upper and lower corners. Trim allowances, turn the placket to the wrong side. Topstitch the placket allowance from the right side.
  6. Stitch side seams, press allowances towards the back and overlock.
  7. Overlock the bottom allowance of the back, press to the wrong side and topstitch.
  8. Overlock the sleeve hem allowance, press to the wrong side and topstitch.
  9. Make buttonholes and sew on buttons.

Order Pattern

Standard Sizes

Individual Measurements

Please double-check the file format and paper size. Your pattern is drafted in exactly the format you select; a different format or paper size later is a new order.

Similar patterns

View all
Support

Minerva Support

Online
Support
Hi! I'm Minerva's AI assistant. What can I help you with?