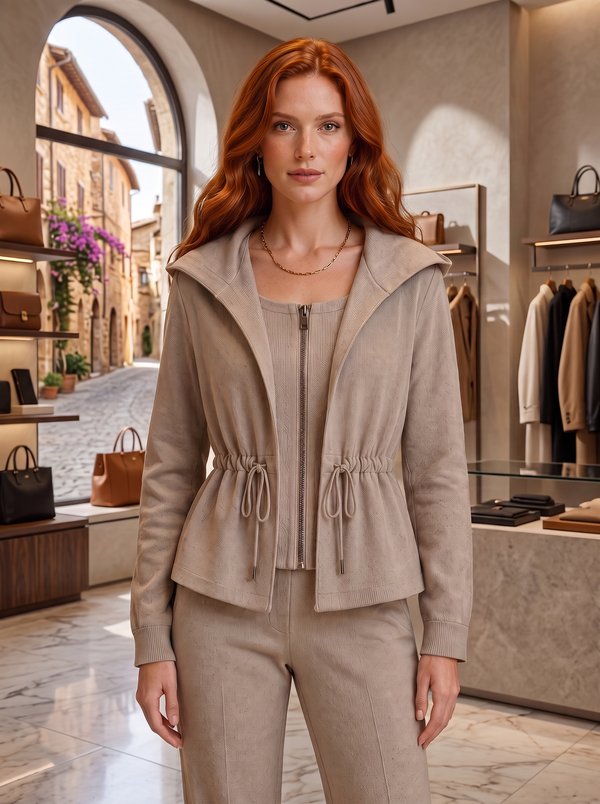
Short Jacket with Shoulder Tabs and Hood Tie
A short women's jacket with raglan sleeves, a shirt collar on a stand, a buttoned front, single-welt pockets and an inverted pleat at the centre back. It has buttoned shoulder tabs and cuff tabs, and a detachable two-layer hood with long ties that buttons onto the collar stand seam.
When To Wear
- In spring and early autumn as a light outer layer over a shirt or fine knit.
- With jeans or trousers in wet or windy weather, with the hood buttoned on.
Key Design Features
Silhouette: Straight, slightly flared at the back from the pleat.
Length: Hip length.
Collar: Shirt collar on a separate collar stand. The hood buttons on through buttonholes at its neck edge to buttons on the collar stand seam; it is made of two layers bagged out, with ties sewn into the front edges.
Sleeves: Raglan, long, with a tab sewn into the sleeve seam at the hem and buttoned across the sleeve; hem topstitched.
Front: Button front with buttonholes worked through the right facing; faced along the front edge and neckline.
Pockets: Single-welt pockets on the fronts, welt and pocket bags interfaced.
Back: Cut in one piece on the fold, with an inverted pleat at the centre.
Finishing: Shoulder tabs caught in the collar stand seam, stitched across the shoulder and buttoned towards the neck; tabs topstitched 0.5 cm from the edge; hem turned up 3 cm and topstitched.
Level Of Difficulty
Intermediate. Single-welt pockets, a collar on a stand, a lined detachable hood with buttonholes, and several buttoned tabs.
Fabric Recommendations
Firm jacket fabrics of natural or blended fibres.
Additional Supplies
- Fusible interfacing (collar, collar stand, front facings, back neck facing, tabs, shoulder tabs, welts, pocket placement)
- 10 buttons
Cutter's Must
- From main fabric:
- Back – 1 piece with fold
- Front – 2 pieces
- Sleeve – 2 pieces
- Collar – 2 pieces
- Collar stand – 2 pieces
- Hood – 4 pieces
- Hood tie – 4 pieces
- Back neckline facing – 1 piece
- Front facing – 2 pieces
- Large pocket bag – 2 pieces
- Small pocket bag – 2 pieces
- Welt – 2 pieces
- Tab – 2 pieces
- Shoulder tab – 2 pieces
- From fusible interfacing:
- Collar – 1 piece
- Collar stand – 1 piece
- Front facing – 2 pieces
- Back neckline facing – 1 piece
- Tab – 2 pieces
- Shoulder tab – 2 pieces
- Welt – 2 pieces
Sewing Instructions
When stitching pieces, pay attention to the notches - they must match!
- Interface pieces with fusible interfacing.
- Fold and secure the inverted pleat on the back.
- Mark and interface the pocket placement with fusible interfacing. Press the welt in half lengthwise, wrong sides together. Stitch the small pocket bag to the wrong side of the welt. Stitch the welt to the front along the lower pocket marking line. Stitch the large pocket bag to the front along the upper pocket marking line. The ends of the stitching should finish at the short marking lines. Cut the pocket opening. Make diagonal cuts 1-1.5 cm from the end of the pocket. Turn the welt and large pocket bag through the opening to the wrong side. Secure the pocket ends from the wrong side with a double backstitch at the base of the corners. Stitch the pocket bag edges, overlock.
- Stitch the sleeve to the back, press allowances towards the sleeve, overlock. Stitch the sleeve to the front, press allowances towards the sleeve, overlock.
- Fold the tab in half lengthwise, right sides together, and stitch the long and short sides. Trim allowances, turn the tab right side out, press and topstitch 0.5 cm from the edge. Stitch the sleeve seam simultaneously with the side seam, inserting the tab, press allowances and overlock.
- Fold collar pieces right sides together and stitch the ends and outer edge. Trim allowances, turn the collar right side out and press. Fold collar stand pieces right sides together, insert the finished collar between them and stitch, simultaneously stitching the ends of the collar stand. Turn the collar stand right side out and press.
- Fold the shoulder tab in half lengthwise, right sides together, and stitch the long and short sides. Trim allowances, turn the shoulder tab right side out, press and topstitch 0.5 cm from the edge. Stitch the collar stand into the neckline, inserting the raw edge of the shoulder tab between the pieces.
- On the right front facing, make buttonholes. Stitch the shoulder seams of the back neckline facing and front facings, press allowances open. Overlock the outer edge. Place the front facings with the facing on the right side of the front, right side down, and stitch along the front edge and neckline. Turn the front edges to the right side, straighten seams and press.
- Overlock the bottom edge of the garment and sleeve, press to the wrong side and topstitch.
- On the left front, sew on buttons. Make buttonholes on the tabs, sew on buttons accordingly.
- Make buttonholes on the shoulder tabs. Determine the center of the shoulder tab and topstitch it to the sleeve across the shoulder. Fold the shoulder tab towards the neckline, sew on a button corresponding to the buttonhole.
- Stitch hood pieces in pairs, press allowances open. Stitch ties to the hood. Fold hood pieces right sides together and stitch along the contour, leaving an opening for turning. Clip allowances at curves. Turn the hood right side out, straighten, press. Stitch the opening closed. Make buttonholes on the hood neckline. Sew on buttons at the collar stand attachment seam.