Professional made-to-measure digital sewing patterns — PDF · PLT · DXF AAMA
A women's midi dress with no waist seam, short flared sleeves cut in one with the bodice, an elasticated waist casing with a decorative drawstring at the front and a keyhole opening at the back neck closed with a button and rouleau loop. Drafted to your own measurements. Recommended fabric: dress fabrics in natural or blended fibres.
A women's midi dress with no waist seam, short flared sleeves cut in one with the bodice, an elasticated waist casing with a decorative drawstring at the front and a keyhole opening at the back neck closed with a button and rouleau loop.
Silhouette: Loose bodice gathered at the waist by elastic, flaring into a full skirt.
Length: Midi, below the knee.
Neckline: Round neckline finished with a fused facing.
Sleeves: Short flared dolman sleeves cut in one with the front and back; side and sleeve seams are stitched in one pass.
Front: One piece cut on the fold, with buttonholes at the centre front waist (on an interfaced area) for the drawstring to come through.
Back: Two pieces with a centre back seam; the seam is left open at the top as a slit, closed at the neck with a bias-cut rouleau loop and one button.
Waist: A separate casing topstitched to the wrong side of the dress, joined at the left side seam and divided by horizontal stitching lines into channels for 1 cm elastic; a decorative cord is threaded through as well.
Finishing: Hem allowance 2 cm, sleeve hem allowance 1.5 cm, overlocked, turned up and topstitched; other seams 1 cm.
Beginner. Two main pieces and cut-on sleeves; the applied elastic casing, cord buttonholes and the rouleau loop are the most detailed steps.
Dress fabrics in natural or blended fibres.
If the patterns have a double contour, seam allowances are included. If the contour is single, seam allowances are not included. Seam allowances: hem allowance — 2 cm, sleeve hem allowance – 1.5 cm; other seams 1 cm. Attention! First, print out the paper patterns and lay them out on the fabric width (fabric width can be from 90 cm to 150 cm) to determine how much material you will need. When stitching pieces, pay attention to the notches - they must match!
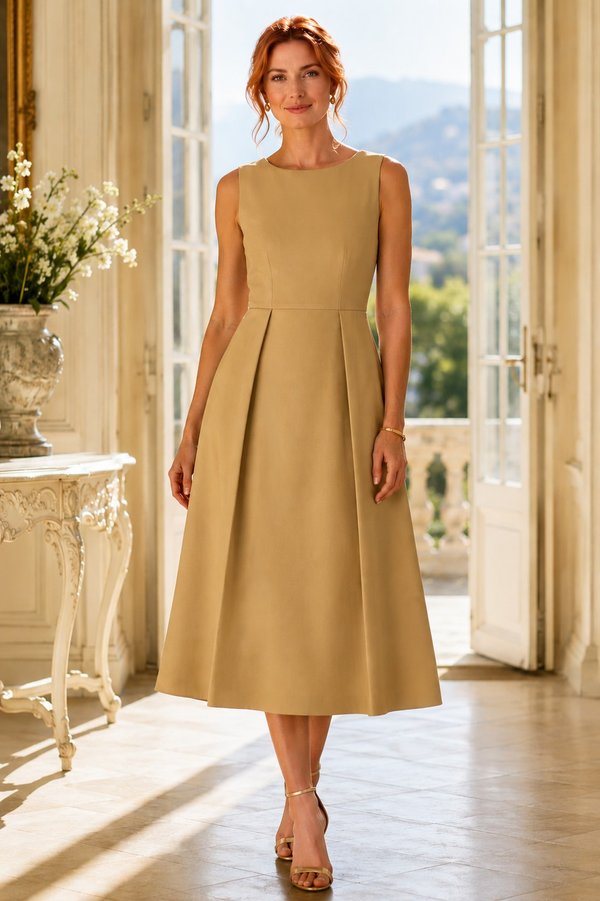
#2291
Sleeveless Round Neck A-Line Midi Dress
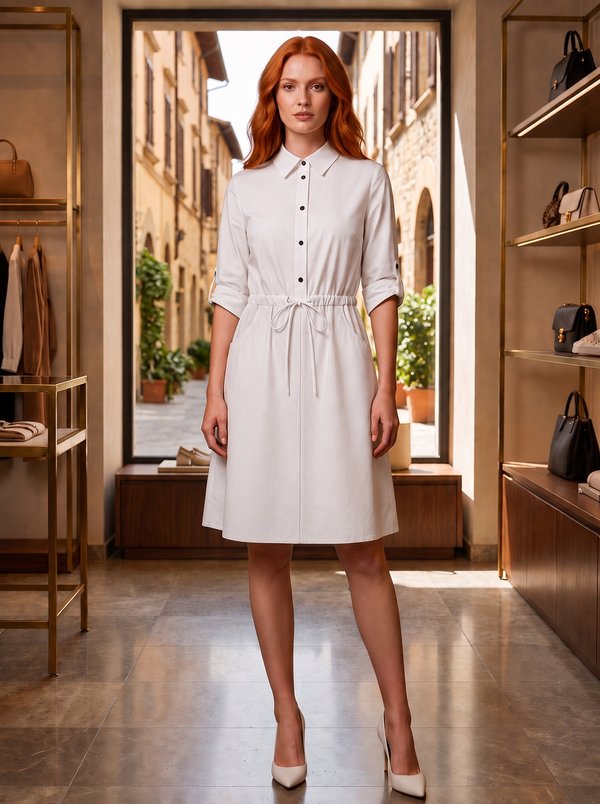
#2290
Shirt Dress with Rolled Sleeves and Drawstring Waist
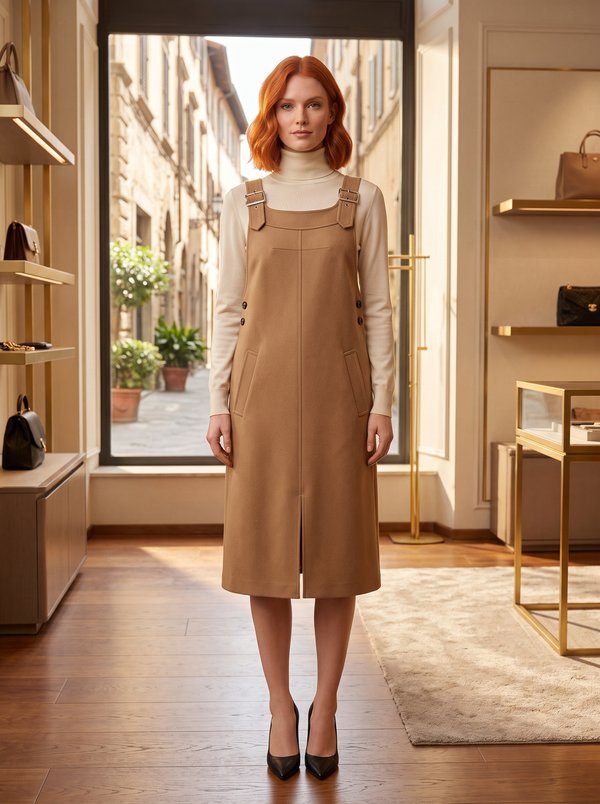
#2305
Pinafore Dress with Buckle Straps

#2306
Denim Short Sleeve Shirtdress
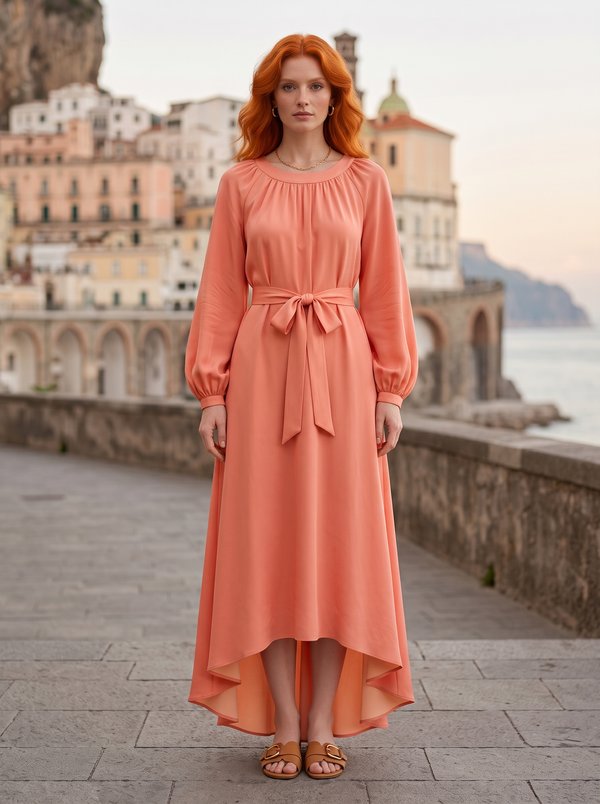
#2285
Gathered Raglan Sleeve High-Low Dress

#2309
Sleeveless A-Line Shirt Dress
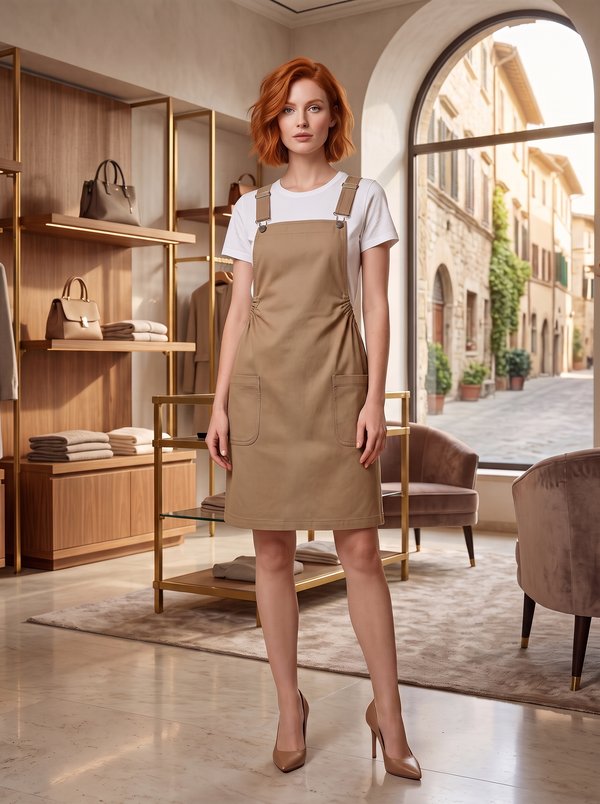
#2311
Pinafore Dress with Gathered Sides
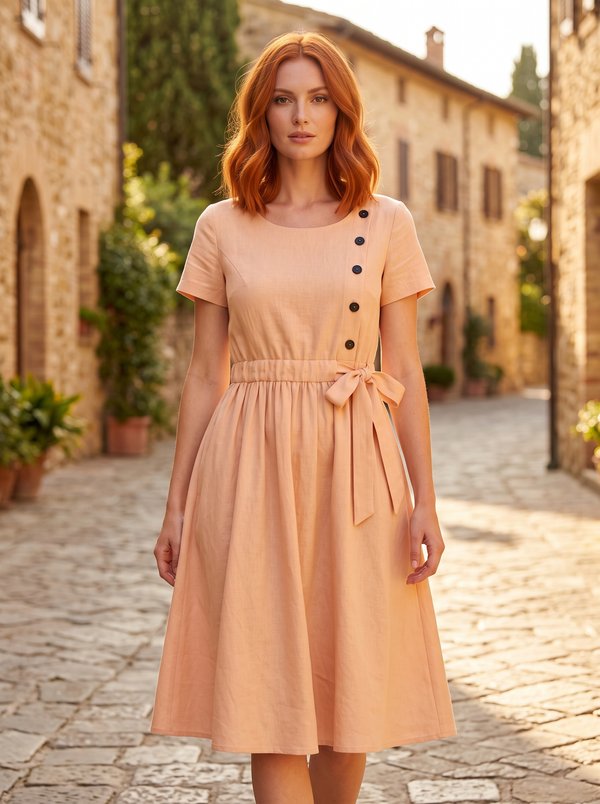
#2282
Short Sleeve Diagonal Button Tie Waist Dress

Minerva Support
Online