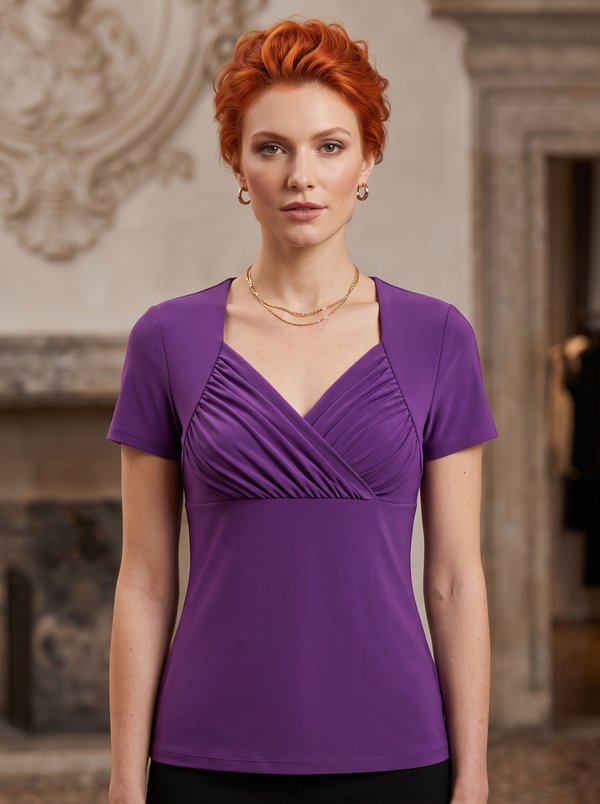
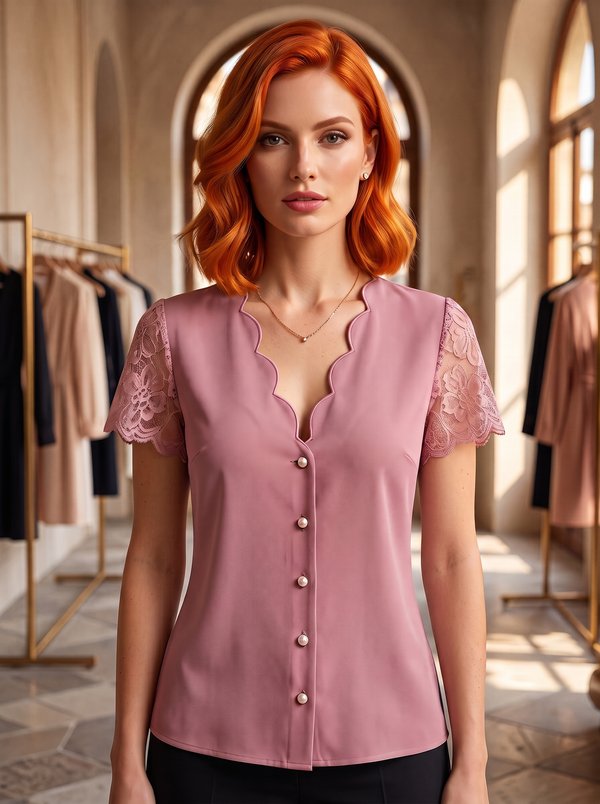
Pleated Peplum Shirt
A women's long-sleeved shirt with princess seams front and back, pleated peplum panels joined to the side pieces, a concealed button placket and a collar on a stand. The hem curves down and is longer at the back.
When To Wear
- To the office with slim trousers or a pencil skirt.
- Spring and autumn, on its own or under a cardigan.
Key Design Features
Silhouette: Fitted through the bodice by princess seams, widening below the waist through pleated peplum panels.
Length: Hip length, with a curved high-low hem longer at the back.
Collar: Shirt collar with pointed ends on a separate stand, interfaced; one button at the stand.
Front: Centre front panels running full length; side fronts joined to pleated front peplum panels. Concealed button placket folded on the right front and topstitched 3 cm from the front edge; topstitched placket edge on the left front.
Back: One-piece yoke; centre back cut on the fold, side backs joined to pleated back peplum panels, pleats folded away from the centre.
Sleeves: Long set-in sleeves with a shirt sleeve placket and pleats at the lower edge, finished with interfaced cuffs with a step, each fastened with a button.
Finishing: Princess seams pressed towards the centre and overlocked; hem turned under 1 cm twice and topstitched.
Level Of Difficulty
Intermediate. Princess seams joined to pleated panels, a concealed placket, a collar on a stand, sleeve plackets and stepped cuffs.
Fabric Recommendations
Blouse fabrics from natural or blended fibres.
Additional Supplies
- Fusible interfacing (collar, stand, cuffs, sleeve plackets)
- 12 buttons
Cutter's Must
If the patterns have a double contour, they include seam allowances. If the contour is single, the patterns do not include seam allowances. Seam allowances: Hem allowance – 2 cm; other seams – 1 cm. Attention! First of all, print out the paper patterns and lay them out on the fabric width (fabric width can be from 90 cm to 150 cm) to determine how much material you will need (do not forget to account for paired and symmetrical pieces). When stitching pieces, pay attention to the notches - they must match!
- From main fabric:
- Yoke – 1 piece
- Center Back – 1 piece (cut on fold)
- Side Back – 2 pieces
- Back Peplum – 2 pieces
- Center Front – 2 pieces
- Side Front – 2 pieces
- Front Peplum – 2 pieces
- Sleeve – 2 pieces
- Cuff – 4 pieces
- Sleeve Placket – 2 pieces
- Stand Collar – 2 pieces
- Collar – 2 pieces
- From fusible interfacing:
- Sleeve Placket – 2 pieces
- Stand Collar – 1 piece
- Cuff – 2 pieces
- Collar – 1 piece
Sewing Instructions
- Fuse interfacing to the designated pieces.
- Fold and secure the pleats on the Back Peplum (pleats pressed away from the center). Stitch the Side Back and Back Peplum together, press seam allowances up and overlock.
- Stitch the back princess seams (Center Back to Side Backs), press seam allowances towards the center and overlock. Attach the Yoke to the back, press seam allowances up and overlock.
- Right front: Press the front inward to the wrong side along the "front edge" and "concealed placket edge" lines. Topstitch along the inner edge of the placket 3 cm from the front edge. Fold the inner part of the placket back towards the front edge. Press and work the buttonholes. Left front: Add a 1 cm allowance to the "inner placket edge" line, trim the rest. Press the placket inward by 1 cm, then along the "front edge" line and topstitch along the inner edge of the placket.
- Fold and secure the pleats on the Front Peplum (pleats pressed away from the center). Stitch the Side Front and Front Peplum together, press seam allowances up and overlock. Stitch the front princess seams (Center Front to Side Front), press seam allowances towards the center and overlock.
- Attach the Yoke to the front, press seam allowances towards the yoke and overlock.
- Place the upper and under Collar pieces right sides together. Stitch the ends and outer edge of the collar. Trim seams, clip corners. Turn the collar right side out, shape and press. Place the Stand Collar pieces right sides together, insert the prepared collar between them, align notches and stitch, stitching the ends of the stand at the same time. Start and end stitching exactly at the marked stand attachment line. Turn the prepared collar right side out and press. Stitch the outer stand with the collar to the neckline, turn under the open edge of the inner stand and topstitch it over the attachment seam.
- Stitch side seams, press seam allowances towards the back and overlock.
- Sleeve placket: Cut the sleeve along the marked line, clipping the corner at the top of the slit. On the 1.7 cm section between the slit and the marked line, turn the edge under twice by 0.5 cm and topstitch. Fold the Sleeve Placket in half lengthwise, right sides together, and stitch the corner up to the transverse mark. Trim seam allowances close to the stitching, clip the allowance at the end of the stitching. Turn the placket right side out, press and topstitch along the fold line from the bottom to the transverse mark at 0.1 cm. Fold the placket with the sleeve right sides together and stitch the inner side along the marked line. At the end of the stitching, clip the sleeve across from the slit to the attachment line. Fold the placket to the right side, turn under the open edge and stitch. Align the placket with the marked line on the sleeve and topstitch the upper corner along the contour and along the transverse mark.
- Stitch the sleeve seam, press seam allowances towards the back and overlock. Fold and secure the pleats at the bottom of the sleeve.
- Set sleeves into armholes, press seam allowances and overlock.
- Fold the cuff lengthwise in half, right sides together, and stitch the short sides and the step. Start stitching strictly at the marked line of cuff attachment to the sleeve. At the mark, clip the allowances, turn the cuff right side out and press. Attach the outer side of the cuff to the bottom of the sleeve. Turn under the inner side of the cuff and topstitch into the attachment seam.
- Turn under the hem of the garment inward by 1 cm, then another 1 cm and topstitch.
- Work a buttonhole on the stand collar and on the cuffs. Sew buttons onto the left front corresponding to the buttonholes. Sew buttons onto the cuffs.