Professional made-to-measure digital sewing patterns — PDF · PLT · DXF AAMA
A women's below-the-knee dress for knit fabric with long kimono sleeves cut in one with the bodice and gathered into cuffs, a blousing front bodice joined to a fitted skirt at the waist, a centre front seam ending in a slit, and a separate tie belt. Drafted to your own measurements. Recommended fabric: knit fabric with low to medium stretch, from natural or blended fibres.
A women's below-the-knee dress for knit fabric with long kimono sleeves cut in one with the bodice and gathered into cuffs, a blousing front bodice joined to a fitted skirt at the waist, a centre front seam ending in a slit, and a separate tie belt.
Silhouette: Loose, blousing bodice over a fitted, narrow skirt.
Length: Below the knee.
Neckline: Round neckline finished with interfaced front and back facings, secured at the shoulder seams. Pull-on, no closure.
Sleeves: Long kimono (dolman) sleeves cut in one with the front and back, stitched together with the shoulder and side seams. The sleeve hems are gathered into interfaced cuffs folded in half.
Front: Upper front in one piece joined to the lower right and lower left fronts by a waist seam. The centre front seam of the skirt ends in a slit topstitched 0.1 cm from the edge.
Back: Two pieces with a centre back seam running from neckline to hem, without a waist seam.
Waist: Separate tie belt, folded and stitched, worn over the waist and tied at the front.
Finishing: Hem overlocked, turned and topstitched; a twin needle keeps the hem stretchy.
Intermediate. Sewing knits with a stretch stitch or overlocker, a faced neckline, gathered sleeves set into cuffs, a seam slit.
Knit fabric with low to medium stretch, from natural or blended fibres.
From Main Fabric:
From Fusible Interfacing:
Before cutting your fabric, print and lay out the paper patterns according to your fabric width (90–150 cm) to determine required yardage.
Remember to account for paired and symmetrical pieces.
When sewing, pay close attention to all notches — they must match precisely to ensure correct construction and fit.
Tip:
For knit fabrics, seams should be sewn using a stretch stitch or a narrow zigzag stitch. When finishing with an overlock, trim seam allowances to 0.8 cm. Hem allowances are best finished with a twin needle to maintain elasticity. A 3- or 4-thread overlock can also be used for assembly.
Overlock the vertical seam edges of the Lower Right Front and Lower Left Front separately.
Stitch the vertical seam from the top to the slit marking, press the seam allowances open.
Topstitch the slit edges at 0.1 cm.
Stitch the Upper Front to the Lower Right Front and Lower Left Front.
Press the seam allowances downward and overlock.
Stitch the center back seam of the Back, press the seam allowances toward the left side and overlock.
Stitch the shoulder and side seams together with the sleeve seams in one continuous seam.
Press the seam allowances toward the Back and overlock.
Stitch the shoulder seams of the Back Neckline Facing and Front Neckline Facing, press the seam allowances open.
Overlock the outer edge.
Place the facing and the garment right sides together and stitch the neckline.
Clip seam allowances at curves, turn the facing to the wrong side and press.
Secure the facing to the shoulder seams.
Stitch the Cuff into a ring, press the seam allowances open.
Fold the cuff lengthwise, right side out, and press.
Sew a gathering stitch along the sleeve hem and gather.
Attach the cuff to the sleeve hem, press seam allowances toward the sleeve and overlock.
Overlock the lower edge of the garment, turn to the wrong side, and topstitch.
Fold the Belt (Waistband) lengthwise, right sides together, and stitch, leaving an opening along one long side for turning.
Turn the belt right side out, shape and press.
Close the opening by hand.

#2144
Fit & Flare Double-Breasted Dress with Lapels

#2146
Belted Double-Breasted Dress with Kimono Sleeves

#2143
Midi Dress with Patch Pockets

#2147
Fitted Dress With Patch Pockets

#2142
Fitted Collared Button-Front Dress with Bow Cuffs

#2141
Fitted V-Neck Dress with Piping

#2151
Denim Collared Cuffed Shirtdress
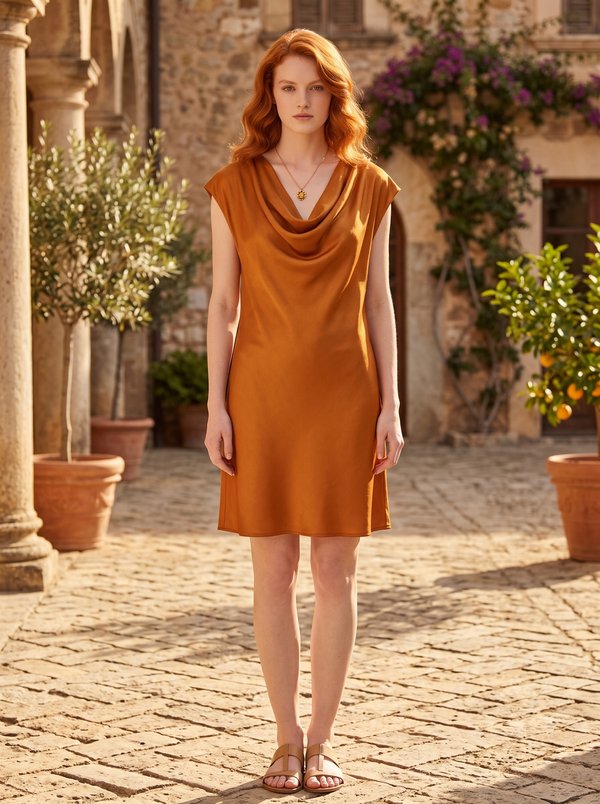
#2138
Cowl Neck Cap Sleeve Tunic Dress

Minerva Support
Online