Professional made-to-measure digital sewing patterns — PDF · PLT · DXF AAMA
A women's sleeveless knit top with a round neckline and a loose front overlay panel caught into the right shoulder, side seam and armhole and pleated into the left shoulder. The free edge of the overlay forms an asymmetric diagonal hem. Drafted to your own measurements. Recommended fabric: knit fabric with medium stretch, from natural or blended fibres.
A women's sleeveless knit top with a round neckline and a loose front overlay panel caught into the right shoulder, side seam and armhole and pleated into the left shoulder. The free edge of the overlay forms an asymmetric diagonal hem.
Silhouette: Semi-fitted, hip length, with bust darts on the front and on the overlay panel.
Neckline: Round, finished with a 4 cm bias binding turned to the wrong side and topstitched.
Front: Base front cut on the fold; the overlay panel has its centre and lower edges hemmed, is basted to the right shoulder, side and armhole, and pleated at the left shoulder with pleat folds facing the neckline.
Sleeves: Sleeveless; armholes finished with a 4 cm bias binding.
Back: One piece cut on the fold, straight hem.
Finishing: Hem pressed up and topstitched with a twin needle to keep it elastic.
Beginner. Few pieces and no closures; the overlay pleats and bias-bound edges in knit fabric need careful stitching.
Knit fabric with medium stretch, from natural or blended fibres.
If the patterns have a double contour, seam allowances are included. If the contour is single, seam allowances are not included. Seam allowances: all allowances – 1 cm. Hem allowance, center edge of the flying front – 1.2 cm. Attention! First, print out the paper patterns and lay them out on the fabric width (fabric width can be from 90 cm to 150 cm) to determine how much material you will need (don't forget to account for paired and symmetrical pieces). When stitching pieces, pay attention to the notches - they must match! Labels on the patterns are on the right side!
Tip: Knit fabric pieces are stitched with a special elastic or narrow zigzag stitch. When serging, trim allowances to 0.8 cm. The hem allowance is topstitched with a twin needle to maintain elasticity. You can also stitch pieces directly on a 3- or 4-thread overlock machine.
#2095
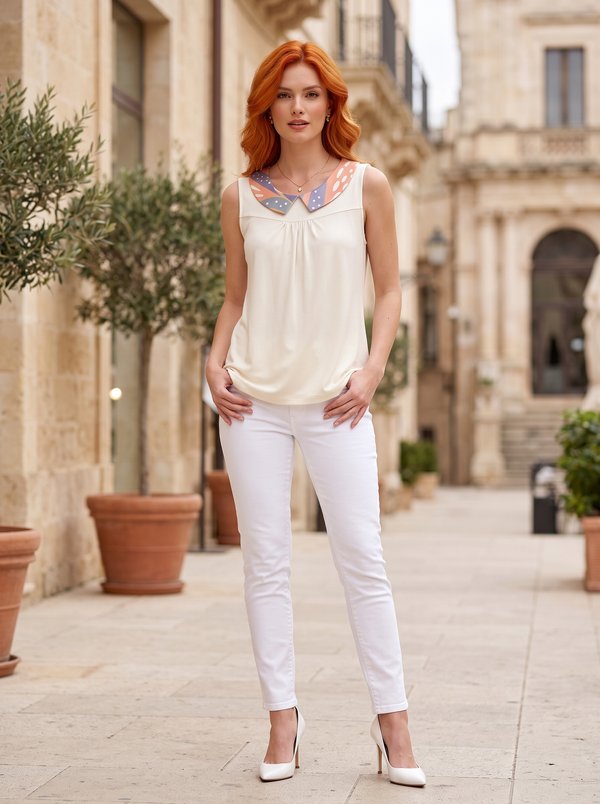
Sleeveless Pointed Collar Gathered Top

#2174
V-Neck Top with Decorative Topstitching

#2226
Square Neck Cap Sleeve Tie Front Top
#2229
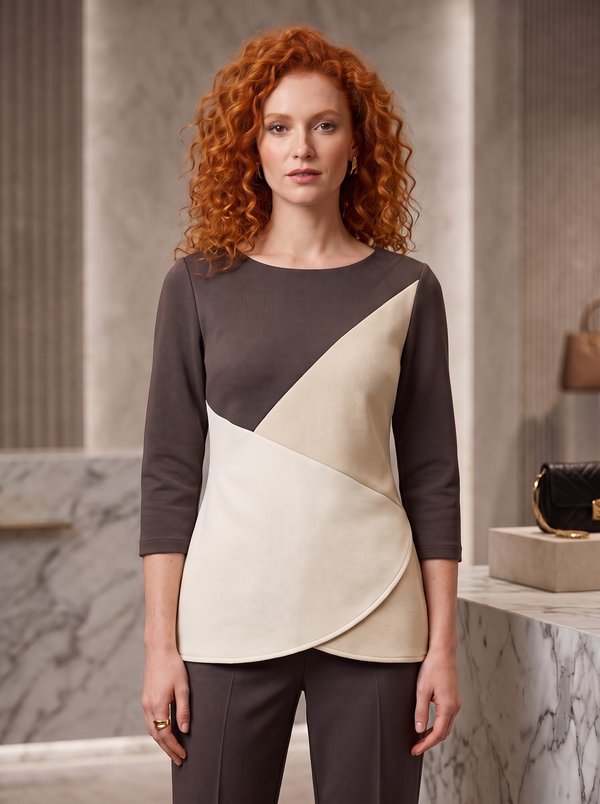
Asymmetrical Color Block Knit Tunic

#2288
Sleeveless Blouse with V-Notch Yoke

#2330
Sleeveless Asymmetrical Top with Decorative Buttons

#2345
Flared V-Neck Ruffle Strap Top
#2356
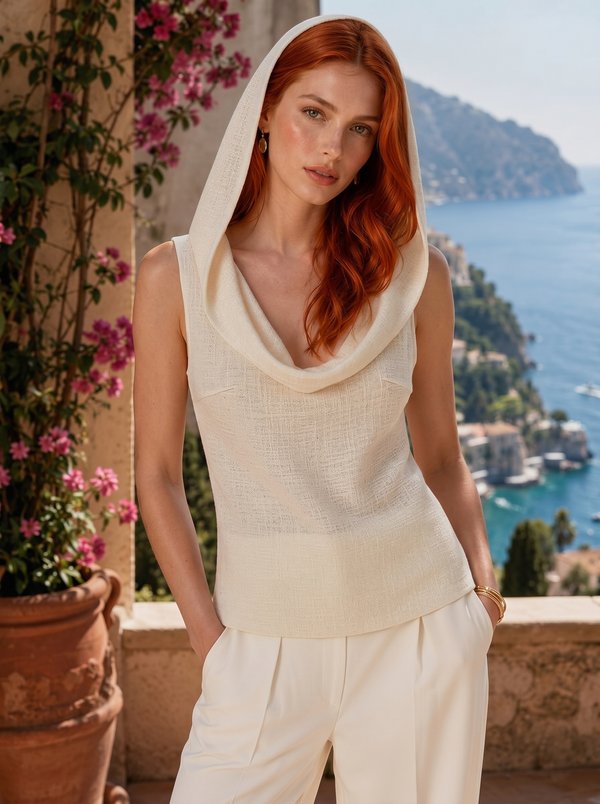
Hooded Sleeveless Top

Minerva Support
Online