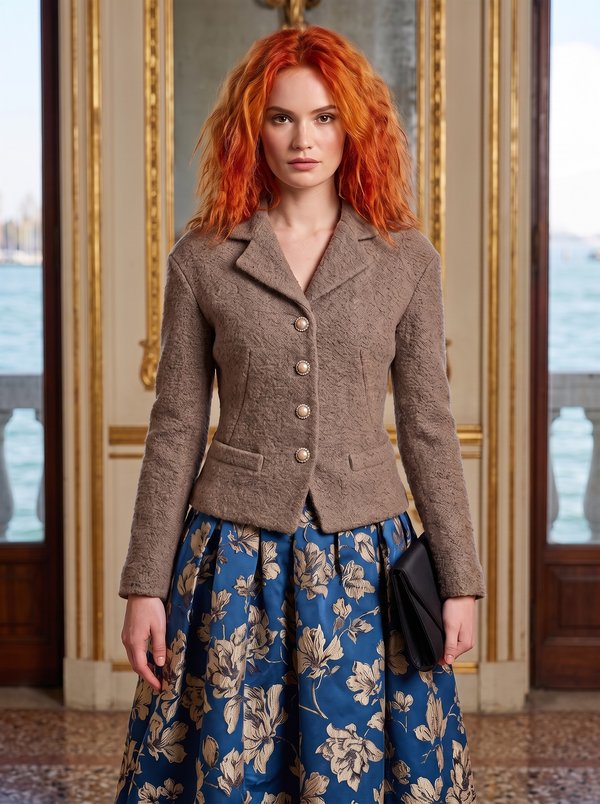
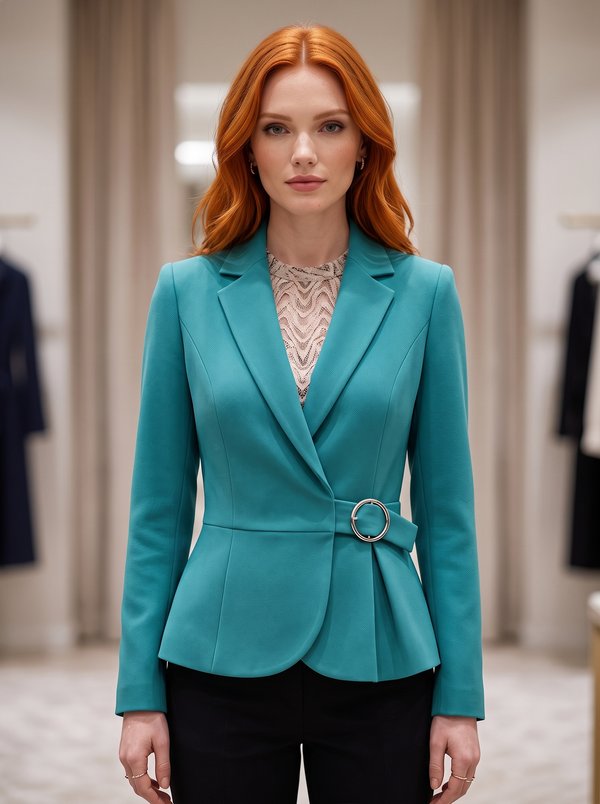
Paneled Jacket with Wide Rounded Collar
A women's hip-length fitted jacket with princess seams front and back, a horizontal seam above the hip, slanted single-welt pockets and a wide collar lying over the shoulders. Single-breasted with four buttons, the lowest buttonhole worked into the seam. Fully lined.
When To Wear
- In autumn and spring, over a fine knit top or blouse.
- At work with straight trousers or a pencil skirt.
Key Design Features
Silhouette: Fitted through the waist by princess seams, with a separate lower band below a horizontal seam at the front and back.
Length: Hip length.
Collar: Wide collar of upper and under collar, spreading over the shoulders and ending in points at the front; upper collar interfaced, edge topstitched 0.5 cm from the edge.
Closure: Single-breasted, four buttons. The lowest buttonhole is left as a gap in the seam joining the lower front, on both the jacket and the facing.
Front: Centre front and side front joined by princess seams topstitched 0.5 cm from the seam; lower front band; facing in an upper and a lower part.
Sleeves: Two-piece set-in sleeves with elbow and front seams; shoulder pads and sleeve head rolls.
Pockets: Slanted single-welt pockets on the lower front band, with pocket bags in lining fabric.
Back: Centre back and side back pieces with princess seams topstitched 0.5 cm from the seam and a centre back seam; one-piece lower back band without a centre seam.
Lining: Full lining cut from the main pieces minus the facings, sewn to the facings and to the sleeve hems; the jacket is turned through an opening in the right sleeve lining.
Level Of Difficulty
Advanced. Single-welt pockets, a buttonhole formed in a seam, a fully bagged lining, two-piece sleeves with shoulder pads and sleeve head rolls.
Fabric Recommendations
Medium-weight woven jacket fabrics that hold a shape: wool suiting, wool blends, tweed, gabardine, cotton twill.
Additional Supplies
- Lining fabric
- Fusible interfacing (centre fronts, front facings, back neckline facing, upper collar)
- 4 buttons
- Shoulder pads
- Sleeve head rolls
Cutter's Must
- From main fabric:
- Center Back – 2 pieces
- Side Back – 2 pieces
- Lower Back – 1 piece
- Center Front – 2 pieces
- Side Front – 2 pieces
- Lower Front – 2 pieces
- Upper Sleeve – 2 pieces
- Lower Sleeve – 2 pieces
- Back Neckline Facing – 1 piece
- Upper Center Front Facing – 2 pieces
- Lower Center Front Facing – 2 pieces
- Collar – 2 pieces (upper and under collar)
- Off-Set Welt – 2 pieces
- From lining fabric:
- Center Back – 2 pieces
- Center Front – 2 pieces
- Side Back – 2 pieces
- Side Front – 2 pieces
- Upper Sleeve – 2 pieces
- Lower Sleeve – 2 pieces
- Lower Front – 2 pieces
- Lower Back – 1 piece
- Bigger Pocket Bag – 2 pieces
- Smaller Pocket Bag – 2 pieces
- From fusible interfacing: Center Front, Back Neckline Facing, Upper Center Front Facing, Lower Center Front Facing, upper collar.
Attention: lining pieces are cut according to the main fabric pieces, minus the width of the front facings and the Back Neckline Facing.
Sewing Instructions
- Fuse interfacing to the corresponding pieces.
- On the back, stitch the princess seams. Press seam allowances towards the center. Topstitch 0.5 cm from the seam. Stitch the center back seam. Press seam allowances open. Stitch on the Lower Back. Press the seam allowance open.
- Mark the pocket placement. Press the Off-Set Welt in half lengthwise, wrong sides together. Stitch the Smaller Pocket Bag to the inner side of the welt. Stitch the welt to the front along the lower pocket marking line. Stitch the Bigger Pocket Bag to the front along the upper pocket marking line. The ends of the stitching should stop at the short marking lines. Cut the pocket opening. Make diagonal cuts 1-1.5 cm from the end of the pocket. Turn the welt and the Bigger Pocket Bag to the wrong side through the opening. Secure the ends of the pocket from the wrong side with a double backstitch at the base of the corners. Stitch the pocket bags together around the edges.
- On the front, stitch the princess seams. Press seam allowances towards the center. Topstitch 0.5 cm along the seam. Stitch on the Lower Front in two stages: from the front edge to the buttonhole mark, and from the buttonhole mark to the side edge (leave the buttonhole gap unstitched). Press seam allowance open.
- Place the upper collar and under collar right sides together and stitch along the ends and outer edge. Trim seams at corners. Turn the collar right side out, shape, and press. Topstitch 0.5 cm from the edge along the collar. Attach the collar to the neckline.
- Stitch and press open the shoulder and side seams of the jacket.
- Stitch and press open the elbow seam of the sleeve. Stitch and press open the front seam of the sleeve. Press the hem allowance inwards. Set the sleeves into the armholes, matching notches. Insert shoulder pads, attach sleeve head rolls.
- Join the Upper and Lower Center Front Facing pieces in two stages: from the front edge to the buttonhole mark, and from the buttonhole mark to the inner edge. Press seam allowances open.
- Stitch and press open the shoulder seams of the back neckline facing and front facings.
- On the lining pieces, stitch the seams and set in the sleeves, leaving an opening in the front seam of the right sleeve. Attach the lining to the front facings and neckline facing.
- Place the front facing on the right side of the front, right side down, pin, and stitch along the front opening, bottom, and neckline. Attach the lining to the sleeve hem. Turn the jacket right side out through the opening. Stitch the waist seam allowances of the front and the facing together around the gap, forming the buttonhole. Secure the waist seam allowances together. Close the opening in the sleeve.
- Make buttonholes on the right front and sew buttons on the left front.