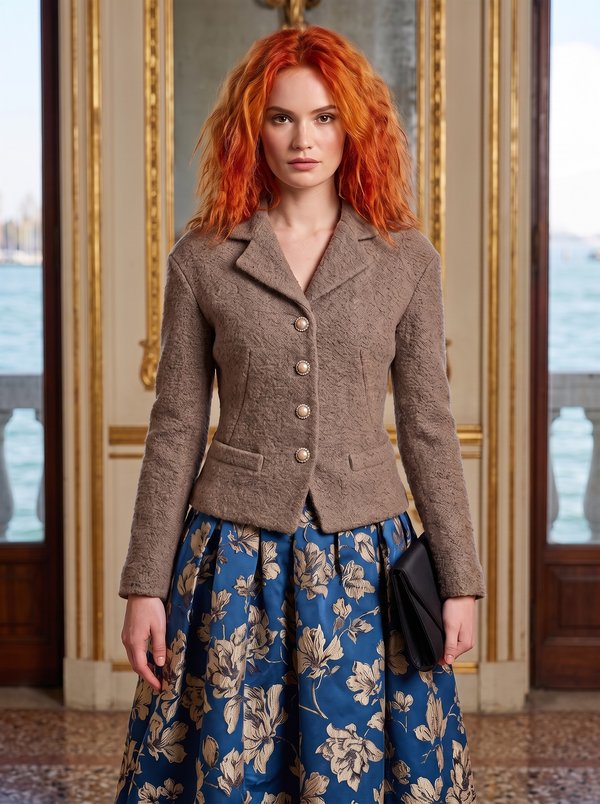
Buckled Wrap Blazer with Peplum
A fitted, fully lined women's jacket with a notched collar, a wrap front fastened with a strap and buckle at the left side, princess seams and a waist seam with a hip-length lower part.
When To Wear
- For the office over a fitted dress, a pencil skirt or slim trousers.
- In spring and autumn as a jacket for business meetings and smart occasions.
Key Design Features
Silhouette: Fitted through the bodice by princess seams, with a seam at the waist.
Length: Hip length.
Collar: Notched collar with lapels, stay tape along the roll line.
Front: Wrap front with no buttons. One strap is caught into the left side seam, the other into the front edge seam; the straps are joined with a buckle.
Sleeves: Two-piece set-in sleeves with elbow and front seams, cap eased into the armhole; shoulder pads.
Back: Upper back with a centre back seam and princess seams; the lower back is one centre piece with two side pieces.
Waist: The lower part is joined to the upper at the waist. The right lower front is cut in a centre and a side piece with a curved lower corner; the left lower front is one piece with an inverted pleat.
Lining: Full lining. The lower part is lined separately and bagged along its hem before it is joined to the upper.
Level Of Difficulty
Advanced. A multi-piece jacket with a waist seam, a notched collar with stay-taped lapels, two-piece sleeves, an inverted pleat and full lining turned through a sleeve opening.
Fabric Recommendations
Medium-weight woven jacket fabrics with body: wool suiting, gabardine, wool crepe.
Additional Supplies
- Lining fabric
- Fusible interfacing (upper centre fronts, front facings, back neck facing, upper collar)
- 1 buckle
- Shoulder pads
Cutter's Must
From main fabric:
- Upper center back – 2 pieces
- Lower center back – 1 piece
- Upper side back – 2 pieces
- Lower side back – 2 pieces
- Upper center front – 2 pieces
- Upper side front – 2 pieces
- Lower side front right – 1 piece
- Lower center front right – 1 piece
- Lower front left – 1 piece
- Under collar - 1 piece
- Upper collar – 1 piece
- Front facing – 2 pieces
- Back neckline facing – 1 piece
- Upper sleeve – 2 pieces
- Lower sleeve – 2 pieces
- Strap – 2 pieces
From lining fabric:
- Upper center back – 2 pieces
- Lower center back – 1 piece
- Upper side back – 2 pieces
- Lower side back – 2 pieces
- Upper center front – 2 pieces
- Upper side front – 2 pieces
- Lower side front right – 1 piece
- Lower center front right – 1 piece
- Lower front left – 1 piece
- Upper sleeve – 2 pieces
- Lower sleeve – 2 pieces
Attention! The front and back lining pieces are cut according to the main fabric patterns, subtracting the width of the front facings and the back neckline facing, respectively.
From fusible interfacing:
- Upper center front – 2 pieces
- Front facing – 2 pieces
- Back neckline facing – 1 piece
- Upper collar - 1 piece
Sewing Instructions
- Fuse interfacing to the respective pieces. On the front piece, along the lapel roll line, apply a 1 cm wide grainline stay tape (from fusible interfacing).
- Fold the strap piece in half lengthwise, right sides together, and stitch along the long side and one short side. Trim seam allowances at corners, turn the piece right side out, and press.
- Stitch the center back seam of the upper back, press seam allowances open. Stitch and press open the princess seams of the upper back. Stitch and press open the princess seams of the upper front.
- Stitch and press open the shoulder and side seams of the upper, inserting the strap into the left side seam.
- Stitch and press open the princess seams of the lower back. Stitch and press open the princess seam of the lower right front. Stitch and press open the side seams of the lower.
- Process the lining pieces of the lower similarly. Place the main fabric piece with the lining, right sides together, and stitch the bottom edge. Clip seam allowances at curves, turn right side out, and press. Form and secure the inverted pleat on the lower left front. Attach the lower of the garment to the upper (front facing allowances extend by 1 cm).
- Place the upper collar on the under collar, right sides together, and stitch along the ends and the outer edge. Start and end the stitching precisely at the marked collar attachment line. Trim seams at corners, clip at the mark. Turn the collar right side out, shape, and press.
- Stitch and press open the shoulder seams of the back neckline facing and the front facings.
- Place the front facing on the right side of the front piece, right side down, pin, and stitch along the front edge, inserting the strap. Stitch upwards to the notch indicating the end of the collar attachment. Trim seams at corners. Topstitch the seam allowance of the front edge: on the button placket section – to the front facing, on the lapel section – to the front piece. Position the stitching 0.2 cm from the seam. Turn the front edges right side out, shape the seams.
- Attach the under collar to the jacket neckline, and the upper collar to the neckline edge of the back facing and front facings. Press open the collar attachment seam allowances and secure them close to the seams.
- Stitch the elbow seam of the sleeve, press seam allowances open. Press up the sleeve hem. Stitch and press open the front seam of the sleeve. Set the sleeves into the armholes according to the notches, easing the sleeve cap at the top. Attach shoulder pads.
- On the upper lining pieces, stitch the seams and set in the sleeves, leaving an opening in the front right sleeve seam.
- Attach the lining to the inner edges of the front facings and the back neckline facing. Turn the front facings with the lining to the wrong side and stitch to the jacket, placing the lower between the main fabric and the lining. Turn the jacket right side out through the opening in the sleeve. Attach the lining to the sleeve hem. Stitch closed the opening in the sleeve.
- Thread the strap through the buckle and secure.